【前言】
在上一章節裡:VMware ESXi 6.5-Create virtual machines-新增虛擬機器(ㄧ)
實際了解到如何在新版本ESXi 6.5 介面新增、設定VM虛擬機器,
這一章節就來實際介紹ESXi 6.5如何設定安裝Windows Server 2016 Virtual Machines.
【學習主題】
Guest Operating System Installation 安裝虛擬作業系統:
1.Upload ISO Image Installation Media for a Guest OS 上傳系統安裝映像檔.
2.VM BIOS (Firmware) Edit Settings 虛擬機器BIOS編輯設定.
3.Power on, Power off Guest OS 虛擬機器如何開機與關機.
4.Installing Windows Server 2016 正式開啟安裝作業系統.
5.Install/Update VMware Tools. 安裝虛擬機最佳化的驅動程式.
6.Snapshots, Export Guest OS 快照、匯出備份虛擬機器.
【實作說明】
Upload ISO Image Installation Media for a Guest OS 上傳系統安裝映像檔
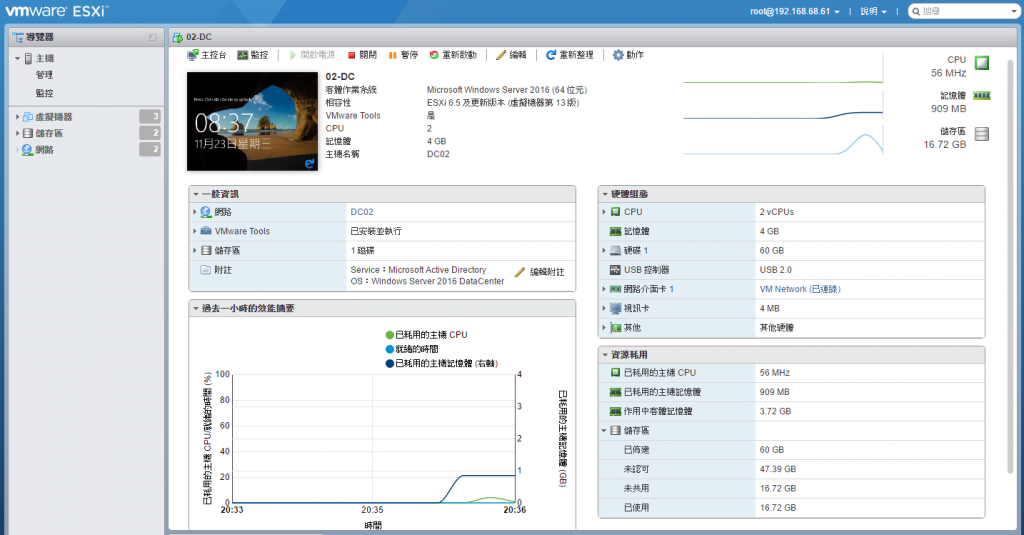
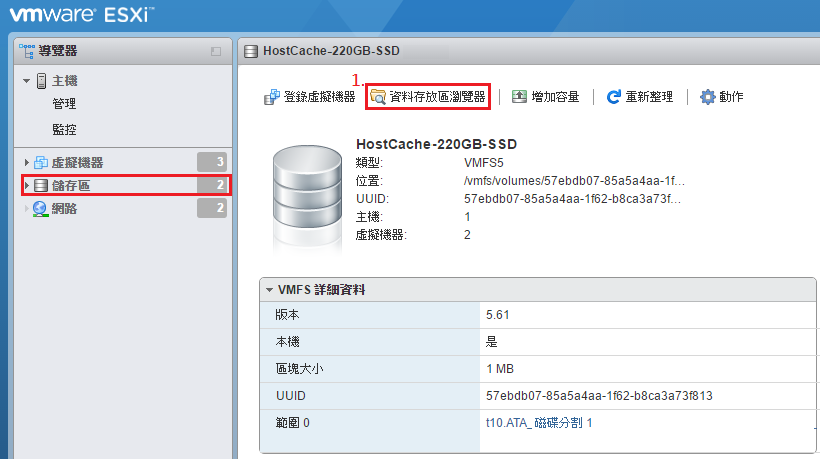
請先登入VMware ESXi 6.5主控台,點選導覽器→儲存區
01.點選:資料存放瀏覽器
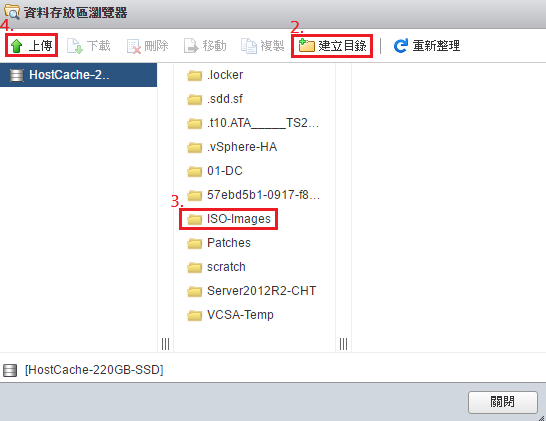
02.點選-建立目錄
03.命名目錄名稱,例如:ISO-Images
04.點選:上傳
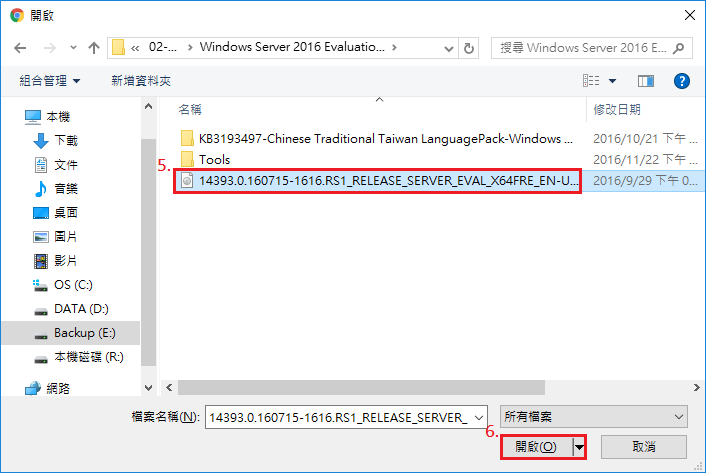
05.選擇 Windows Server 2016 ISO檔案
06.請點選:開啟 稍候ISO檔案傳送完成。
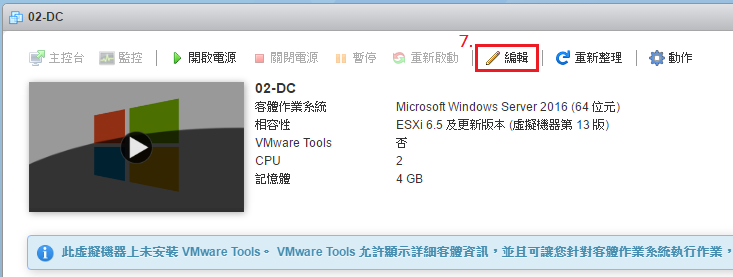
07.返回ESXi6.5-VM虛擬機器功能選單,請點選:編輯 (編輯虛擬機設定)
08.點選:新增其它裝置
(在新版ESXi6.5虛擬機建立過程,預設未包含CD/DVD光碟機裝置,需手動新增)
09.選擇:**CD/DVD光碟機 **
10.請點選:**儲存 **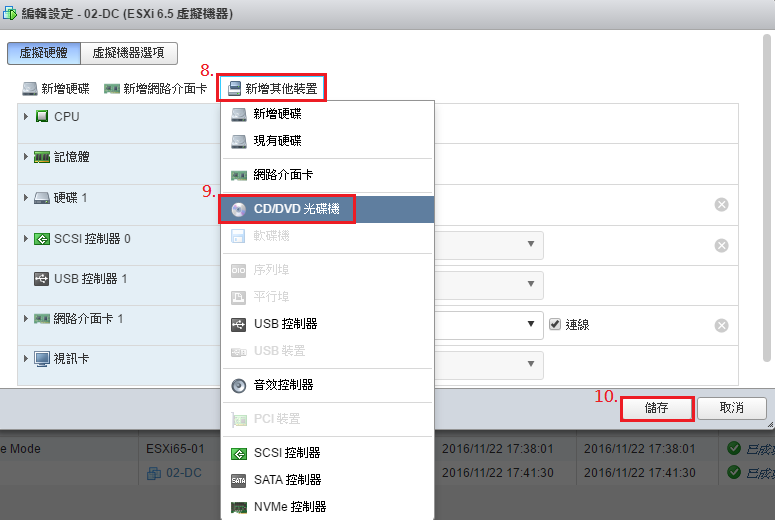
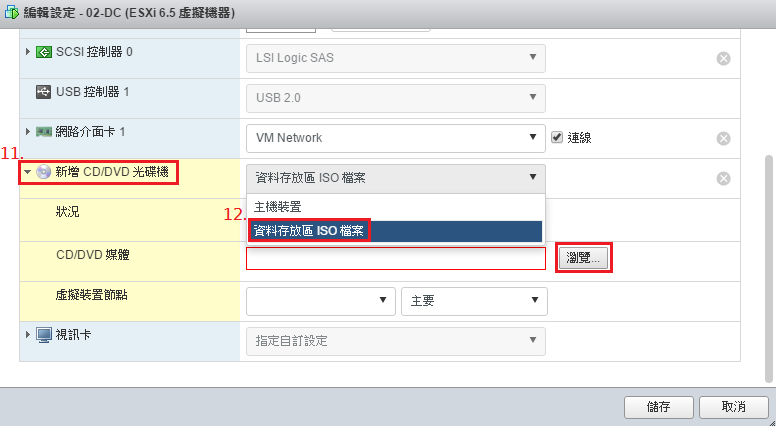
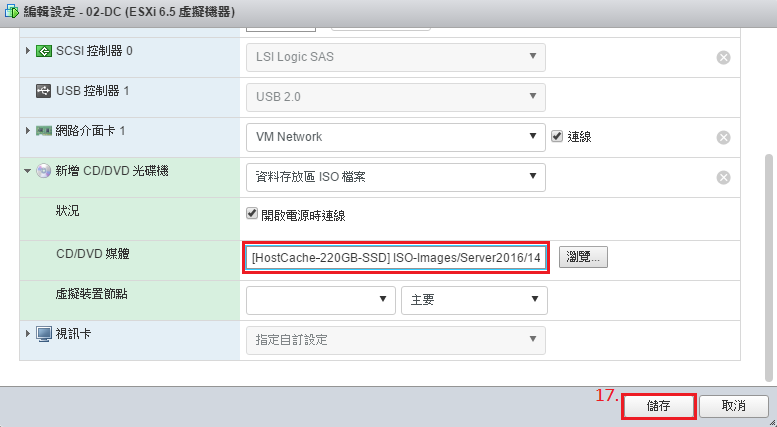
11.返回編輯設定畫面,點選展開新增CD/DVD光碟機
12.選擇資料存放區ISO檔案,然後點選瀏覽。
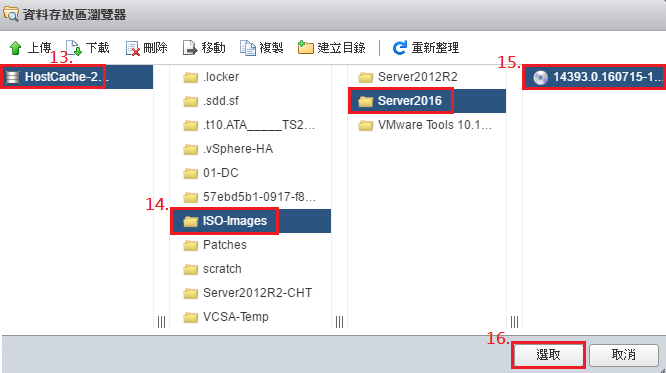
13.選擇:Windows Server 2016 ISO檔案的儲存區
14.點選:ISO-Images 目錄
15.選擇:Windows Server 2016 ISO檔案
16.點選:選取
17.請點選:儲存
(1)請先確認CD/DVD媒體是否為Windows Server 2016 ISO檔案
(2)開啟電源時連線是否有勾選
(讓VM虛擬機開機時,連接讀取CD/DVD媒體裝置或ISO映像檔案資料)
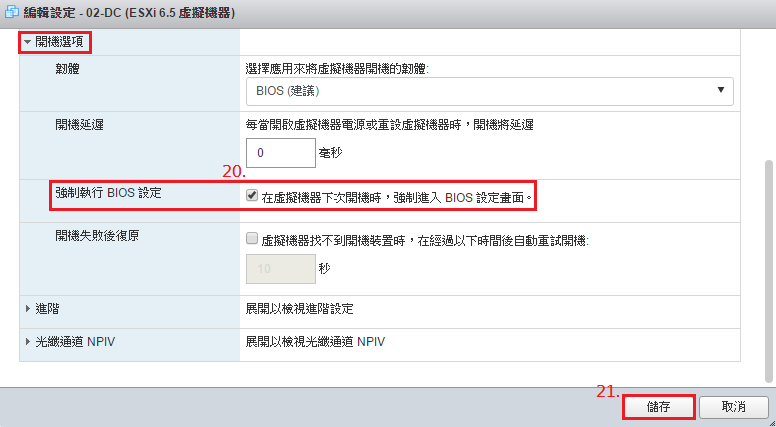
18.返回編輯設定畫面,點選:虛擬機選項
19.展開:開機選項

20.勾選:在虛擬機下次開機時,強制進入BIOS設定畫面。
21.點選:儲存
VM BIOS (Firmware) Edit Settings 虛擬機器BIOS編輯設定
停用BIOS中不需要額外裝置選項(例如:RS-232 COM1介面、軟碟機控制器)
釋放BIOS系統資源,優化VM虛擬機設定。
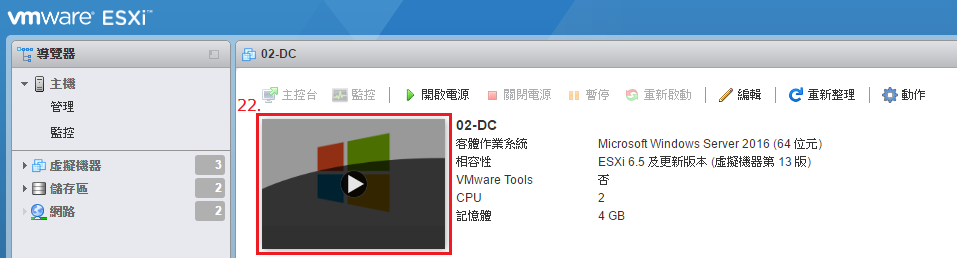
22.返回ESXi6.5-虛擬機器主控台,直接點選虛擬機開啟電源(開啟虛擬機主控台)
23.進入:BIOS→Advanced (BIOS進階設定)
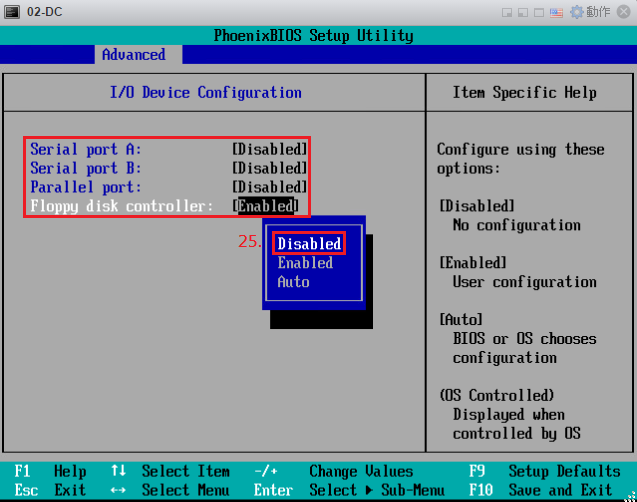
24.選擇:I/O Device Configuration (輸入/輸出周邊裝置設定)
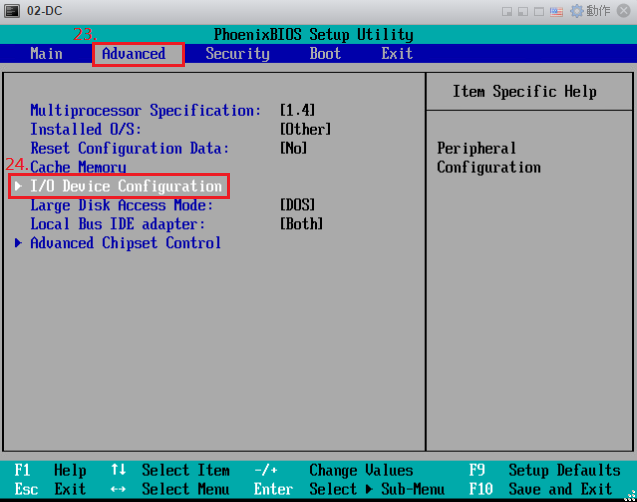
25.關閉:停用以下四項不需要用到裝置(Disabled I/O Device)
(1)Serial port A: Disabled (RS-232 COM1介面)
(2)Serial port B: Disabled (RS-232 COM2介面)
(3)Parallel port:Disabled (LPT印表機連接埠)
(4)Floppy disk controller:Disabled (軟碟機控制器)
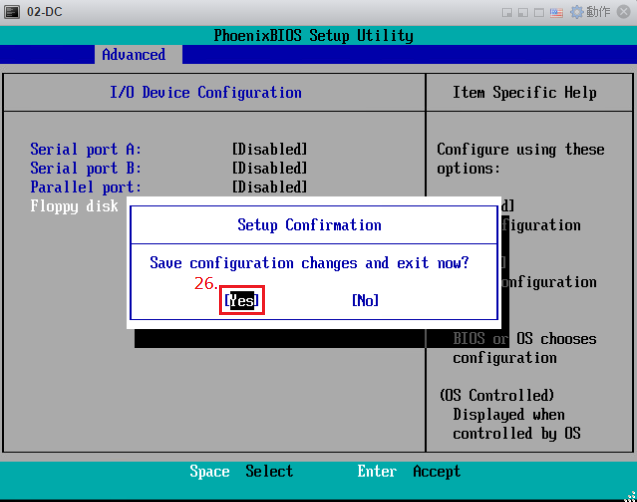
26.儲存BIOS參數設定:請按鍵盤 F10 存檔(Save Configuration)
請選擇 Yes 後按Enter儲存設定。
Installing Windows Server 2016 正式開啟安裝作業系統
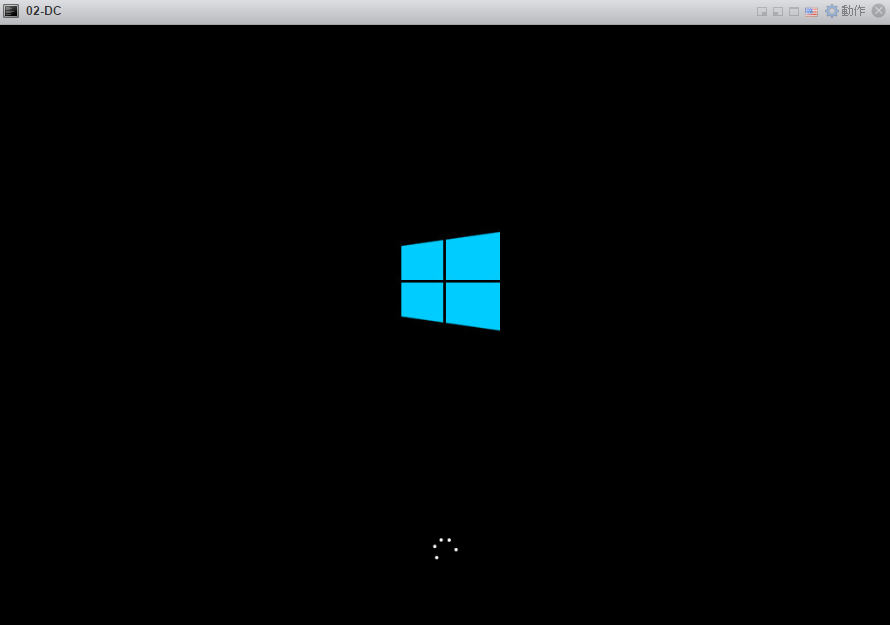
27.VM虛擬機開機載入Windows Server 2016系統安裝精靈
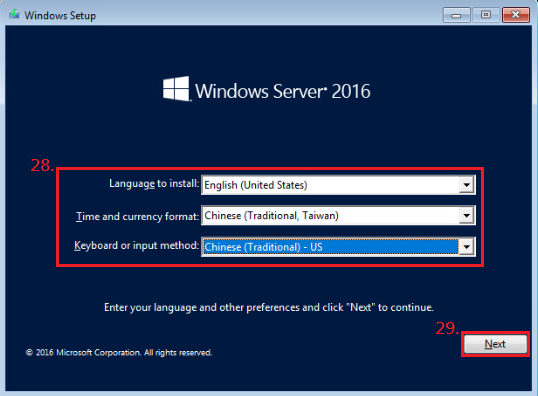
28.安裝時間格式請改選為:Chinese Traditional Taiwan
安裝鍵盤輸入請改選為:Chinese Traditional-US
29.點選:Next 繼續下一步。
※因申請微軟官方180天試用Windows Server 2016 為英文版可設定更新為正體中文版,
詳細流程可參考之前發佈IT邦幫忙技術文章:Windows Server 2016 安裝與中文化
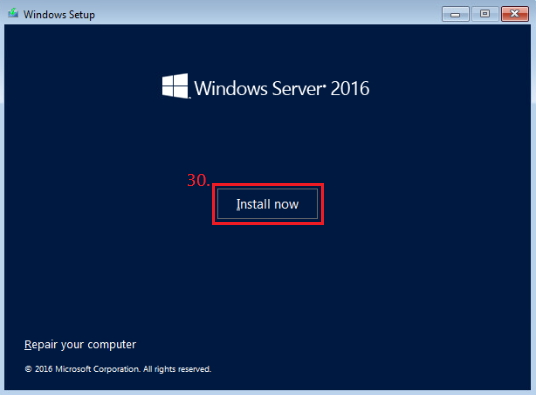
30.點選:Install now 正式開始安裝Windows Server 2016
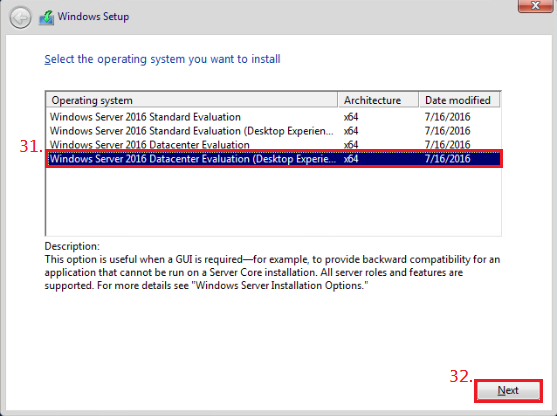
31.選擇適合安裝 Windows Server 2016版本(Standard 或 Datacenter)
32.點選:Next 繼續下一步。
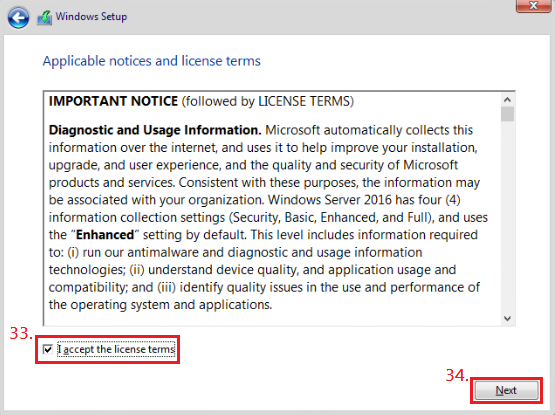
33.勾選:I accept the license terms 接受授權合約條款
34.點選:Next 繼續下一步。
35.選擇:Custom:Install Windows only (advanced) 自訂安裝

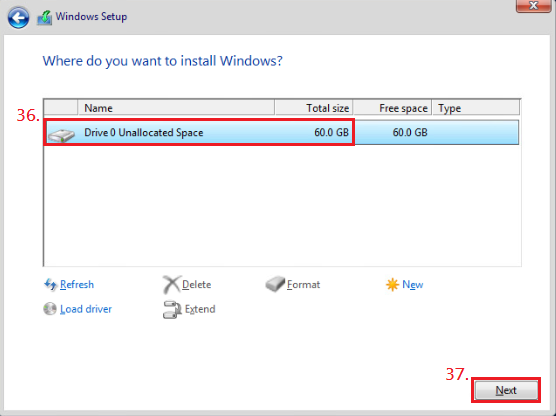
36.選擇:安裝Windows Server 2016 磁碟位置
37.點選:Next 繼續下一步。
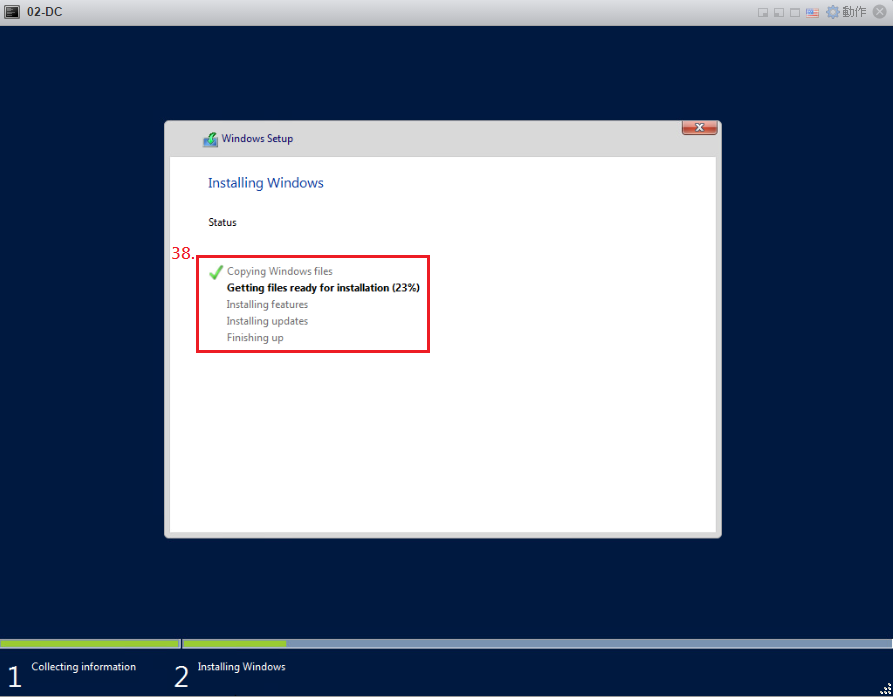
38.Windows Server 2016 系統安裝中,請稍後...
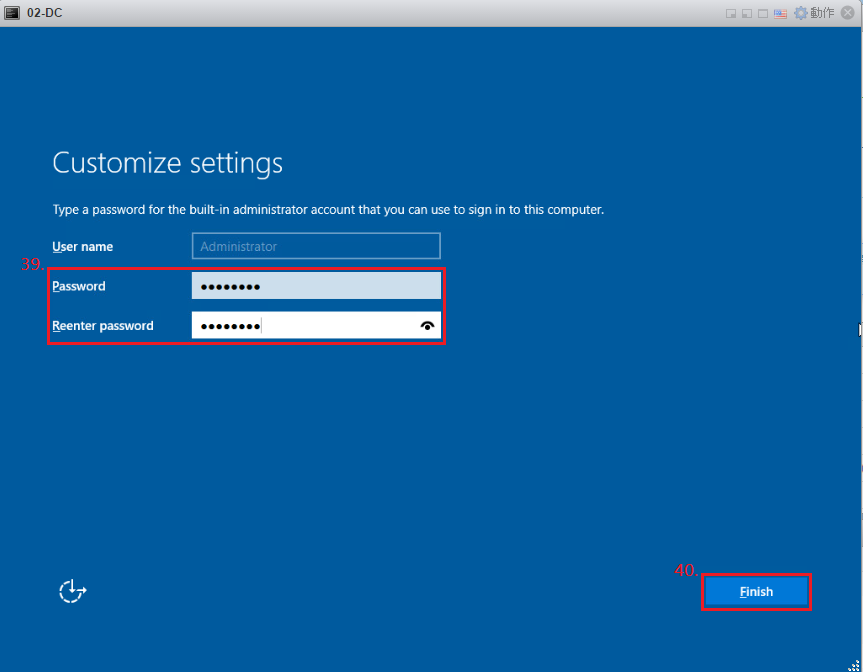
39.設定:Administrator管理者開機登入密碼(需符合密碼複雜性)
建議密碼長度建議是八位數以上包含:
(1)英文大寫字元 (A 到 Z)
(2)英文小寫字元 (a 到 z)
(3)數字 (0 到 9)
(4)特殊字元 (例如: !、$、#、% 底線或破折號)
40.點選:Finish 完成Windows Server 2016作業系統安裝。
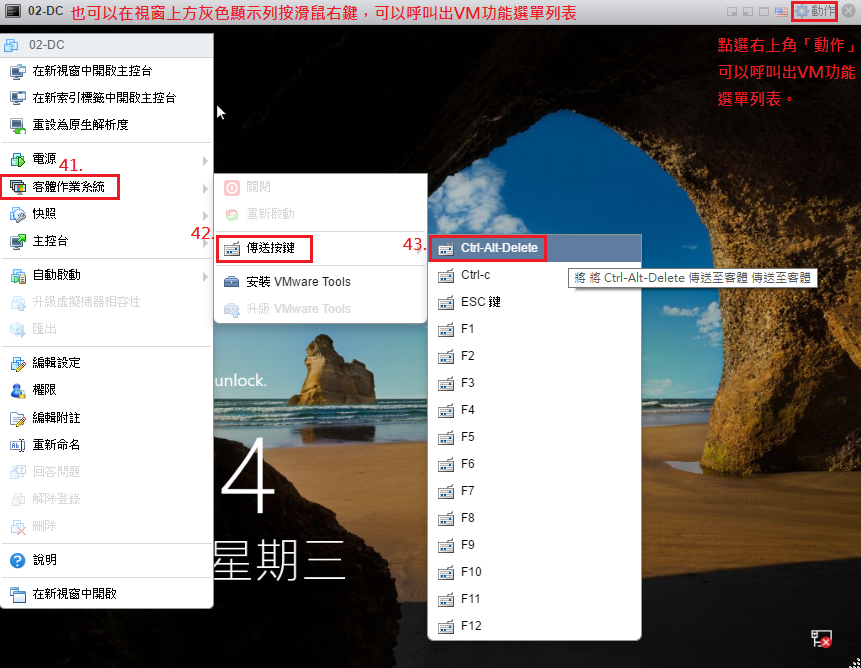
41.返回ESXi6.5-虛擬機器主控台,
點選畫面右上角:動作→客體作業系統
42.選擇:傳送按鍵
43.點選:Ctrl-Alt-Delete 傳送鍵盤命令到 Windows Server 2016系統。
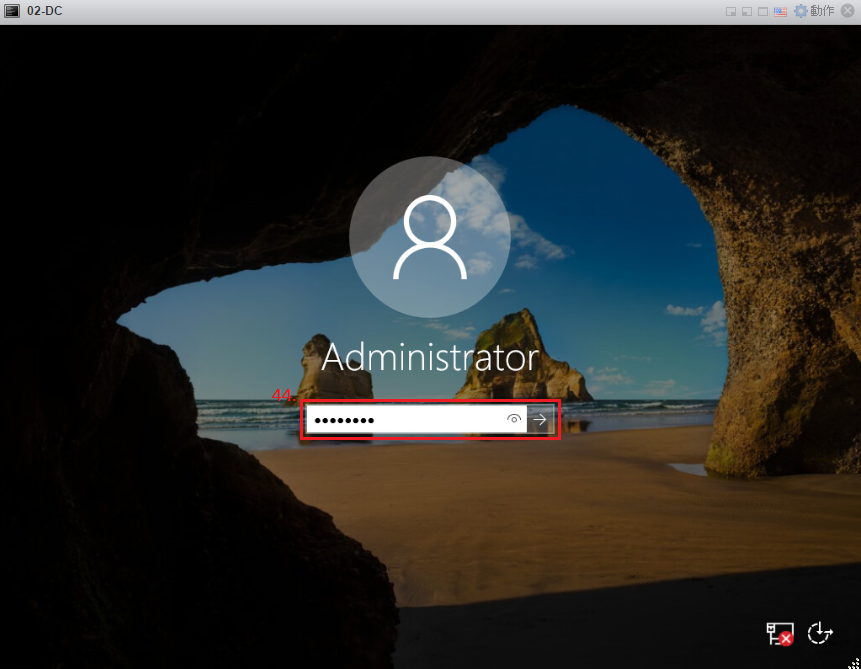
44.請輸入管理者密碼,輸入完成後按下Enter,密碼認證成功後將登入系統。
Install/Update VMware Tools.安裝虛擬機最佳化的驅動程式
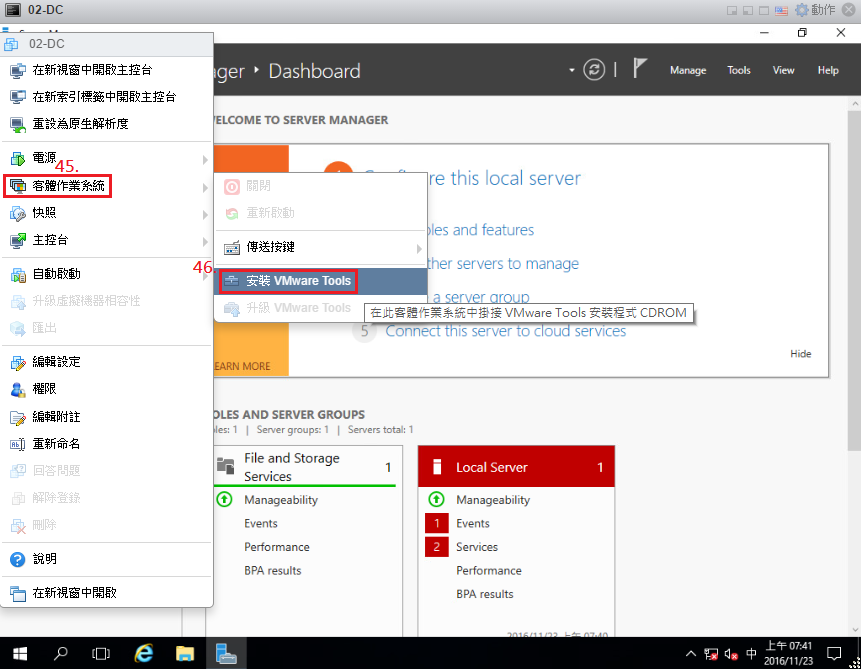
45.返回ESXi6.5-虛擬機器主控台,點選畫面右上角:動作→客體作業系統
46.選擇:安裝VMware Tools
47.回到Windows Server 2016系統,系統將掛載VMware Tools安裝程式
點選光碟機→執行 setup64.exe 正式開始安裝安裝VMware Tools,
請點選下一步。

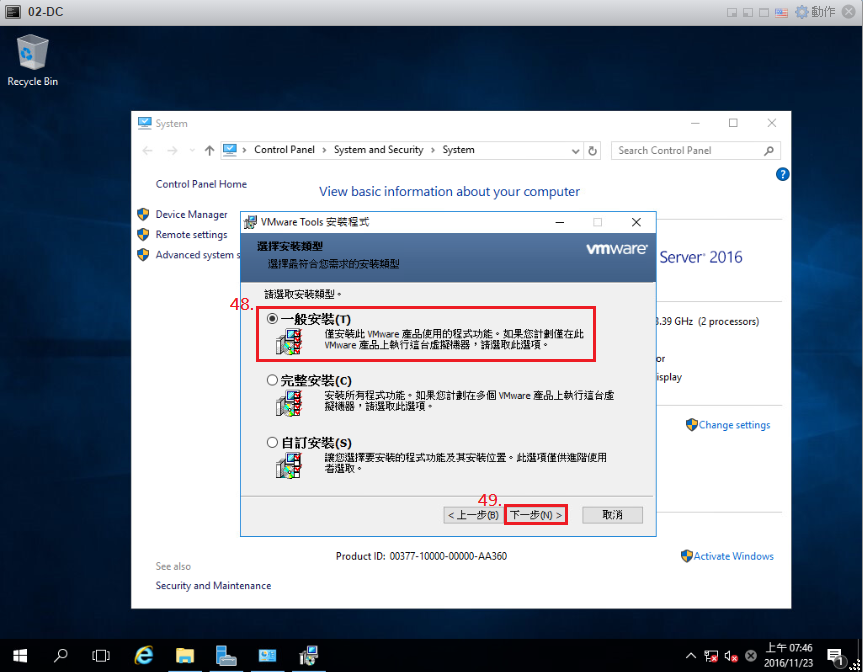
48.選擇:一般安裝
49.點選:下一步
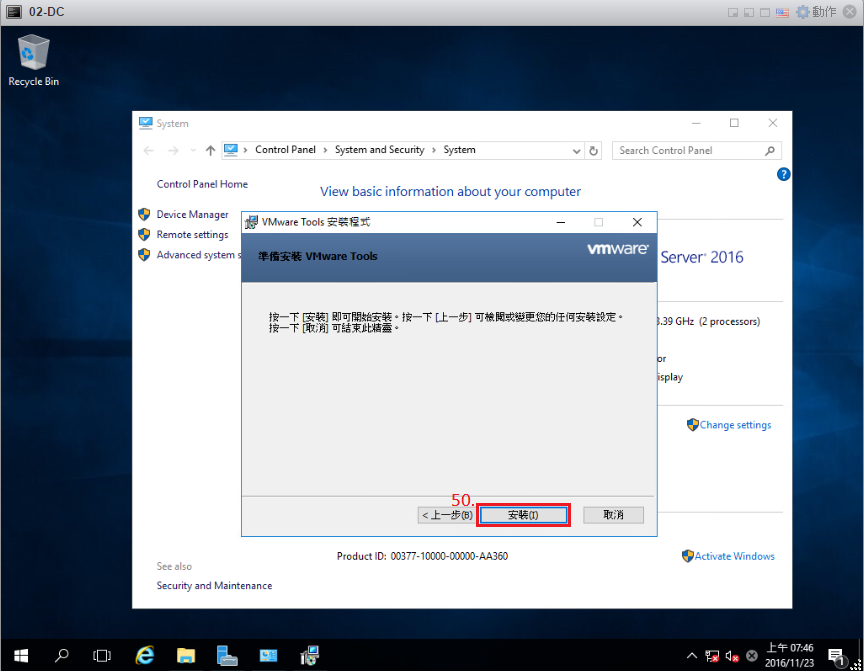
50.點選:安裝 (VMware Tools)
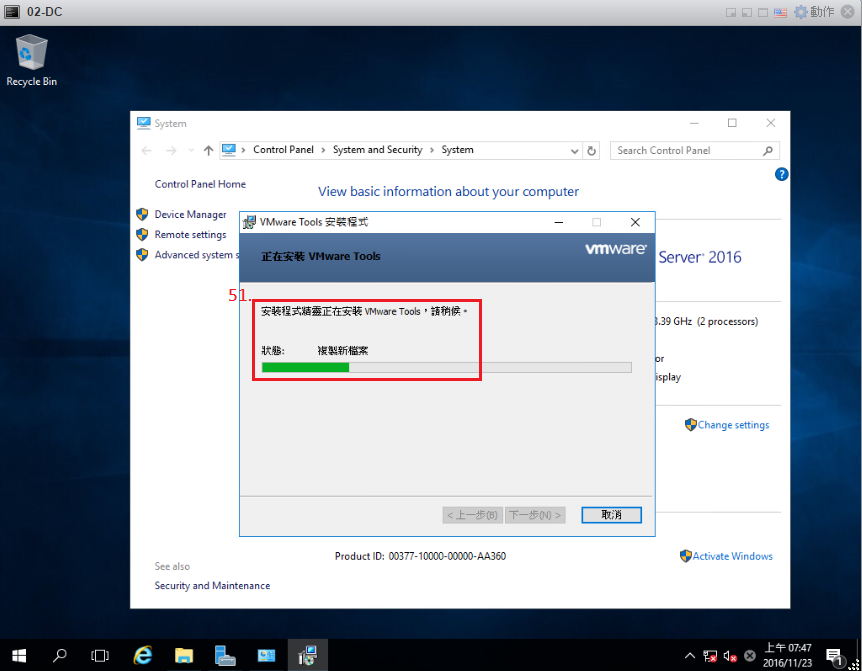
51.安裝精靈正在安裝VMware Tools,複製新檔案,請稍後。
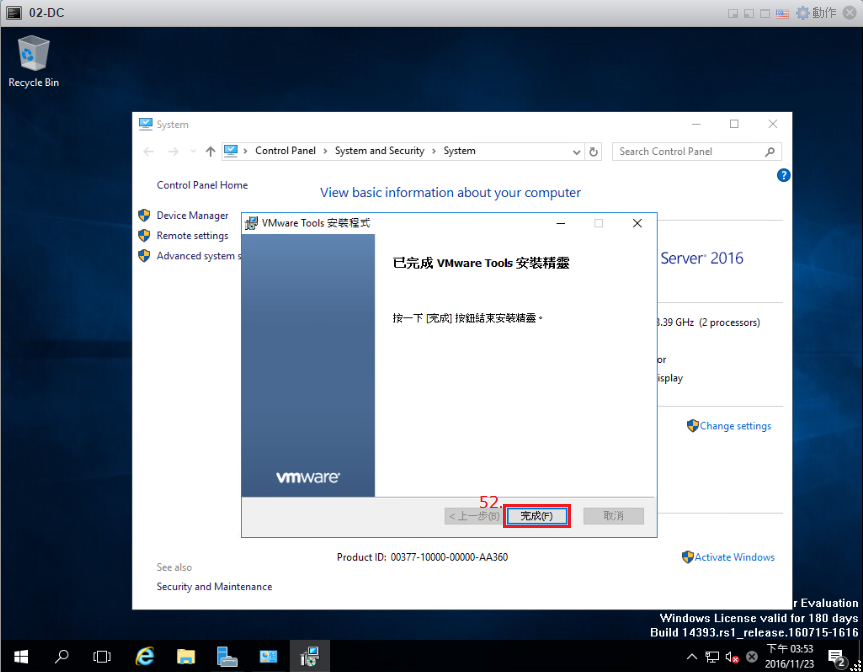
52.點選:完成,完成VMware Tools安裝。
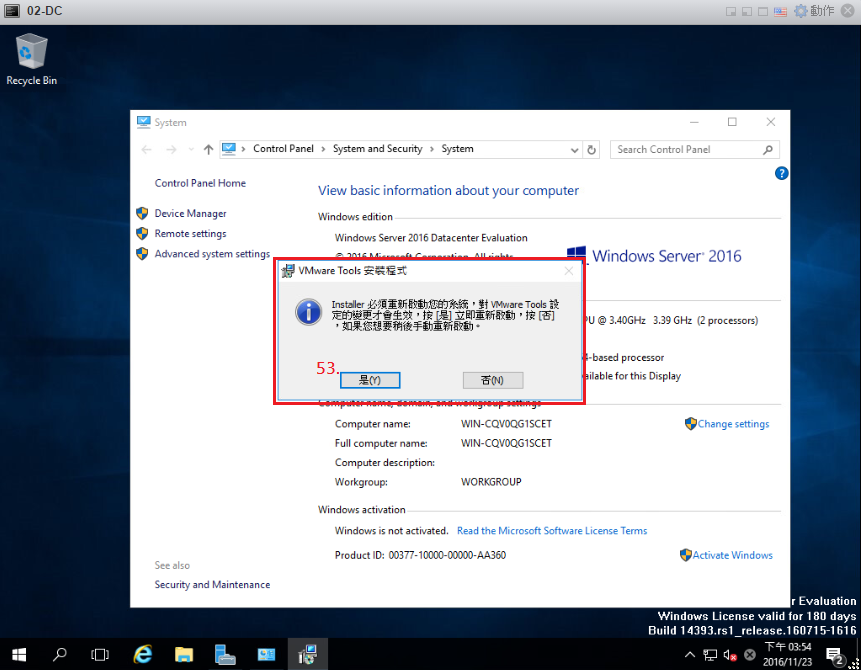
53.安裝完成VMware Tools-需要重新開機,使安裝設定正式生效。
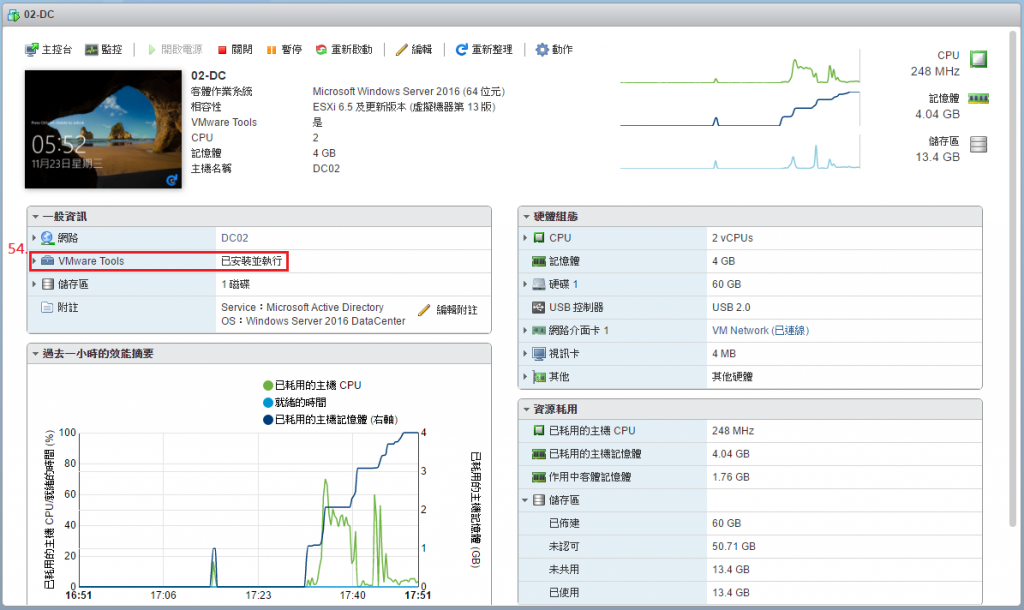
54.返回ESXi6.5-虛擬機器主控台:
可以看到Windows Server 2016系統正式執行VMware Tools,
透過VMware Tools提供ESXi 6.5與VM虛擬機最佳化驅動程式整合與系統資源控制。
55.VMware Tools 安裝完成後,就可以登入Windows Server 2016設定基本系統參數:
1.IP Addrss (設定網路靜態固定IP位址)
2.Subnet (子網路遮罩)
3.Gateway (預設閘道)
4.DNS (設定DNS Server IP位址)
5.Hostname (設定主機名稱,更便利維運管理)
6.Time (校正系統時間、啟用NTP Server Service)
7.Service (Active Directory, DNS, DHCP, IIS, FTP, File Server...)
結語:
新版ESXi 6.5 Host Client 採用Web介面操作,相較之前VMware vSphere Client快速按鍵功能,在操作使用、功能切換上會少了些許不便利性,只能透過滑鼠左右鍵選擇VM設定功能選單,但ESXi 6.5 Host Client新介面資訊反而更直覺化,更便利操作使用。
稍後補上說明:Snapshots, Export Guest OS 快照、匯出備份虛擬機器。
本文完整章節發佈於:Lab-VM Testing Blogger
 max6886

 iThome鐵人賽