【前言】
之前vCenter Server Appliance(VCSA)版本5.x-6.0是運作在SUSE Linux系統上,
現在最新VMware vSphere 6.5平台,vCenter Server Appliance 6.5有了很大改變,
就是運作在VMware自行開發、優化的新 Photon OS v1.0 系統。
這是一個新的非常小的Open-source Minimal Linux Container Host其主要特點:
針對VMware vSphere 6.5新平台運作優化更新,接下來相信往後VMware新推出產品,
會有更多基於Photon OS高度整合的產品出現,敬請期待新系統所帶來效能優化表現。
※詳細可參考:
1.VMware Photon OS v1.0官方網頁介紹
2.前一章節vCenter Server Appliance 6.0 Upgrad 6.5介紹說明。
【學習主題】
1.如何部署含內嵌式Platform Services Controller的vCenter Server在ESXi 6.5。
2.透過新版VMware vSphere Appliance 6.5 Management管理維護VCSA系統。
【實作說明】
請先於VMware官方網頁註冊下載VMware vCenter Server 6.5 Appliance ISO檔案
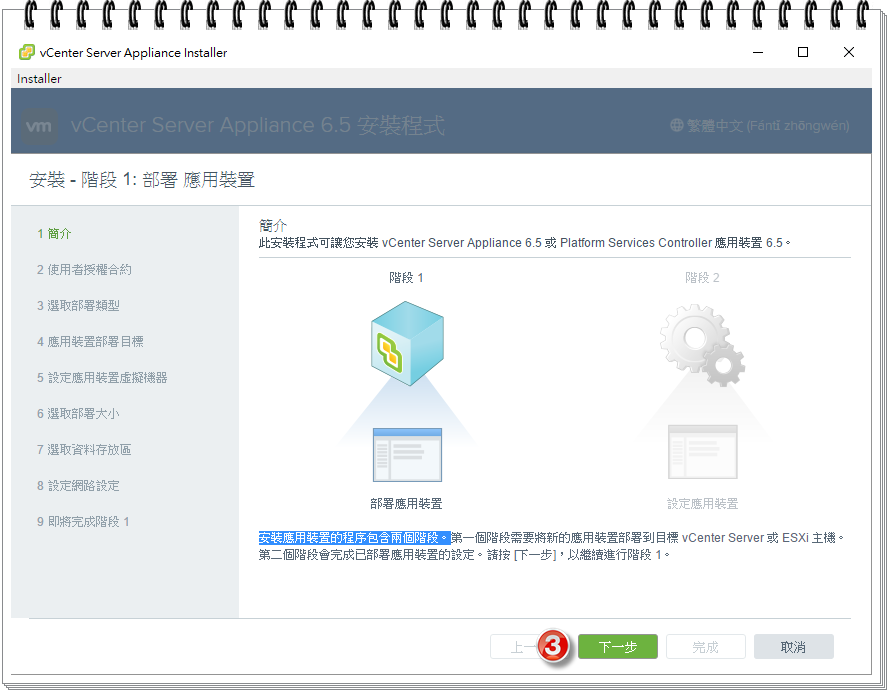
佈署工作將包含兩個階段:
第一個階段:需要將新VCSA的PSC應用裝置部署到目標ESXi 主機。
第二個階段:完成已部署VCSA應用裝置的設定。
實作第一階段:部署新的VMware vCenter Server Appliance 6.5系統
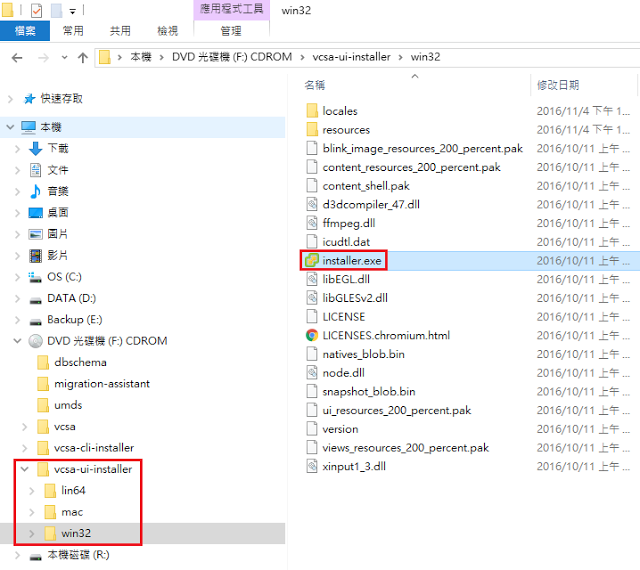
請先在Win7、Win10作業系統掛載執行vCenter Server Appliance 6.5-ISO
執行\vcsa-ui-installer\win32\Installer.exe安裝檔案
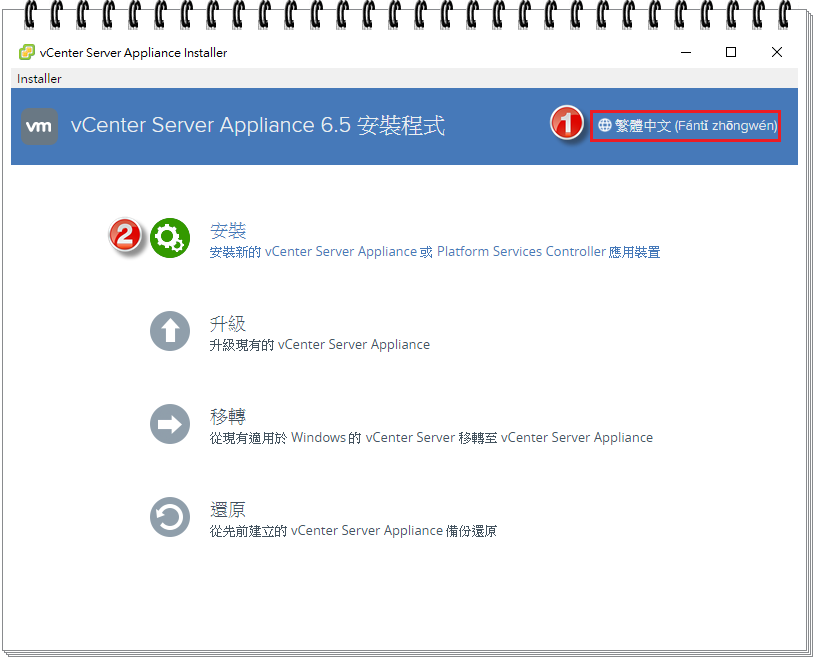
1.將vCenter Server Appliance 6.5部署精靈介面切換成正體中文。
2.點選:安裝 開始安裝新的VMware vCenter Server Appliance 6.5系統。
3.簡介說明:請按 [下一步],繼續進行安裝。
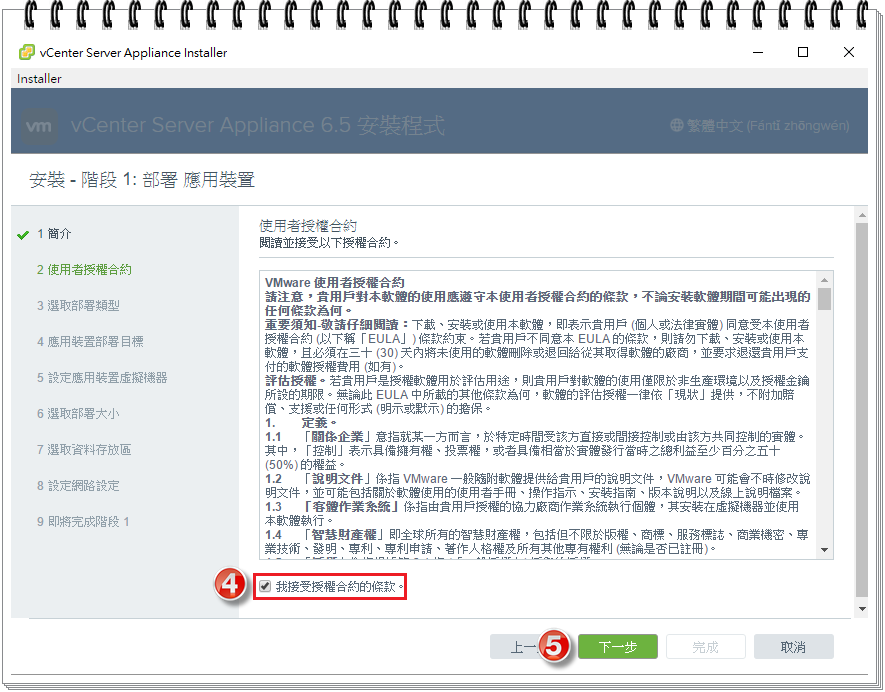
4.使用者授權合約-勾選:我接受授權合約的條款。
5.請按 [下一步],繼續進行安裝。
6.選取部署類型-含內嵌式Platform Services Controller-vCenter Server
如小型100台VM以下、測試、學習的實驗環境建議選擇內嵌式PSC的vCenter Server,
正式運作環境需要高效能、管理超過幾百台VM運作環境,建議設計分開佈署,
vCenter Server Appliance 6.5及Platform Services Controller 6.5。
7.請按 [下一步],繼續進行安裝。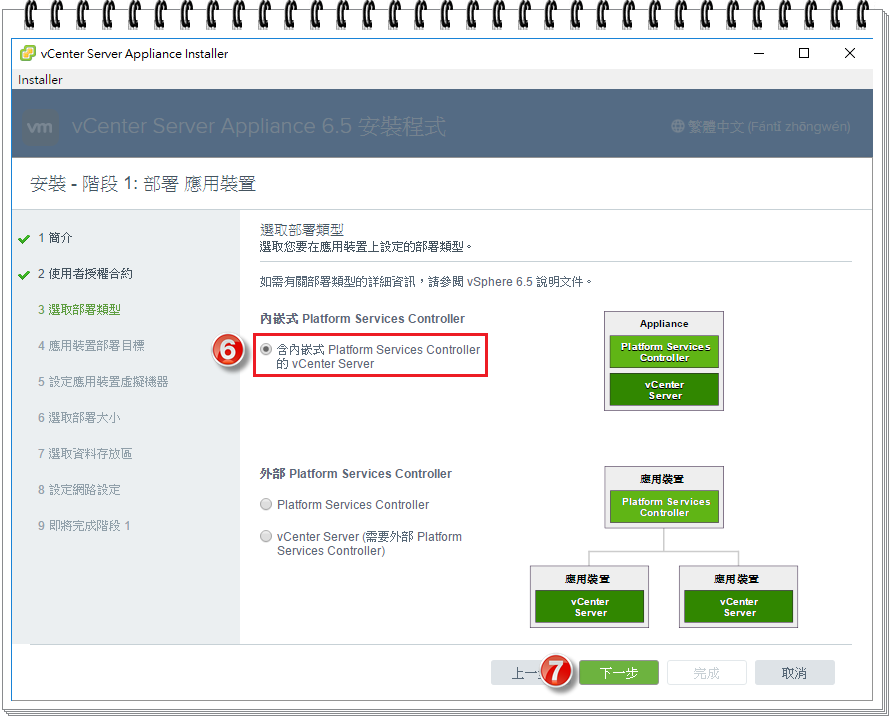
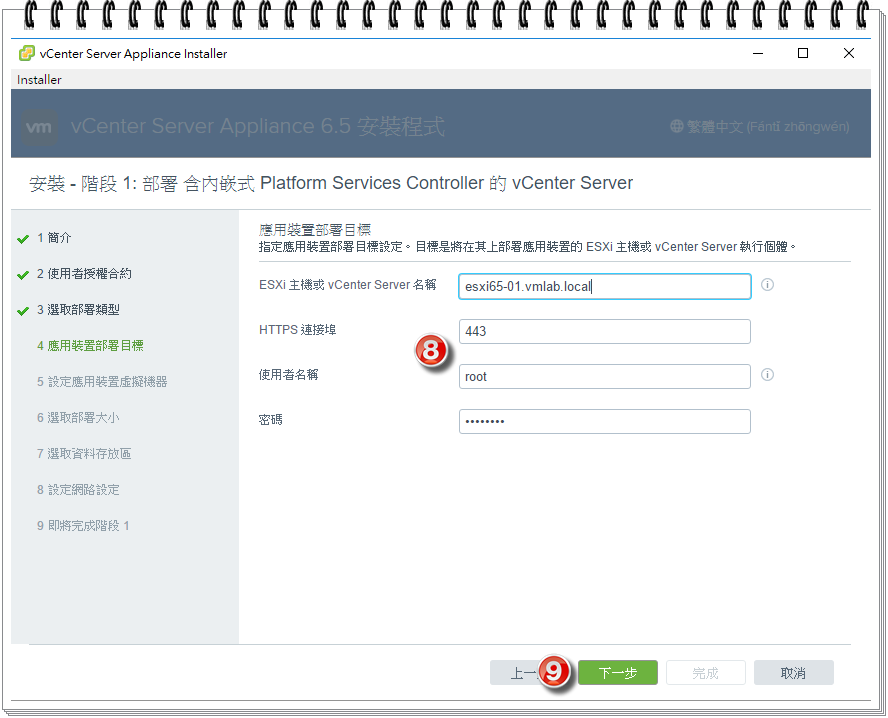
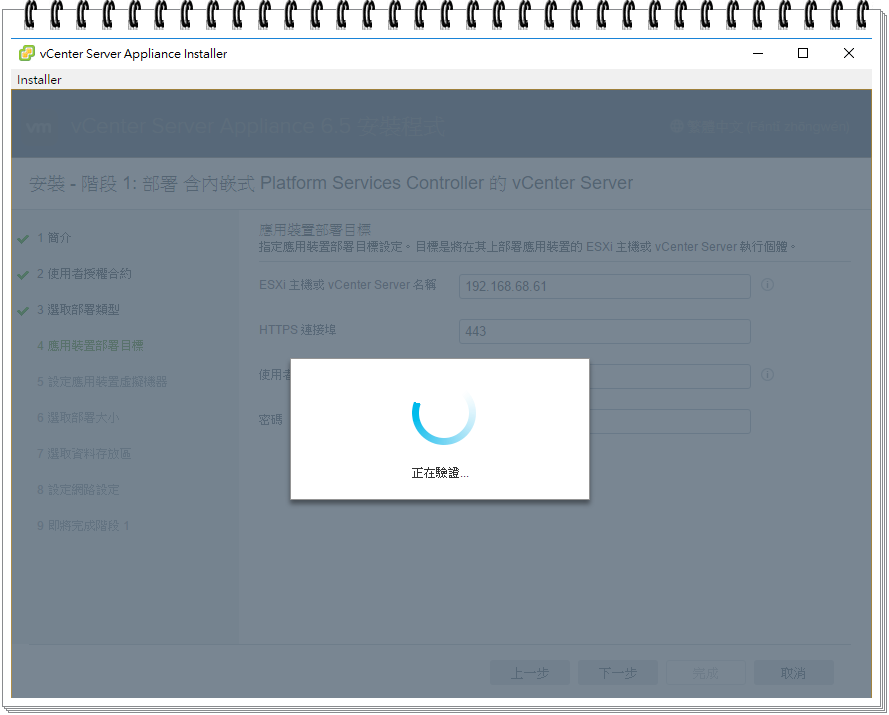
8.應用裝置部署目標:請輸入ESXi主機登入帳號與密碼
輸入ESXi主機名稱:IP Address或FQDN
HTTPS 連接埠:443
使用者名稱:root
密碼:
9.請按 [下一步],繼續進行安裝。
10.憑證警告-請按:是 繼續進行安裝。
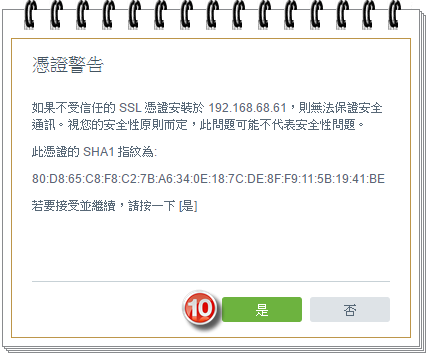
驗證中請稍後...
11.設定應用裝置虛擬機器 (vCenter Server Appliance 6.5 )
虛擬機器名稱: (名稱唯一不可重覆)
root密碼:
確認root密碼:
密碼至少8個字元,不超過20個字元,至少有1個大寫字元、至少有1個小寫字元
至少有1個數字、至少有1個特殊字元。
12.請按 [下一步],繼續進行安裝。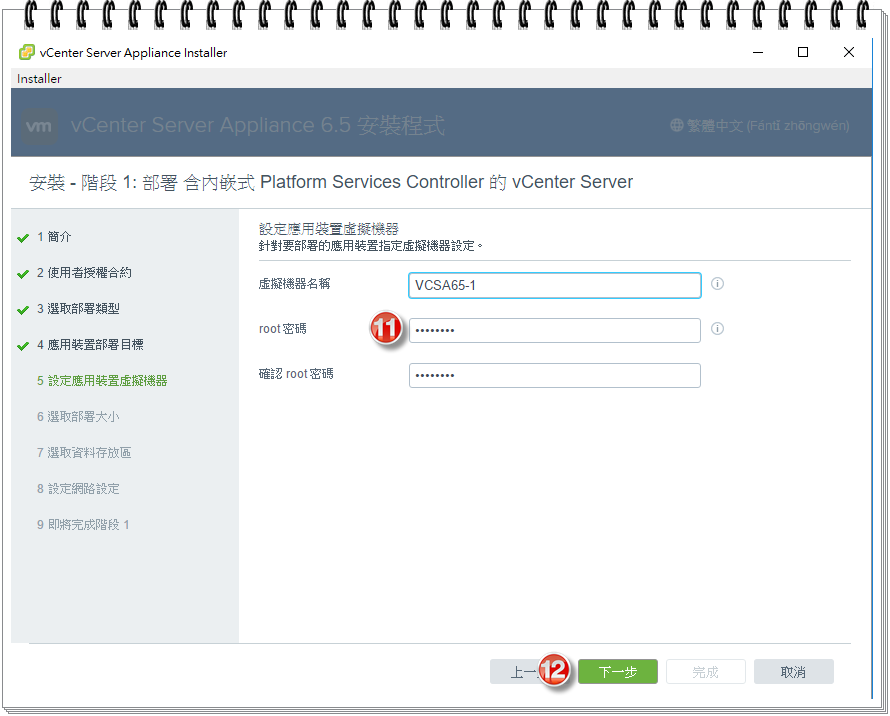
13.選取VCSA部署大小:微型、小型、中等、大型、超大型
部署大小:微型 (適用於擁有最多 10 台主機或 100 台虛擬機器的環境)
儲存區大小:預設值
部署最微型大小vCenter Server 6.5記憶體需要10GB。
14.請按 [下一步],繼續進行安裝。

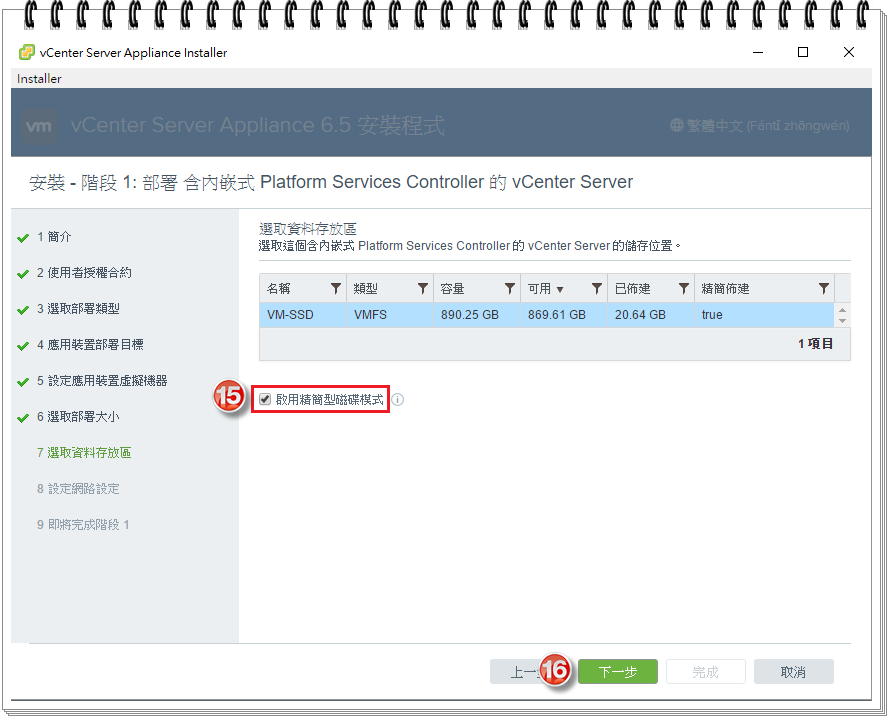
15.選取資料存放區-勾選:啟用精簡型磁碟模式
測試環境或不要求高效能,需彈性硬碟使用空間建議勾選。
16.請按 [下一步],繼續進行安裝。
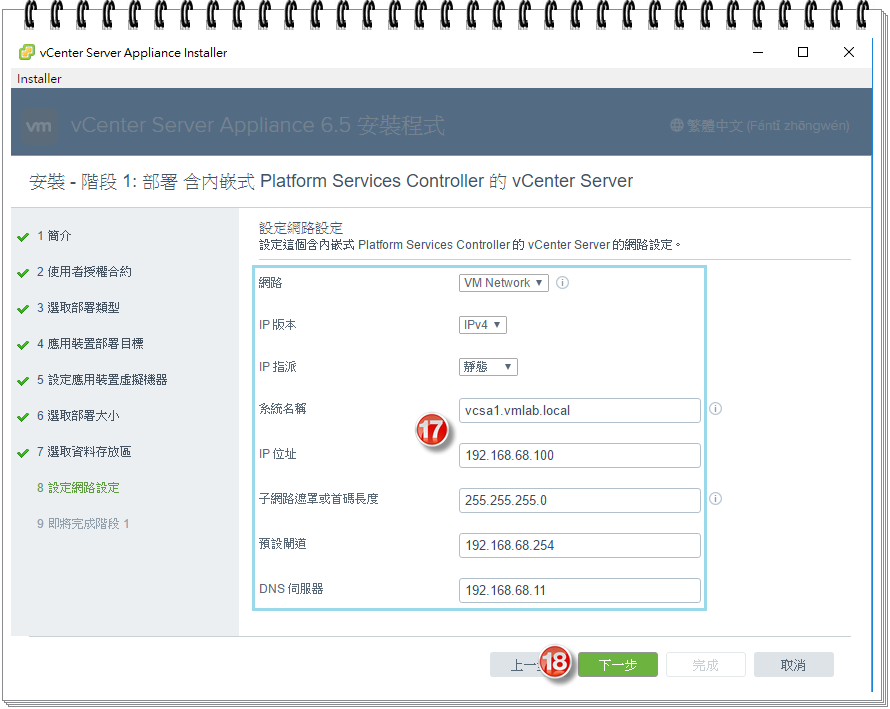
17.設定VCSA6.5網路設定
網路: (請選擇ESXi 6.5連線VM網路設定)
IP版本:IPv4
IP指派:靜態
系統名稱:
子網路遮罩或首碼長度:
預設閘道:
DNS伺服器:
18.請按 [下一步],繼續進行安裝。
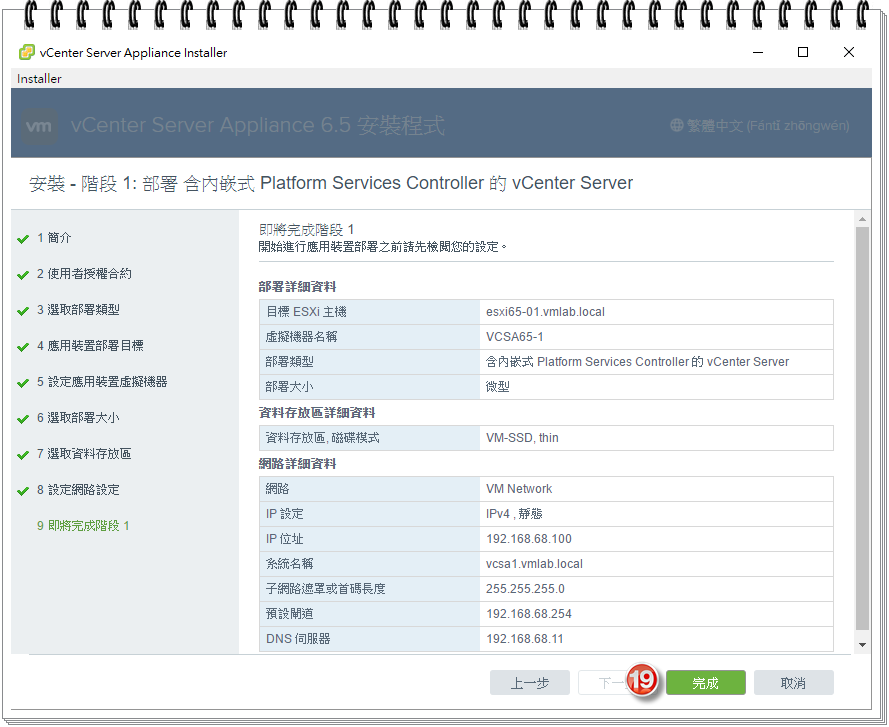
19.即將完成階段1部署設定,請按 [完成]。
開始進行應用裝置部署之前請先檢閱您的設定。
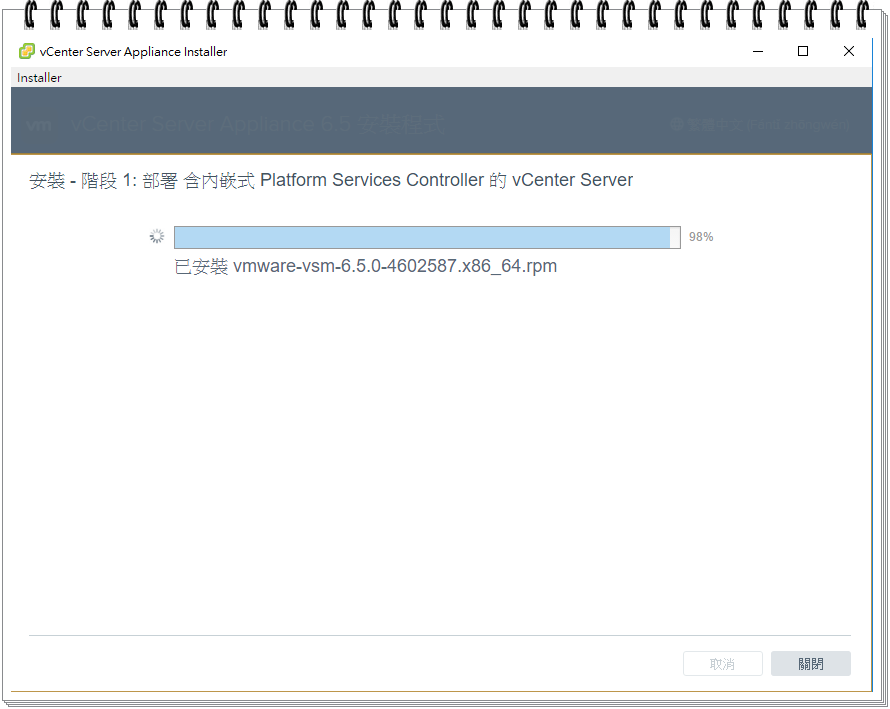
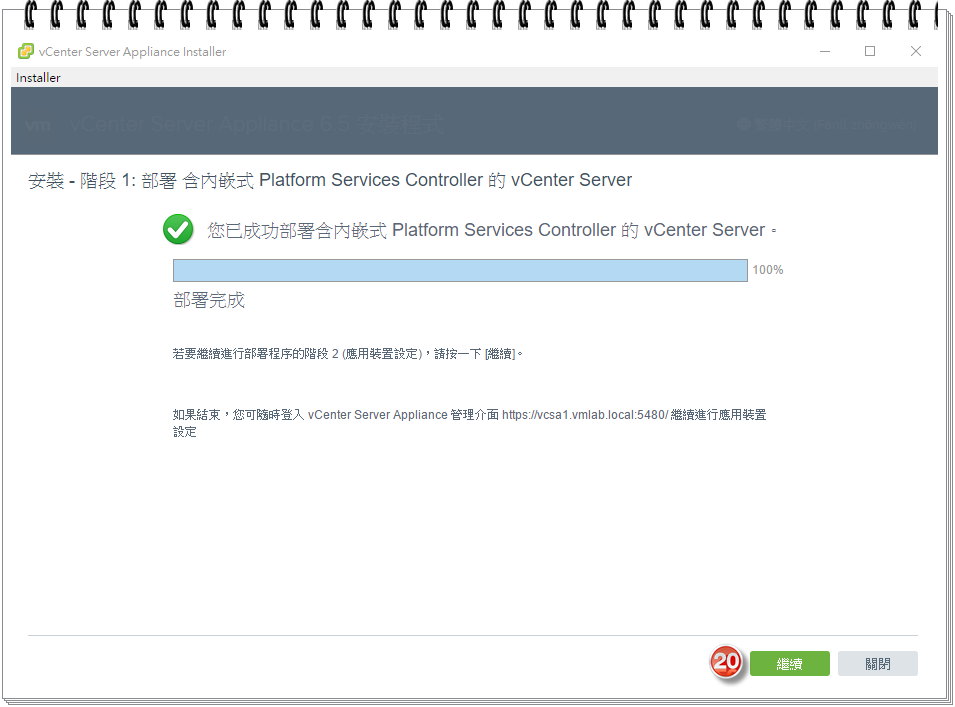
20.經過一小段時間,部署完成。
請按 [繼續],進行第二階段新VCSA6.5應用裝置的設定。
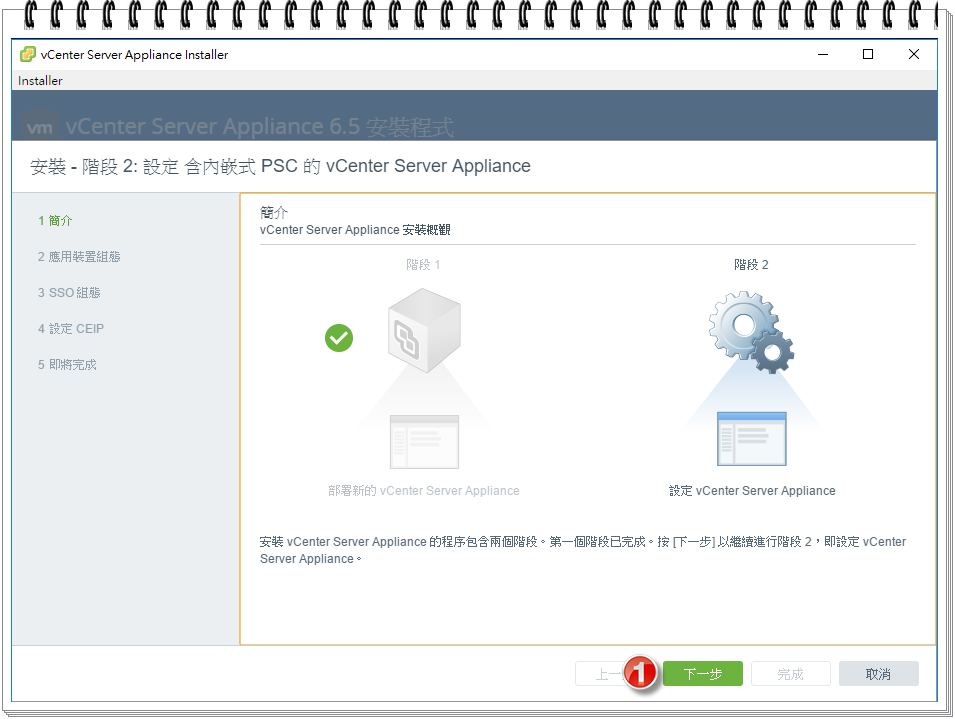
第二階段:vCenter Server Appliance 6.5應用裝置的設定
1.簡介 vCenter Server Appliance 安裝概觀
請按 [下一步],繼續進行安裝。
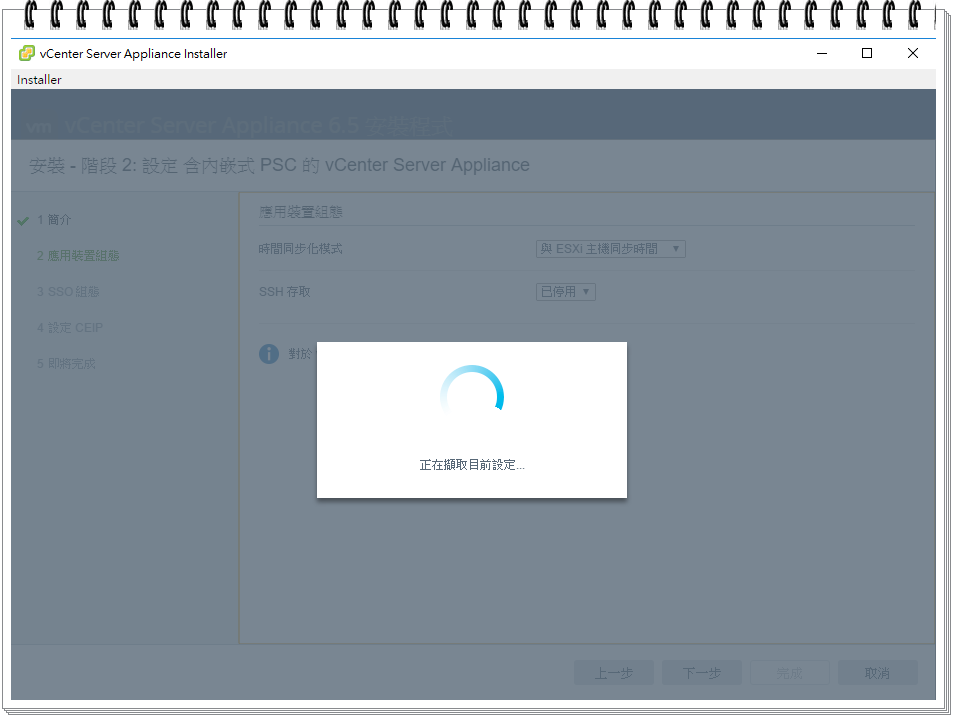
擷取目前系統設定中,請稍後...
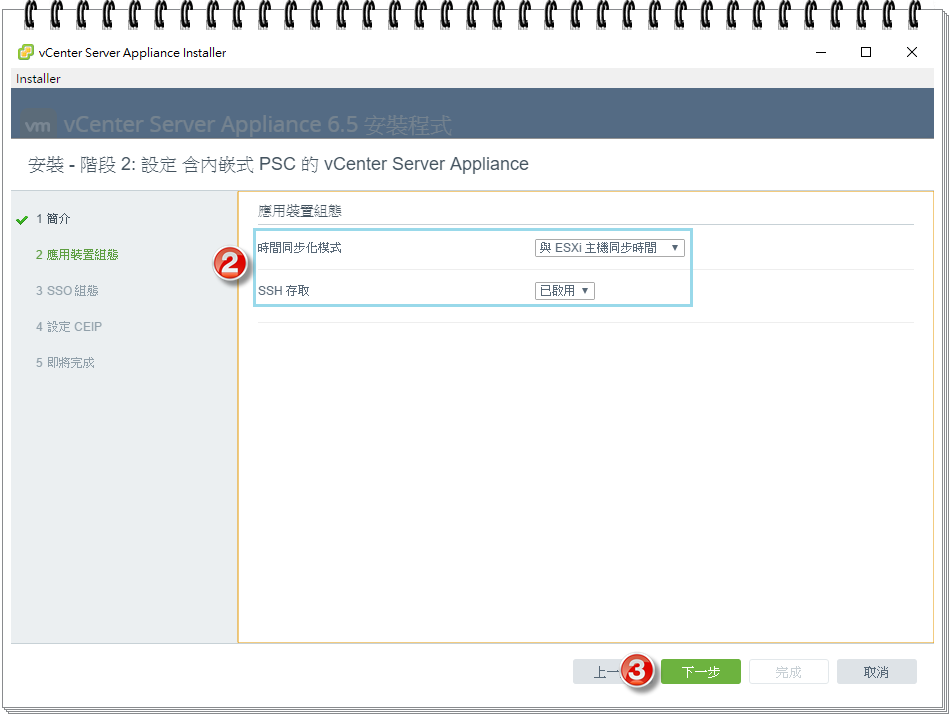
2.設定新VCSA 6.5應用裝置組態:
時間同步化模式: (如未連接對外網路,可設定與ESXi6.5同步時間)
SSH 存取:選擇是否啟用 (架設vCenter Server High Availability需啟用SSH存取)
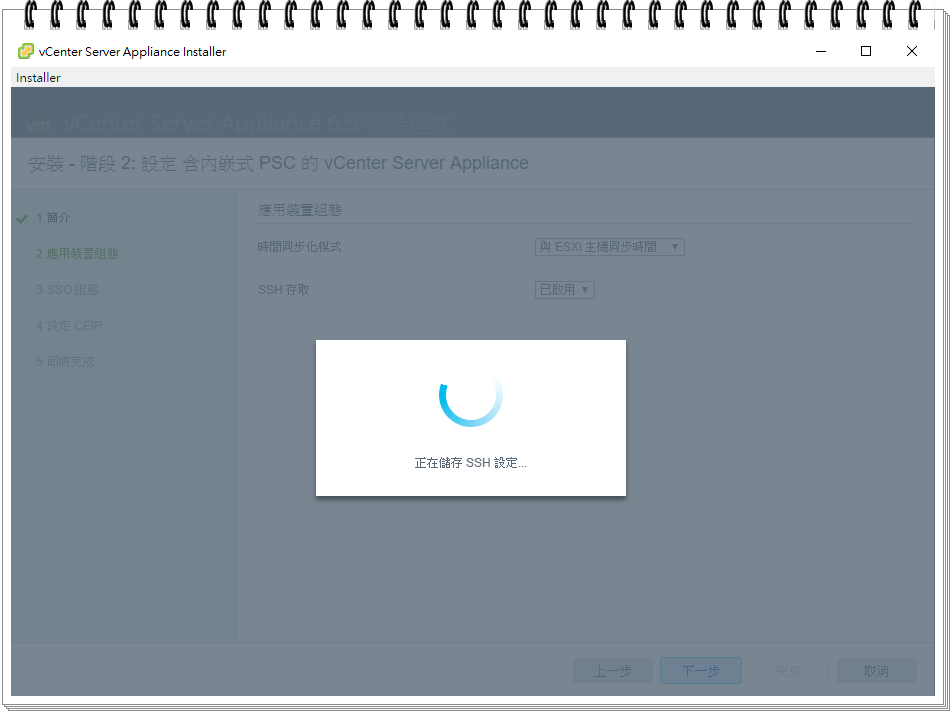
3.請按 [下一步],繼續進行安裝。
如果ESXi 6.5網路對外有連接,可設定與外部NTP伺服器時間同步。

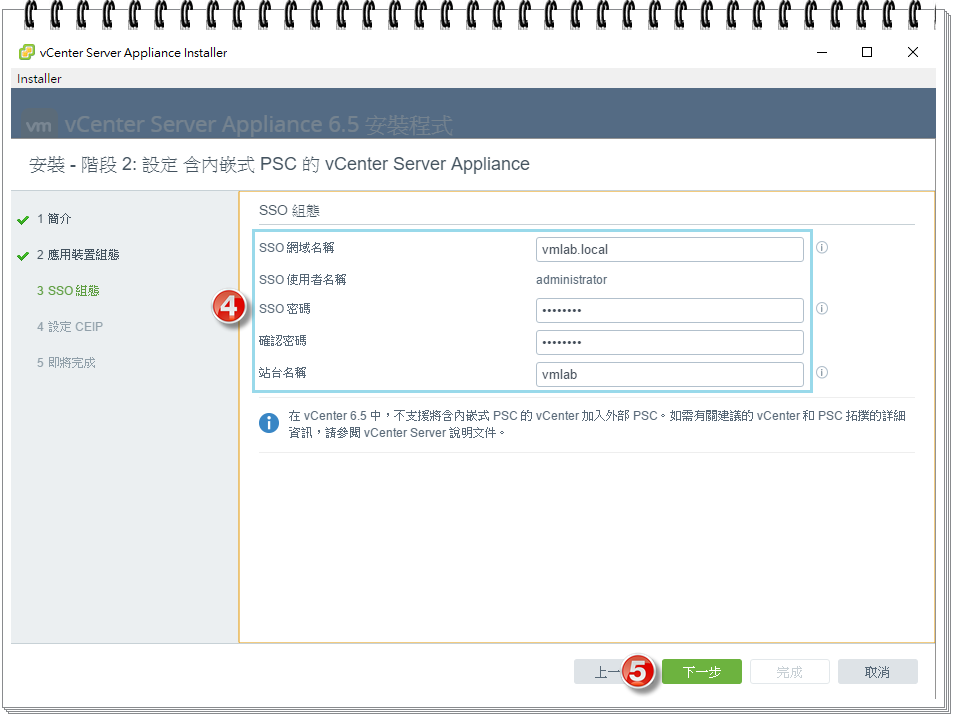
4.設定SSO組態(vCenter Single Sign On單一簽入系統)
SSO 網域名稱:
SSO 使用者名稱:(預設為 administrator)
SSO 密碼:
確認密碼:
站台名稱:
5.請按 [下一步],繼續進行安裝。
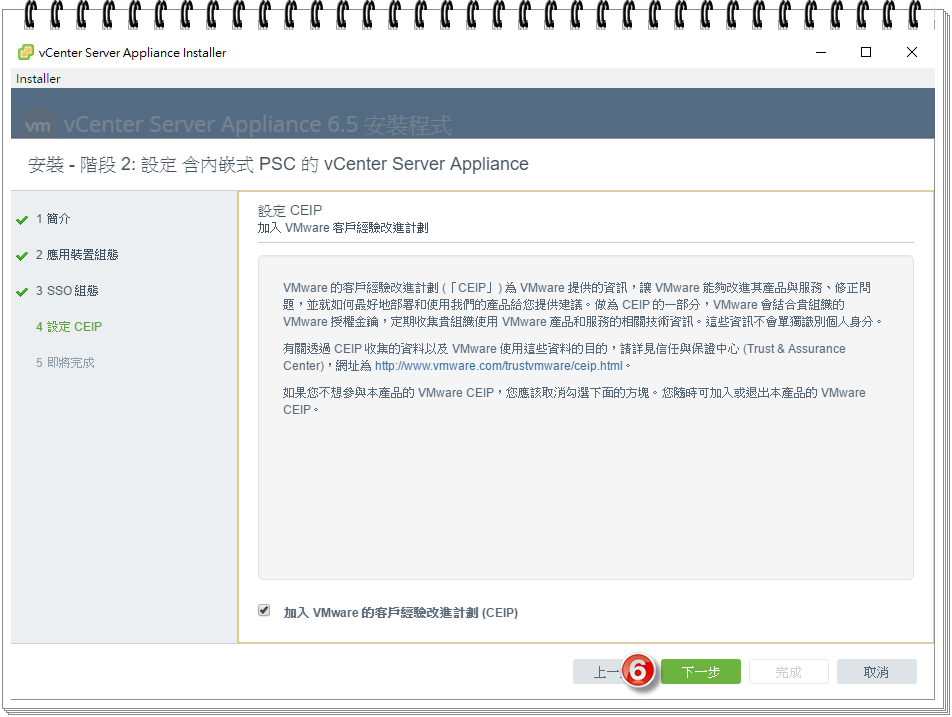
6.設定 CEIP-請選擇是否加入 VMware 客戶經驗改進計劃
按 [下一步],繼續進行安裝。
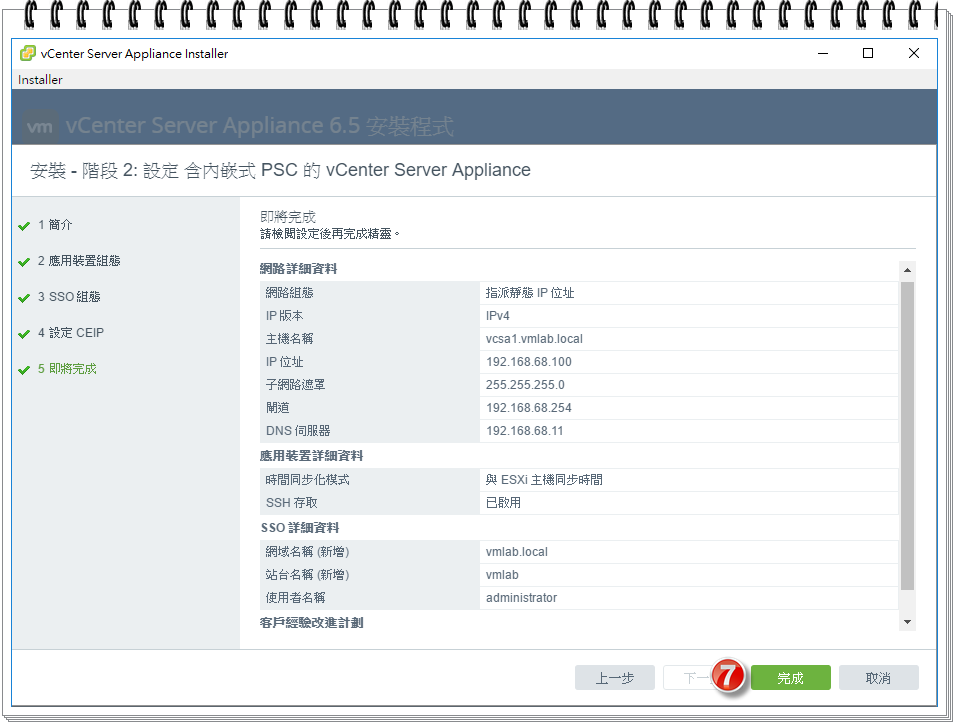
7.即將完成-請檢閱設定後沒問題再按:完成
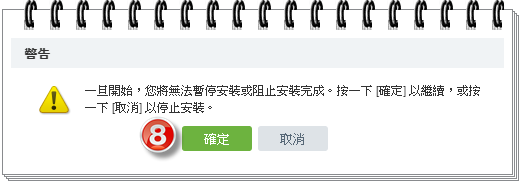
8.警告一旦開始您將無法暫停安裝或阻止安裝完成,
沒有問題時,按 [確定],正式進行安裝。
9.最後安裝設定很快,請稍後...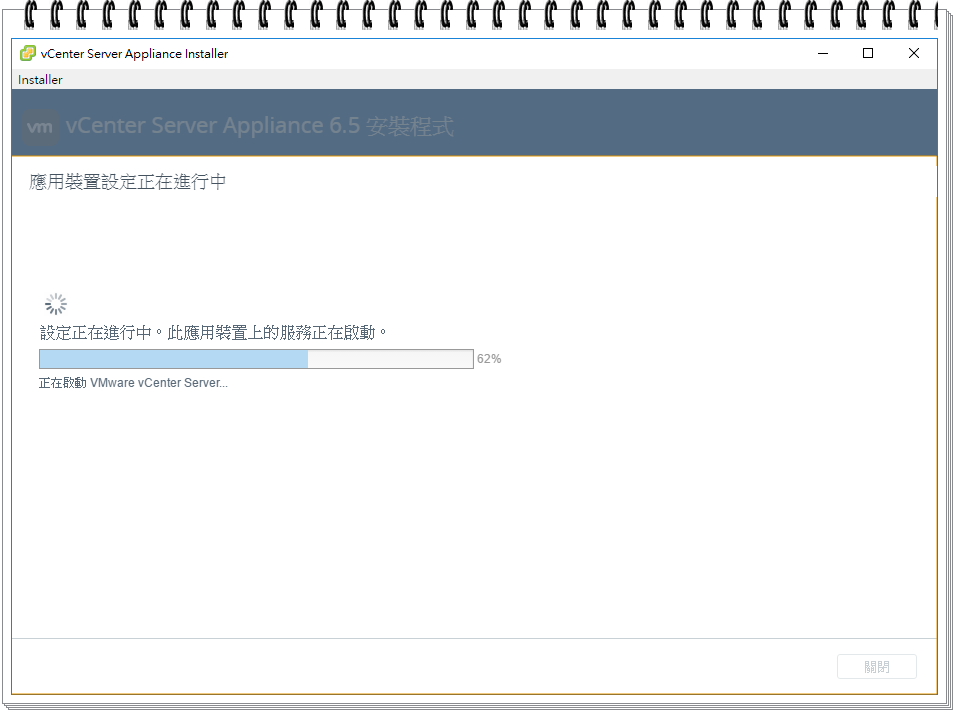
10.您已成功設定vCenter Server Appliance 6.5應用裝置。
請點選:關閉 結束設定。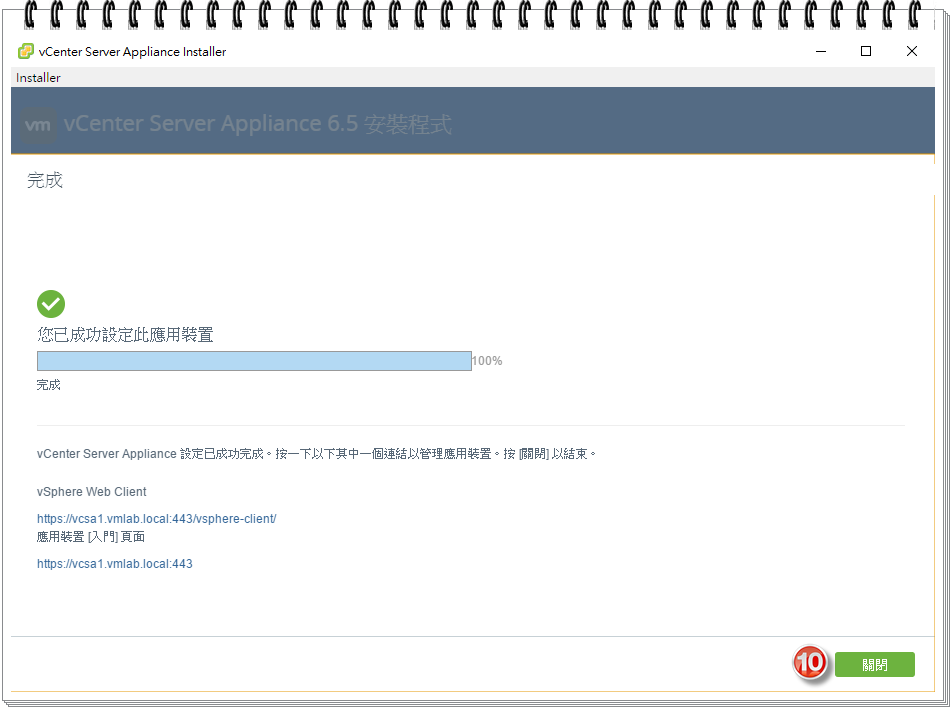
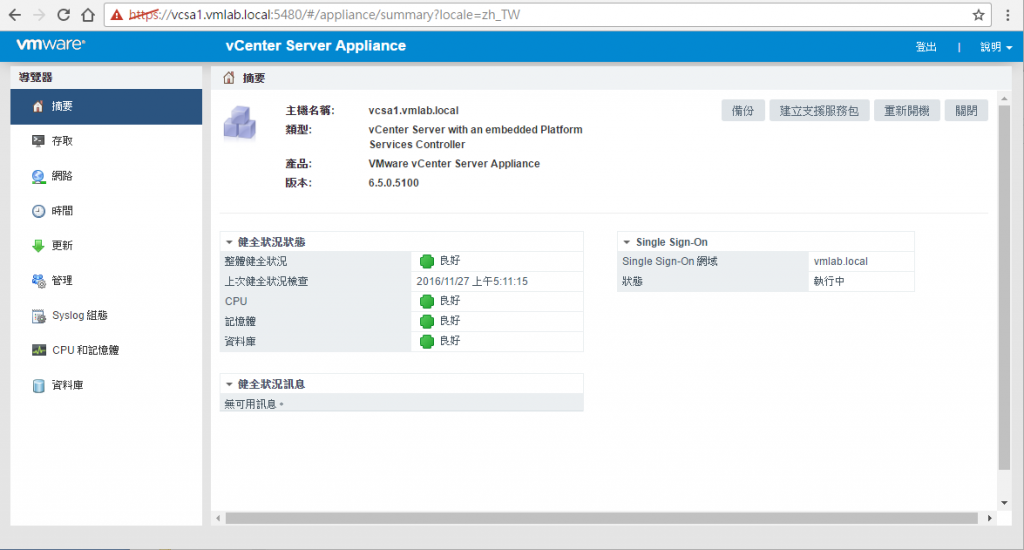
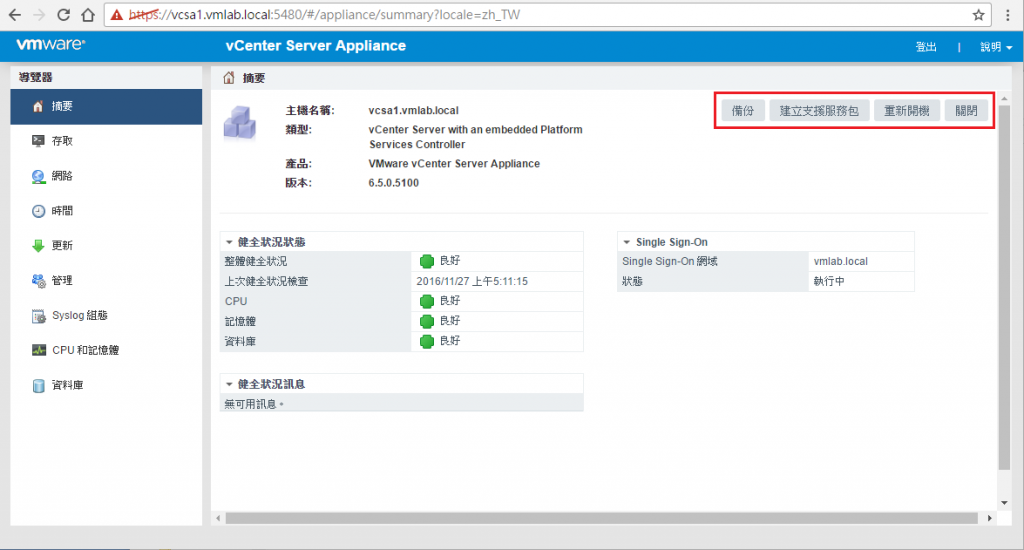
實作登入新版VMware vSphere Appliance 6.5 Management管理維護VCSA系統:
請開啟瀏覽器輸入:https://FQDN or IP Address:5480
帳號:root
密碼:
請按:登入

登入VMware vSphere Appliance 6.5 Management之後,
如需正常開關機VMware vSphere Appliance 6.5系統,請點畫面右上角功能選單:
1.重新開機
2.關閉 (關機VMware vSphere Appliance 6.5系統)
下一章節再來介紹新版VMware vSphere Appliance 6.5 Management操作說明。
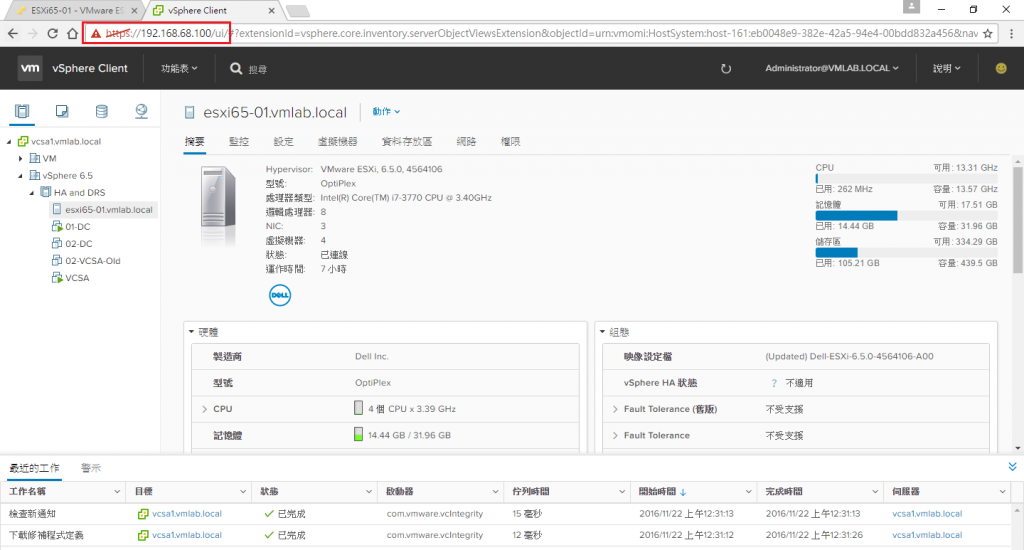
如需登入新HTML5-based vSphere Web Client 新網頁管理介面
請開啟瀏覽器輸入:https://FQDN or IP Address/ui
輸入使用者名稱: 預設為 administrator@xxxx.xxx
請按:登入
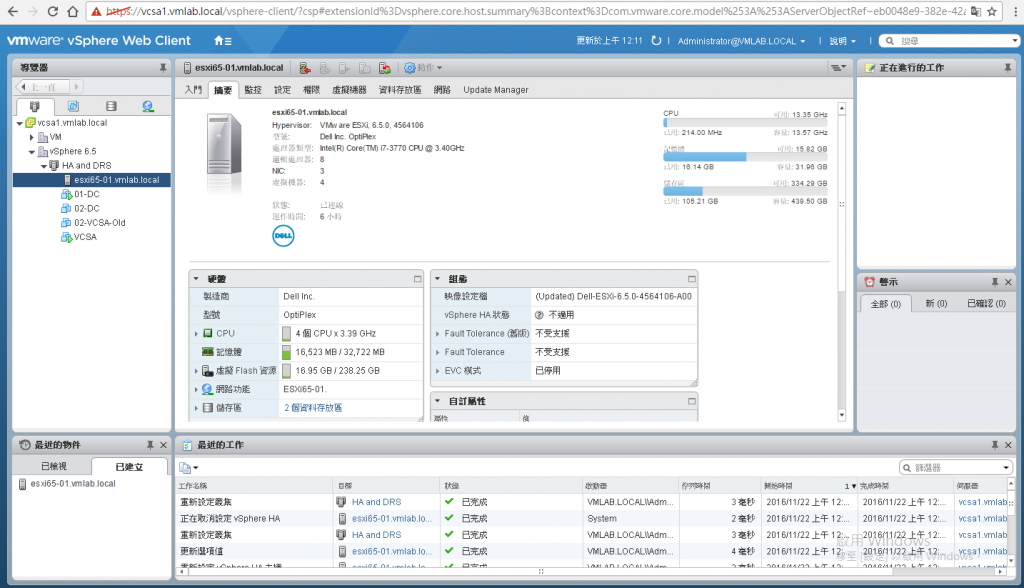
如需登入原完整版 vCenter Web Client 6.5 介面(需要Adobe Flash Player )
開啟瀏覽器請輸入:https://FQDN or IP Address/vsphere-client/
本文完整章節發佈於:Lab-VM Testing Blogger
透過上述方式升級之後web可正常登入
但使用舊的VMware vSphere Client 出現下列錯誤該如何處理?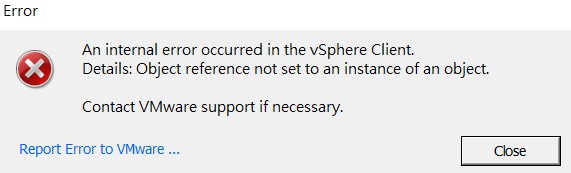
新版VMware vCenter Server Appliance 6.5建議透過vCenter Web Client 6.5介面登入操作完整系統功能。
開啟瀏覽器請輸入https:// FQDN or IP Address:443/vsphere-client/
你好,最近用win 10環境安裝vcenter環境,已成功安裝完成,請問開啟vcenter時,也需要把win 10環境開啟嗎?
當透過Windows 10成功部署vCenter Server到ESXi Host主機後,即可在瀏覽器輸入vCenter Server IP位址、登入vSphere Client操作使用vCenter Server操作系統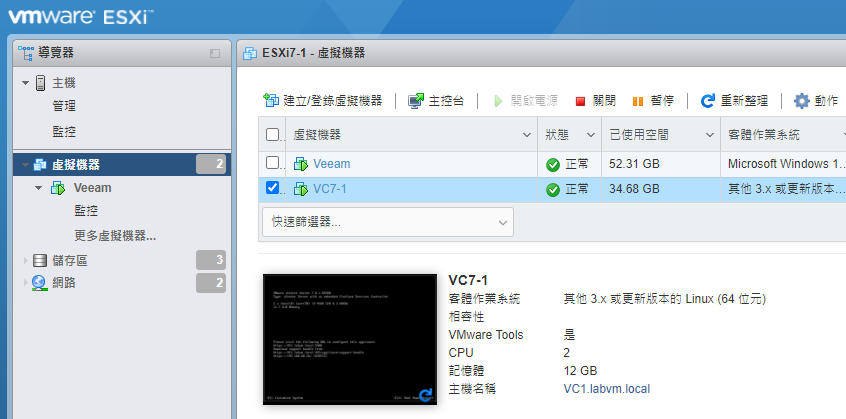
 max6886

 iThome鐵人賽