發送FCM推播有以下幾種方式:
今天我們主要來介紹第三種方式的運用。
開發電腦:MAC
開發工具:Eclipse
測試工具:GCM Notifications(Chrome Plugin)
Step 1.因為我們主要是介紹如何運用Firebase Admin SDK發送Notification,所以我們可以先下載Google寫好的GCM Notifications接收推播,取代Android實作的部分。首先可以到GCM Notifications的GitHub點選下載壓縮檔。
Step 2.接著在Chrome的擴充功能載入未封裝項目,並選取剛剛下載下來的壓縮檔裡面的一個範例資料夾(\chrome-app-samples-master\samples\gcm-notifications)。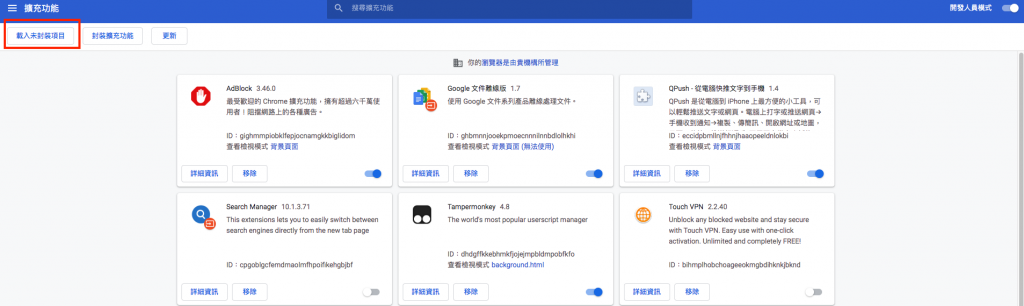
Step 1.接著我們到Firebase Console,並新增專案。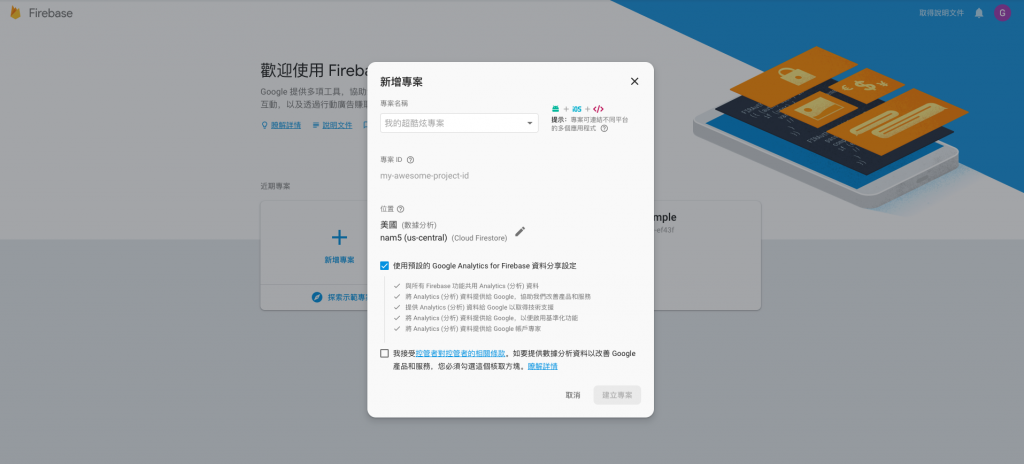
Step 2.新增後點選左上角的齒輪,並進入專案設定,可以看到我們的專案已經產生了伺服器金鑰。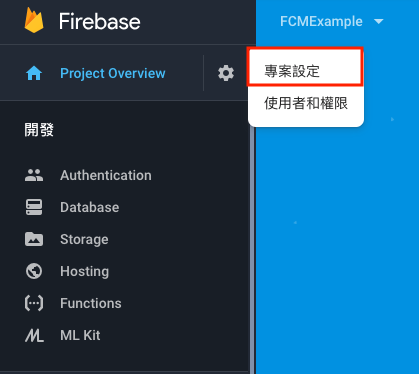
Step 4.可以看到我們專案的伺服器金鑰以及寄件者ID(Sender ID)。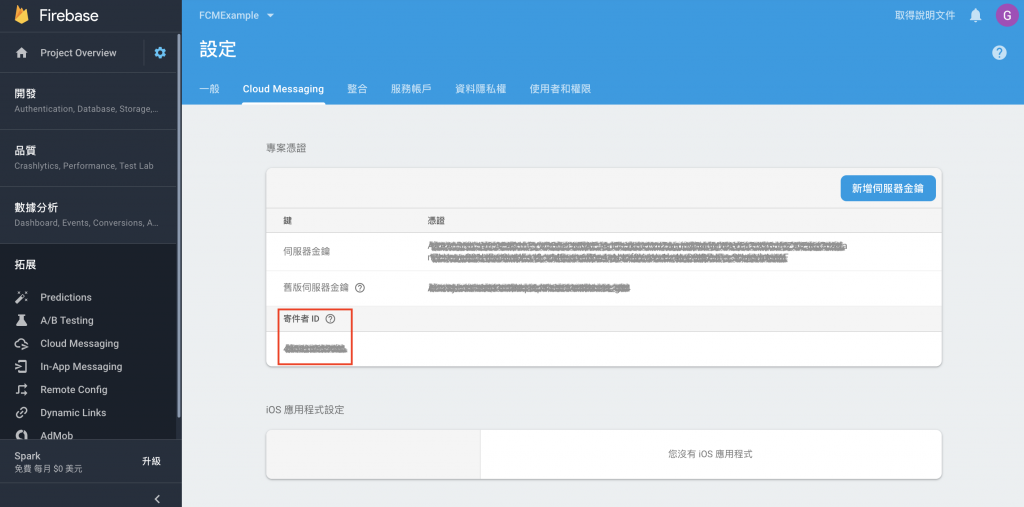
Step 5.我們把寄件者ID貼到剛剛裝的GCM Notifications Chrome Plugin,並點選「Register」,便產生我們等等推播需要的Push Token。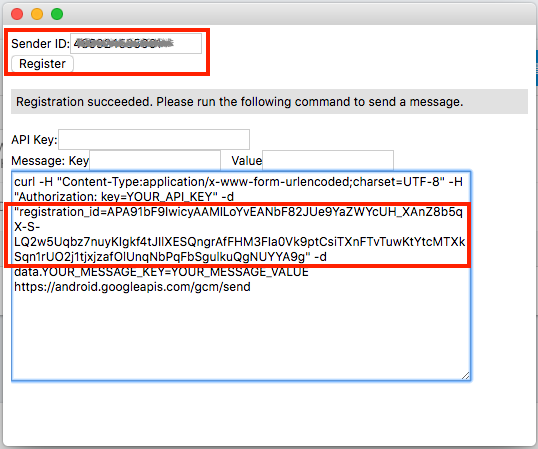
Step 6.接著點選服務帳戶的tab,並將程式碼片段設定為Java,並點選產生新的私密金鑰,便會下載金鑰的json檔,我們等等將會在專案中引入這個金鑰json檔來發送推播。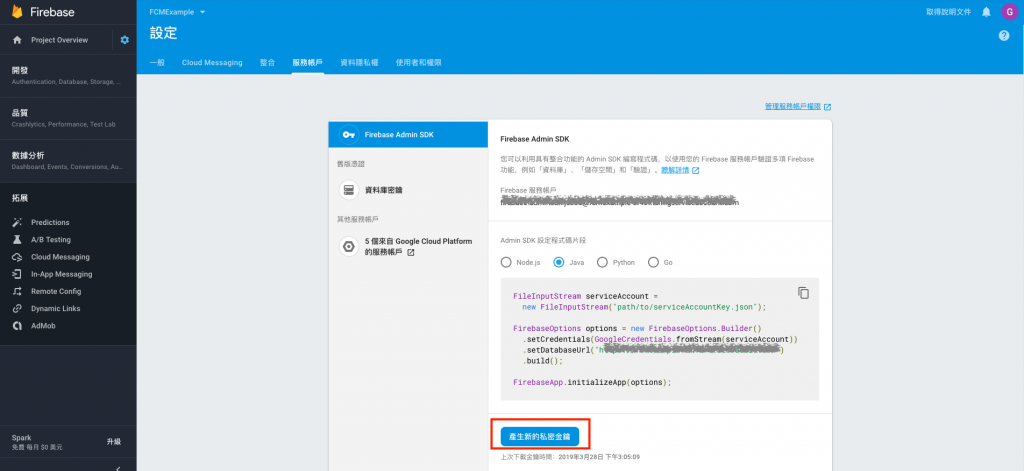
Step 1.我們在程式中放上剛剛下載的剛剛下載的金鑰json檔路徑,
FileInputStream serviceAccount = null;
try {
    serviceAccount = new FileInputStream("剛剛下載的金鑰json檔路徑");
} catch (FileNotFoundException e) {
    e.printStackTrace();
}

FirebaseOptions options = null;

try {
    options = new FirebaseOptions.Builder()
        .setCredentials(GoogleCredentials.fromStream(serviceAccount))
        .setDatabaseUrl("https://<Datebase.Domain>.firebaseio.com")
        .build();
} catch (IOException e) {
    e.printStackTrace();
}

FirebaseApp.initializeApp(options);

String registrationToken = "你要推播裝置的push token";
Message message = Message.builder()
    .putData("title", "運用Firebase Admin SDK發送Notification")
    .putData("author", "Greg")
    .setToken(registrationToken)
    .build();
String response = null;
try {
    response = FirebaseMessaging.getInstance().send(message);
} catch (FirebaseMessagingException e) {
    e.printStackTrace();
}
System.out.println("Successfully sent message: " + response);
Step 2.我們就可以看到瀏覽器跳出了收到推播的通知,而內容便是我們在程式中putData的資料。
這次的練習是在我們已經知道我們要推播裝置的push token,並且直接在我們的程式中推播到指定的裝置,但如果在實務上要這樣一個一個裝置推播的話想必是很不方便,所以Firebase也還有提供其他不同的推播方式,像是我們可以推播給所有下載這個App的使用者,或是我們也可以設定主題(Topic),並且只推播給有訂閱這個主題的使用者,
 inway0407

 iThome鐵人賽