-
至官網下載最新版Apache Solr

-
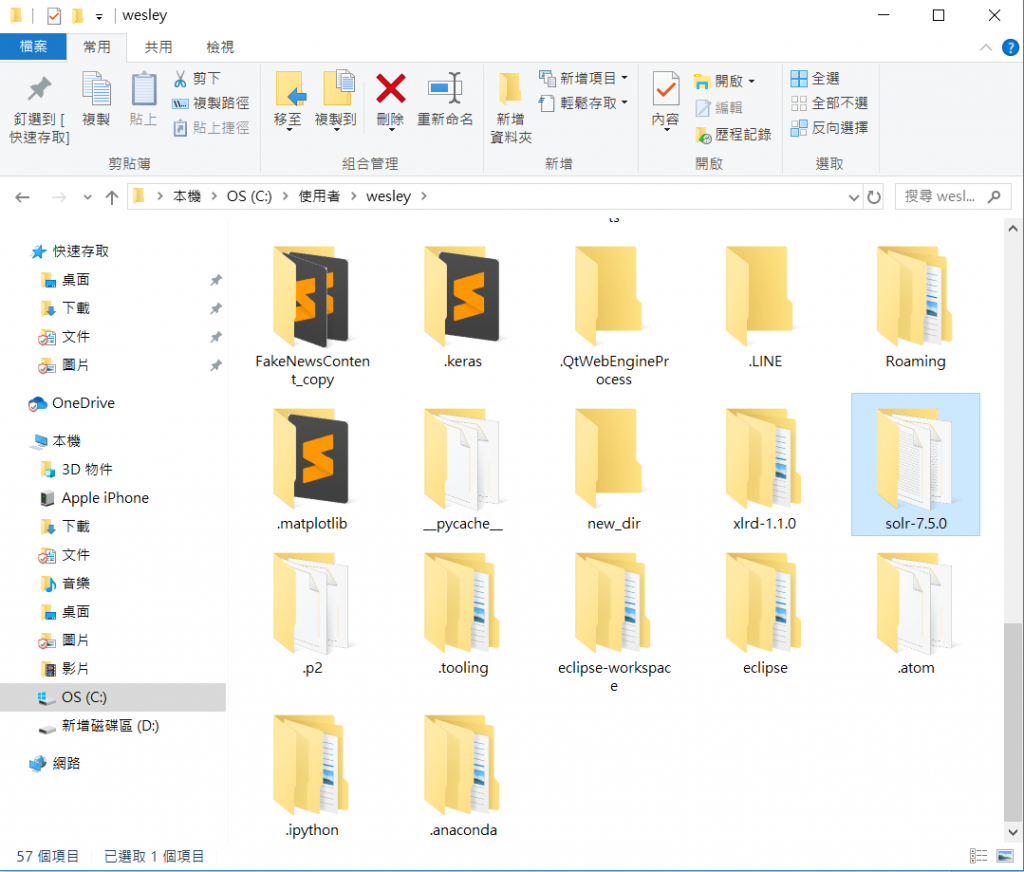
將Solr放在C:\user\wesley中
-
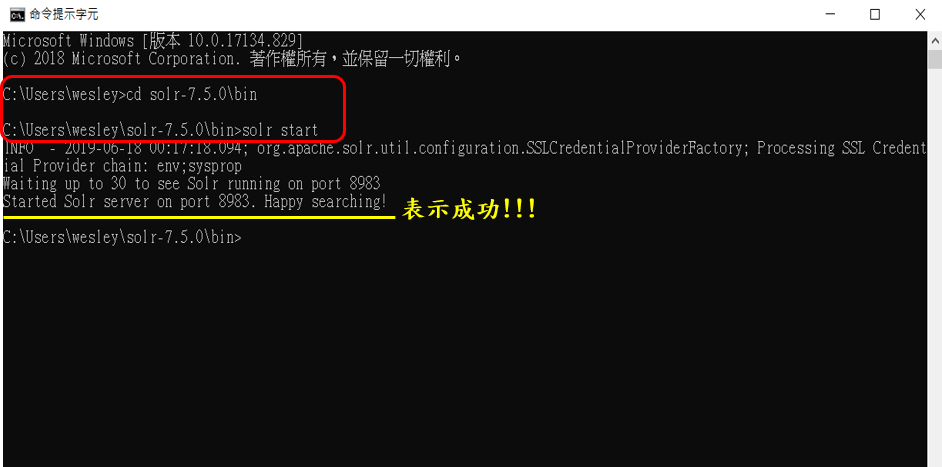
啟動Solr
- 到windows下方的功能表開啟”搜尋”
- 輸入”cmd”,並將其開啟
- cd solr-7.5.0\bin \將位置指向solr的bin目錄中
- solr start \啟動solr
-
新增資料夾
原先已有預設一個資料夾(mycore),若想存放不同用途之data,則需要創建一個新資料夾。
- 在cmd中輸入:solr create -c xxx
(底線部分為新資料夾名稱,我命名為fincore)
-
匯入資料前,需執行步驟 (加入新code到managed-schema中):
我的managed-schema路徑:C:\Users\wesley\solr-7.5.0\server\solr
\fincore(資料夾名稱)\conf
- 以我的資料為例:有id、company、content……多個欄位。
- 每一個欄位都需要輸入一行code,ex: < field name = ”company” type = ”text_general” />
- 將檔案儲存,並重新啟動Solr。
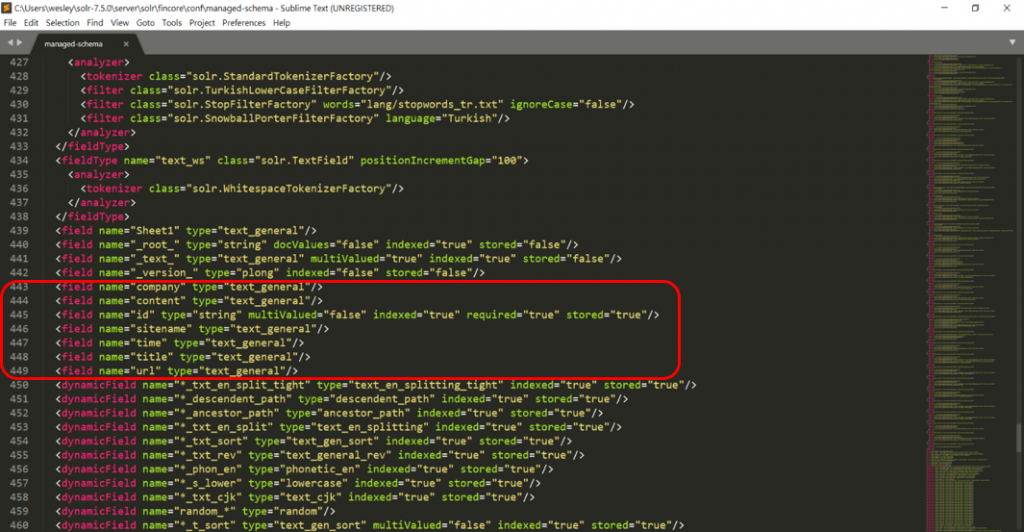
▲managed-schema 程式碼
-
至網頁(chrome或IE) 輸入 http://localhost:8983/solr/
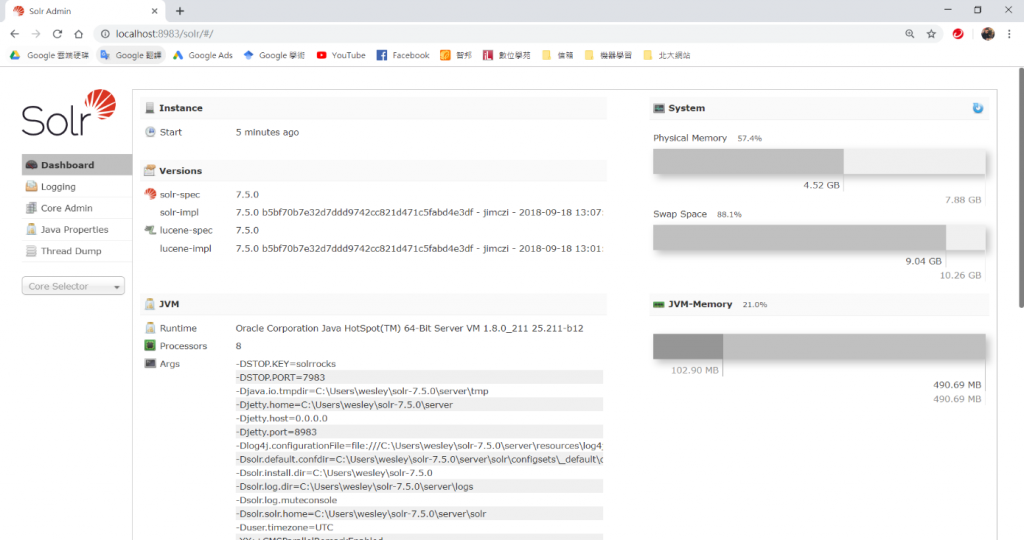
▲網頁Solr介面
-
選擇資料夾
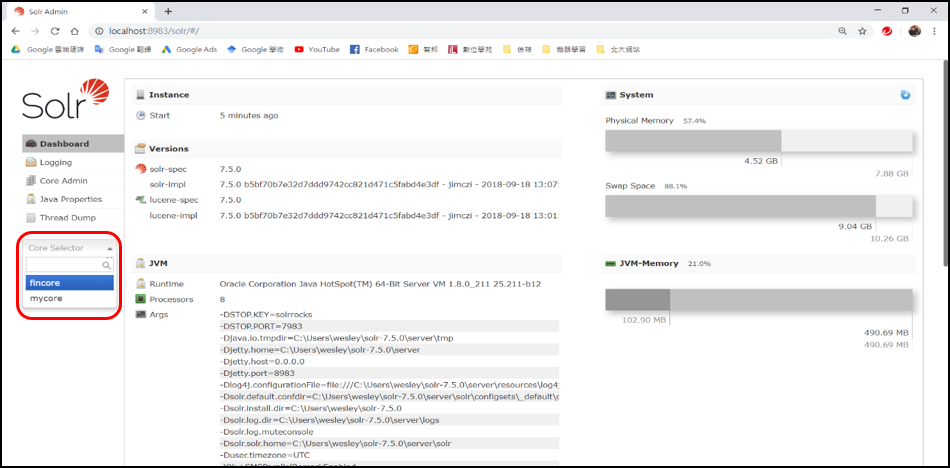
▲選擇fincore資料夾
3.點選Documents,並匯入資料
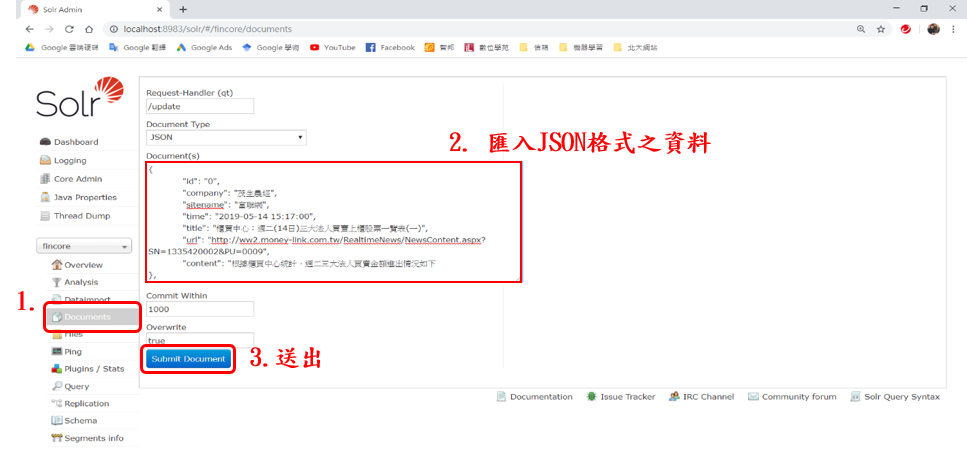
▲匯入資料
-
至query即可有無成功上傳確認資料

 wesley41616

 iThome鐵人賽