故兵無常勢,水無常形;能因敵變化而取勝,謂之神。
在這回中,我們介紹如何使用路由參數(routing parameters), 這包含
要設定路由參數很簡單,就是關鍵字前面加冒號就是參數,不加冒號就是固定字元。例如:/hello/:name 中的 hello 是固定字元,:name 是路由參數。
要取用路由參數值的編程如下,
import { Router, ActivatedRoute, ParamMap } from '@angular/router';
...
export class HelloNameComponent implements OnInit {
  ...
  name = '(unknown)';
  ngOnInit() {
    this.name = this.route.snapshot.paramMap.get('name');
  }
}
注意到,name = '(unknown)';宣告了物件成員 name, 大家可以比對上回中的 title / who 成員,在這裡,name 必須在 ngOnInit() 中被賦值,不能在函數成員宣告中直接賦值,這是因為 title / who 是直接賦予固定值,而 name 在賦值之前,Angular 必須先作一些佈置。
3. 在 hello-name.component.html 中則以 {{ name }} 來叫用。
綜合以上三個步驟,我們可以說:
本例中,有三個元件: hello-name, hello 及 other, 完成的 app-routing.module.ts 如下:(新增加 other 元件)
import { NgModule } from '@angular/core';
import { Routes, RouterModule } from '@angular/router';
import { HelloNameComponent } from './hello-name/hello-name.component';
import { HelloComponent } from './hello/hello.component';
import { OtherComponent } from './other/other.component';

const routes: Routes = [
  {path: 'hello/:name', component: HelloNameComponent },
  {path: 'hello', component: HelloComponent},
  {path: '**', component: OtherComponent}
];

@NgModule({
  imports: [RouterModule.forRoot(routes)],
  exports: [RouterModule]
})
export class AppRoutingModule { }
注意到我們路由比對(Routes)中,先比對有兩個關鍵字的 /hello/:name, 再比對一個關鍵字的 /hello,最後都交給通配字元(wildcase, **) 來處理。按前後次序比對。
我們也修改了 hello-name.component.html 及(之前的) hello.component.html
src\app\hello-name\hello-name.component.html
<p>Nice to meet you, <span style="color: #1100ff">{{ name }}</span>!</p>
src\app\hello\hello.comonent.html
<p>Nice to see you, my friend!</p>
另外,我們也增加了 src\app\other\other.component.html
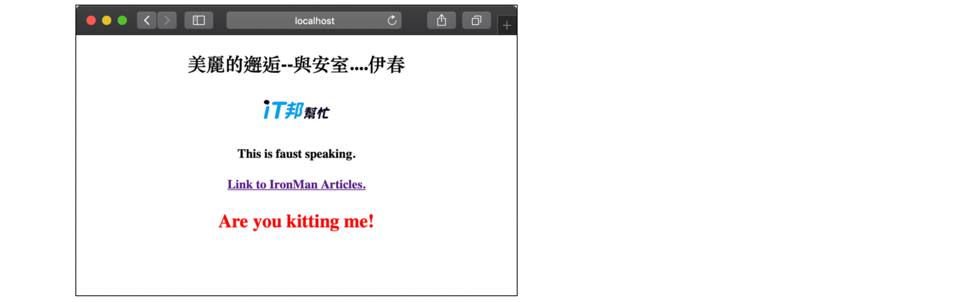
<p>Are you kitting me?</p>
在 hello-name.component.html 中,有取用路由參數,所以我們看一下 hello-name.component.ts
import { Component, OnInit } from '@angular/core';
import { Router, ActivatedRoute, ParamMap } from '@angular/router';

@Component({
  selector: 'app-hello-name',
  templateUrl: './hello-name.component.html',
  styleUrls: ['./hello-name.component.css']
})
export class HelloNameComponent implements OnInit {

  constructor(private route: ActivatedRoute ) { }

  name = '(unknown)';
  ngOnInit() {
    this.name = this.route.snapshot.paramMap.get('name');
  }

}
在編修時,若是語法有錯,VS. Code 都會提示,很方便。修改完後儲存,系統會自動編譯,呈現結果。
我們注意到 @Comonent 中有內容三行,
<router-outlent></router-outlent>之中。最後,我們希望錯誤的時候,以紅色顯示,這樣 CSS 就可以派上用場,other.component.css 就是用以修飾 app.component.html,CSS 可以視作化娤師,經過了他的手,人(html)的樣子(只是 “樣子”)就變了,例如我們修改 other.component.css 為
p {
  color:red;
}
第一行的p, 表示是約定標簽(tag) <p> 的顯示方式,CSS 的水也有相當的深度,易學難精,同時,他也有繼承的關係,例如 other.commponent 就繼承自 app.component, 子代的設定會受父代設定的影響。在下一回中,我們會多介紹一些,這四行也可以寫成一行:
p{color: red;}
若是要省一個 CSS 檔 (為什麼?其實沒有這個必要,但如果你想要的話),可以修改 other.component.ts 中的 @Component
@Component({
  selector: 'app-other',
  templateUrl: './other.component.html',
  styles: ['p{ color: red; }']
})
注意,styleUrls 要改成 styles, 同時,修改 other.component.css 就不會影響排版/顯示的結果了。結果如下:(例如詢問 localhost:4200/)