接下來到該篇章最後一個小節,讓我們把剩下的新增、修改、刪除都做好吧!
這是接續前兩天的實作,如果不太清楚的話記得複習一下前兩天
新增文章對於 RESTFul API 的概念來說,他是一種POST,對於網址來說以 Article 為例則是http://127.0.0.1:8000/article,然而,這個網址其實正也是index的網站(不過他是用GET的方法)....但是,我們要怎麼傳要新增的資料呢?怎麼辦?
因此對於 Laravel 來說,他在網址後面也增加了一個關鍵字:create作為識別,以告訴瀏覽器,這是一個創建文章的頁面,不是列表 index 的頁面喔,然後用 form POST 的方式,將新增文章建立好。同理其實與修改文章的模式一樣,C 和 U 有兩個頁面,C 對應到 create()和 store(),而 U 對應到 edit()和 update()
之前我們說到 CRUD,而 C 就對應到 controller 的 create()和 store()
只是傳一個頁面,和 Show()很像,傳一個 view 給他就好
    public function create()
    {
        return view('articles.create');
    }
別忘了我們要做一個articles/create.blade.php喔,如下
@extends('layouts.layout')

@section('content')
<h1 class="font-bold">新增文章</h1>
<form class="bg-white shadow-md rounded px-8 pt-6 pb-8 mb-4" action="{{ route('article.store')}}" method="post">
    @csrf
    <div class="mb-4">
        <label class="block text-gray-700 text-sm font-bold mb-2" for="title"">
            標題
        </label>
        <input class=" shadow appearance-none border rounded w-full py-2 px-3 text-gray-700 leading-tight
            focus:outline-none focus:shadow-outline" type=" text" name="title" id="title">
    </div>
    <div class="mb-4">
        <label class="block text-gray-700 text-sm font-bold mb-2" for="content">
            內容
        </label>
        <textarea
            class="shadow appearance-none border rounded w-full py-2 px-3 text-gray-700 leading-tight focus:outline-none focus:shadow-outline"
            name="content" id="content" cols="30" rows="10"></textarea>
    </div>
    <button
        class="bg-blue-500 hover:bg-blue-700 text-white font-bold py-2 px-4 rounded focus:outline-none focus:shadow-outline"
        type="submit">新增</button>
</form>

@endsection
PS.tailwindcss 的麻煩之處就是他的 class 名稱會變得好長好長 XD
在php artisan serve
接下來你進入http://127.0.0.1:8000/article/create就可以看到我們要的新增文章表單囉~
當表單送出去後,就會到這個store的 function,之前第二天 MVC 有談到,如果不知道的可以到這裡:來談什麼是 MVC
結論就是如同我們現在所實作的這樣,View 不可能直接對M odel 作用,而需要透過表單傳送給 Controller 來對 Model 做調整。
所以Store()這個部分承接了表單傳過來的資料、對 Model 作用且要導向頁面...所以我們的 store 可以這麼寫
    public function store(Request $request)
    {
        $title = $request->title;
        $content = $request->content;

        $article = new Article();
        $article->title = $title;
        $article->content = $content;
        $article->save();

        return redirect(route('article.index'));
    }
之後我們在新增頁面新增完資料就會回到列表頁囉,而在列表頁裡面也就有我們新增的一筆新文章。
save() 這個 function 就可以幫助我們對資料庫寫入資料修改文章的部分其實和新增文章很相似,
U 就對應到 controller 的 edit()和 update()
只是比較特別的是 HTTP 裡面只有 GET 和 POST 的方法,如何實現 PUT/PATCH 呢?
我現在先把程式碼範例放上來,如果需要說明的會再做更多說明~
和 Create 一樣簡單,就是回傳一個可以讓我們更新的頁面而已,不過我們也要把準備要被修改的資料一起傳到 blade 給他喔,所以在後面增加了withArticle。
    public function edit(Article $article)
    {
        return view('articles.edit')->withArticle($article);
    }
而edit.blade.php和Create.blade.php非常像,其實我們只要把$article 的值填入表單,另外使用@method('PUT'),將 form 的 action 改為route('article.update',$article->id)就好了啊
@extends('layouts.layout')

@section('content')
<h1 class="font-bold">編輯文章</h1>
<form class="bg-white shadow-md rounded px-8 pt-6 pb-8 mb-4" action="{{ route('article.update',$article->id)}}"
    method="post">
    @csrf
    @method('PUT')
    <div class="mb-4">
        <label class="block text-gray-700 text-sm font-bold mb-2" for="title"">
            標題
        </label>
        <input class=" shadow appearance-none border rounded w-full py-2 px-3 text-gray-700 leading-tight
            focus:outline-none focus:shadow-outline" type=" text" name="title" id="title" value={{ $article->title }}>
    </div>
    <div class="mb-4">
        <label class="block text-gray-700 text-sm font-bold mb-2" for="content">
            內容
        </label>
        <textarea
            class="shadow appearance-none border rounded w-full py-2 px-3 text-gray-700 leading-tight focus:outline-none focus:shadow-outline"
            name="content" id="content" cols="30" rows="10">{{ $article->content }}</textarea>
    </div>
    <button
        class="bg-blue-500 hover:bg-blue-700 text-white font-bold py-2 px-4 rounded focus:outline-none focus:shadow-outline"
        type="submit">更新</button>
</form>


@endsection
接下來就到http://127.0.0.1:8000/article/1/edit就看到可以修改的頁面囉~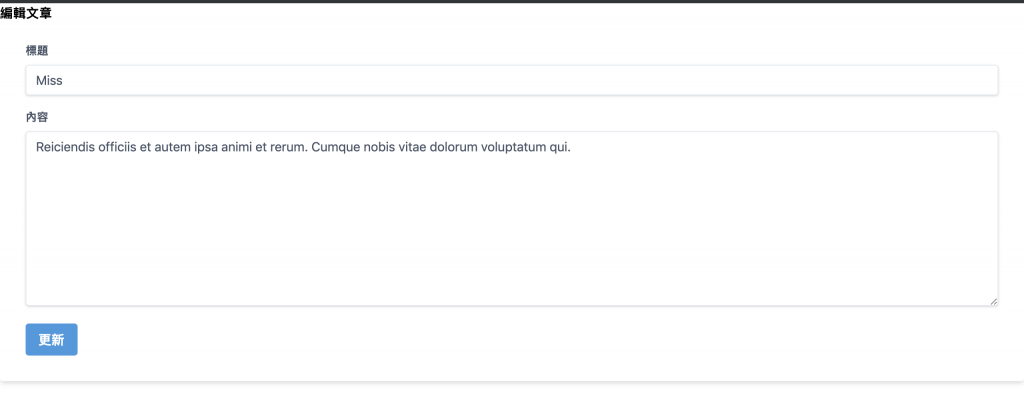
接下來讓我們寫一下修改文章的邏輯吧! 其實也是和store()類似,只是不需要 new 出一個新的 article 了,我們直接對他操作就好了喔
    public function update(Request $request, Article $article)
    {
        $title = $request->title;
        $content = $request->content;

        $article->title = $title;
        $article->content = $content;
        $article->save();

        return redirect(route('article.index'));
    }
接下來送出更新的表單就很快看到列表上的文章被更新啦~ 撒花~~~
終於來到最後的刪除文章,對於 Controller 來說他就是destroy()這個方法,從 RESTFul API 讀到它就是使用Delete方法,剛剛我們從edit.blade.php得知我們可以使用@method()這個部分,但這個通常要加入一個POST表單一起才會生效,所以讓我們修改一下文章列表的部分~
原本的在index.blade.php刪除按鈕的部分:
<a href="{{ route('article.destroy',$article->id ) }}">刪除</a>
我們可以加入表單,讓他變成
<form method="POST" action="{{ route('article.destroy',$article->id ) }}">
    @csrf
    @method('delete')
    <button type="submit">刪除</button>
</form>
然後開始寫我們的刪除流程囉~
    public function destroy(Article $article)
    {
        $article->delete();
        return redirect(route('article.index'));
    }
之後你按刪除就會把你選得那一篇文章刪除了呢!
要看完成程式碼的可以參考這裡:https://github.com/r567tw/Make-PHP-Great-Again/commit/30f58366dbbcd4377bc9b0d92e231739ead5ffd5
以上就是利用 RESTFul API 所做的一個極簡單的文章管理或者部落格專案,當然,現實世界中根本不可能這麼簡單,還記得我們剛剛一直在用的@csrf嗎?那是 Laravel 其中一個 Middleware,另外我們新增與修改也不會這麼簡單,在網頁世界裡,我們要當使用者是很危險的一種生物,一定有時候會有亂寫、不符合格式之類的,所以驗證因應而生。因此,之後讓PHP再次偉大,使用Laravel將會進入一個新的章節,開始討論關於 Laravel 裡面有的深度工具與用法,記得要訂閱我喔!(雖然我不一定把握會寫得很好就是了)
另外,藉由這四篇的小專案教學也算是要綜合前幾天的所寫所學,畢竟我並不覺得自己前幾天寫得很好,希望藉由這樣的小實作可以讓你們更了解怎麼使用 Laravel,如果有疑問的歡迎在底下發問,這樣才可以成為我下一次寫技術文的養分,知道自己應該要怎麼寫會讓人更加明瞭~~