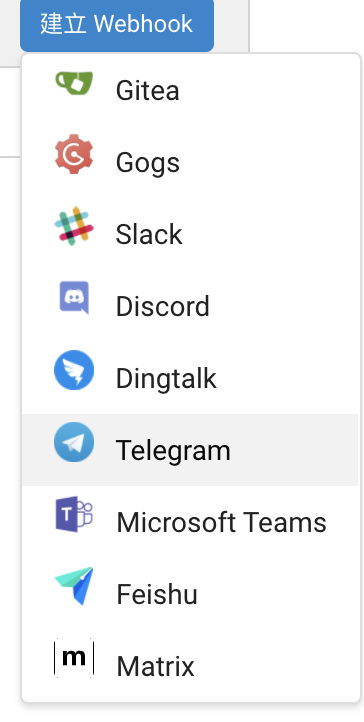
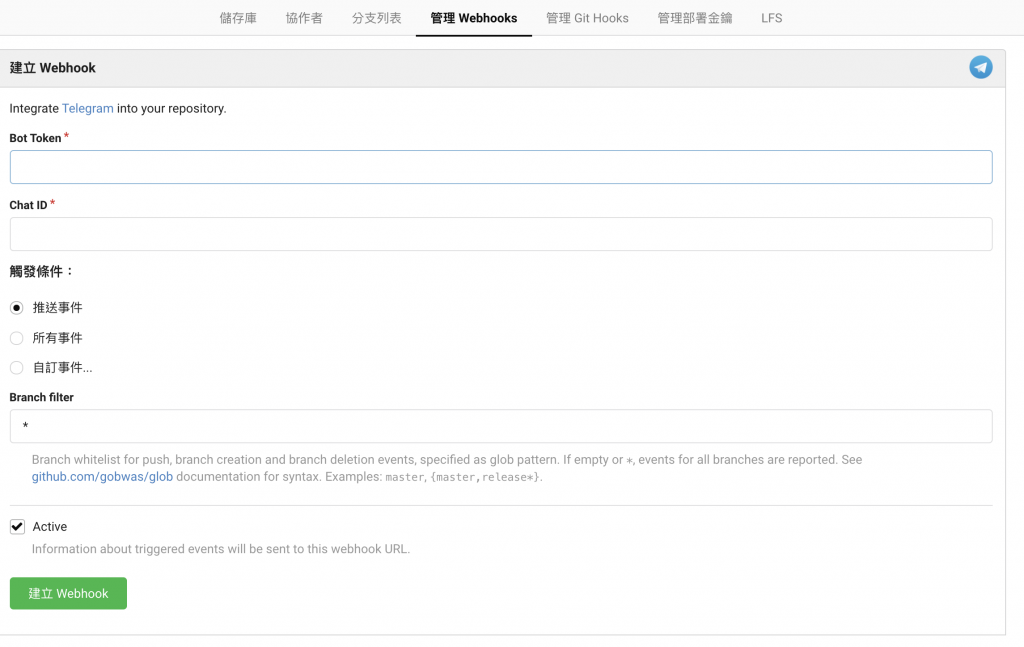
WebHook也算是在CI/CD也算是重要的環節之一,今日來帶大家如何讓Gitea觸發WebHook。
首先,WebHook是什麼?
網頁開發中的Webhook(Webhook)是一種通過自訂回呼函式來增加或更改網頁表現的方法。這些回呼可被可能與原始網站或應用相關的第三方用戶及開發者儲存、修改與管理。術語「Webhook」由傑夫·林德塞(Jeff Lindsay)於2007年通過給電腦編程術語「掛鉤」(Hook)加上字首得來。 - Wiki
那麼用我的方式來說明的話,就是網站間的連動行為。
要準備的東西為:
/newbot
#BotFather
Alright, a new bot. How are we going to call it? Please choose a name for your bot.
ithome
#BotFather
Good. Now let's choose a username for your bot. It must end in `bot`. Like this, for example: TetrisBot or tetris_bot.
ithome_bot
#BotFather
Done! Congratulations on your new bot. You will find it at t.me/ithome_bot. You can now add a description, about section and profile picture for your bot, see /help for a list of commands. By the way, when you've finished creating your cool bot, ping our Bot Support if you want a better username for it. Just make sure the bot is fully operational before you do this.

Use this token to access the HTTP API:
0000000:xxxxxxxxxx
Keep your token secure and store it safely, it can be used by anyone to control your bot.

For a description of the Bot API, see this page: https://core.telegram.org/bots/api
0000000:xxxxxxxxxx 就是你的bot token囉


如果看到有通知代表,我們已經完成Gitea telegram Webhook設定囉~
有時候會不小心把Bot Token及Chat ID填錯,所以設定完成後,請各位勢必先行測試一遍,確認整個flow是否順暢唷!![]()
那麼今天我們就完成下列流程囉
流程 : git push master branch -> gitea -> telegram bot -> telegram message alert
大家可以多多利用 Gitea的WebHook![]()
