Day3
承接昨天購買設備與創立屬於自己的AppleID後,今天將正式的踏上體驗寫IOS App的第一步啦!那首先在自己的Macbookpro 內的AppStore內搜尋 Xcode,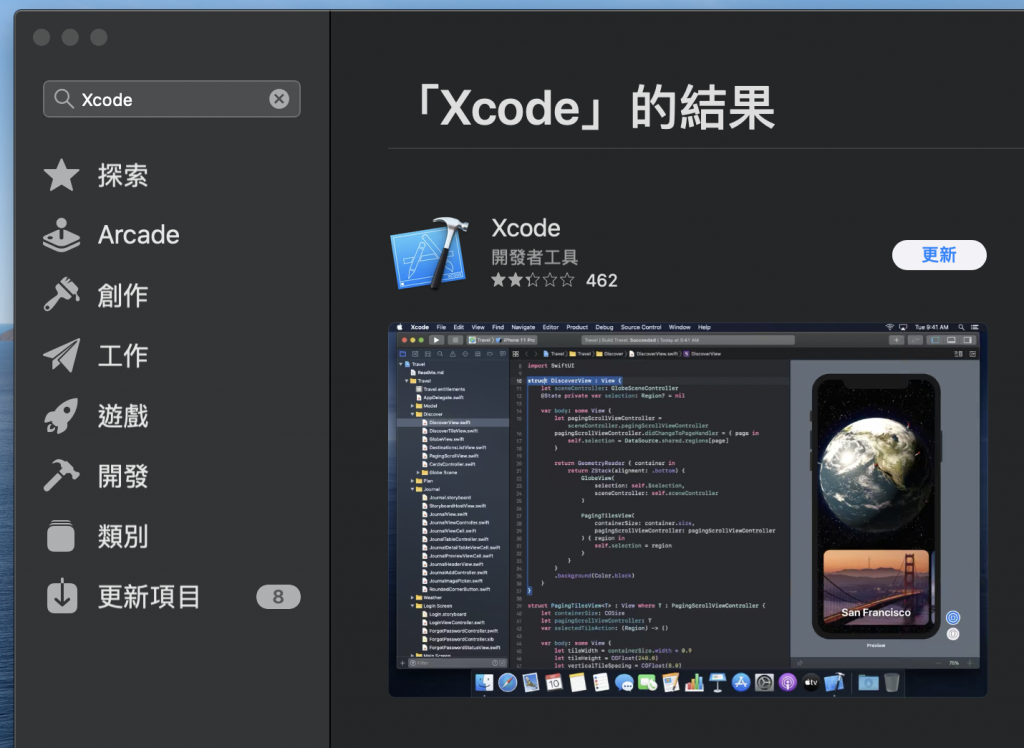
下載的話需要你AppleID的密碼或指紋!
(指紋的話要在系統偏好設定 -TouchID -將TouchID用於: 內把iTunes Store、AppStore與Apple Books的選項打勾✓哦!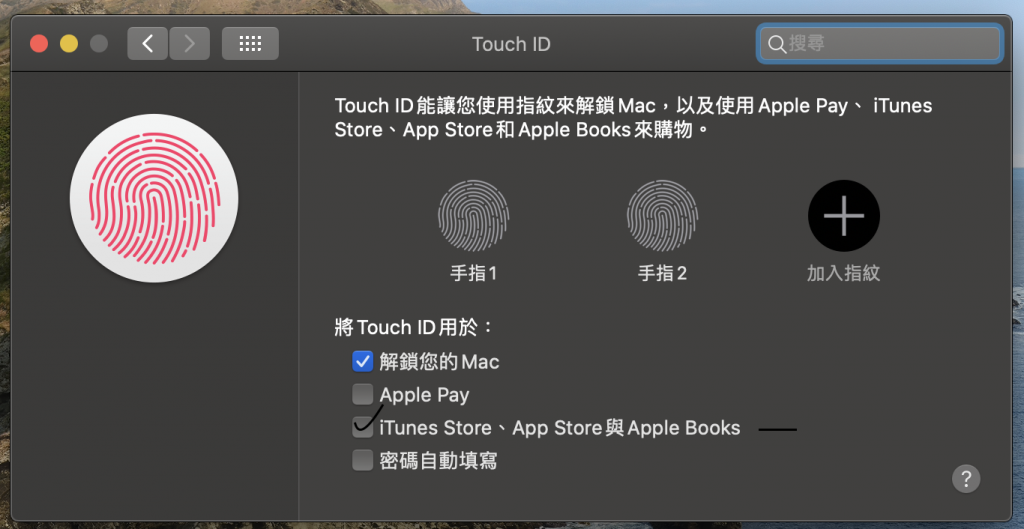 )
)
等待下載完後,打開就會發現圖1的界面,選擇Create a new Xcode project,會跳轉到圖2,選擇Single View App,出現圖了3的界面,在Product Name:的輸入欄内輸人專案名稱、記得 Language 選擇Swift,而不是Objective-C哦!而User Interface則選擇Storyboard (新手適合),而不是SwiftUI!
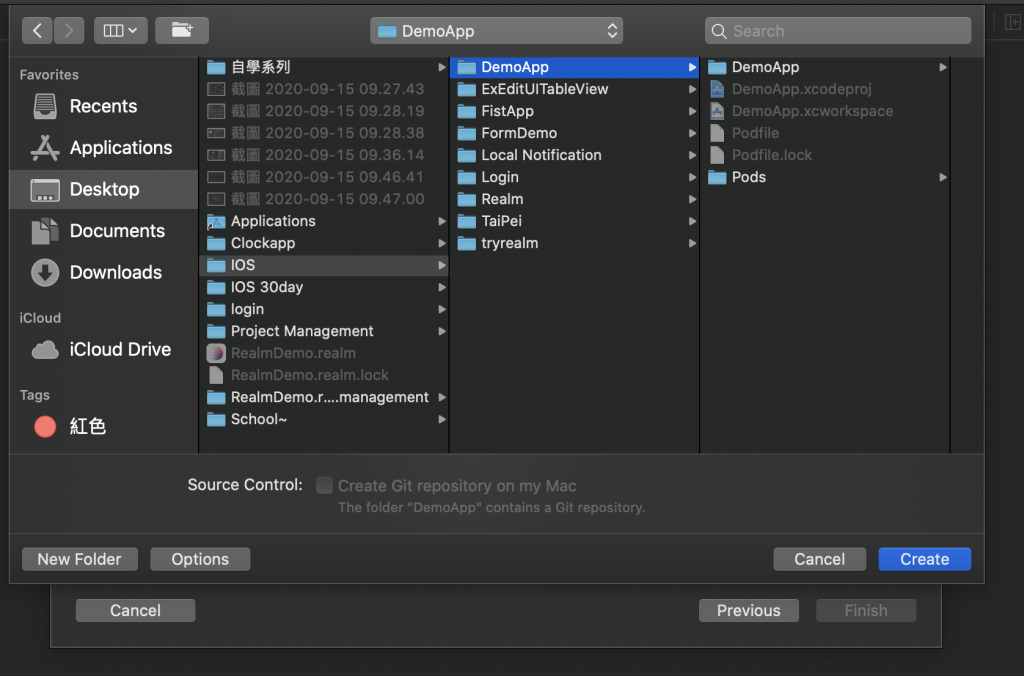
下一步就是選擇儲存檔案的位置啦!完成以上後,會出現圖4的界面,就完成了創立Xcode的檔案啦!
圖1: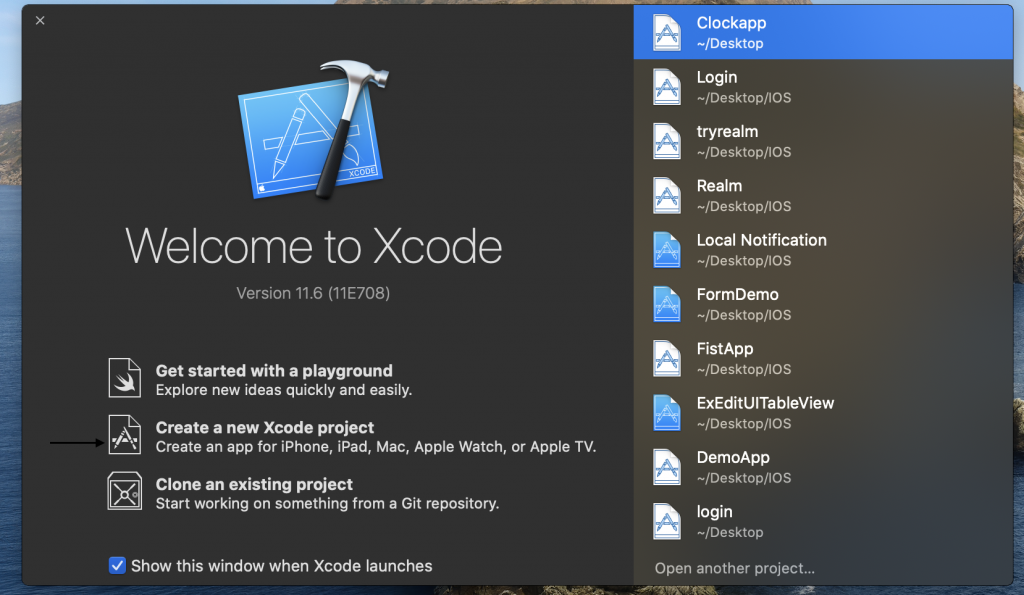
圖2: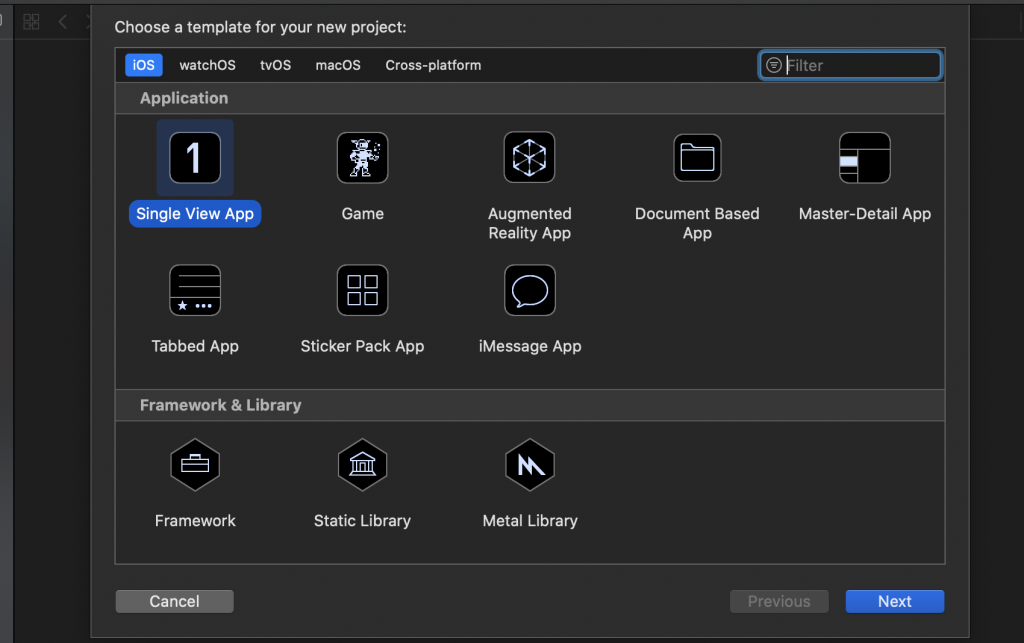
圖3: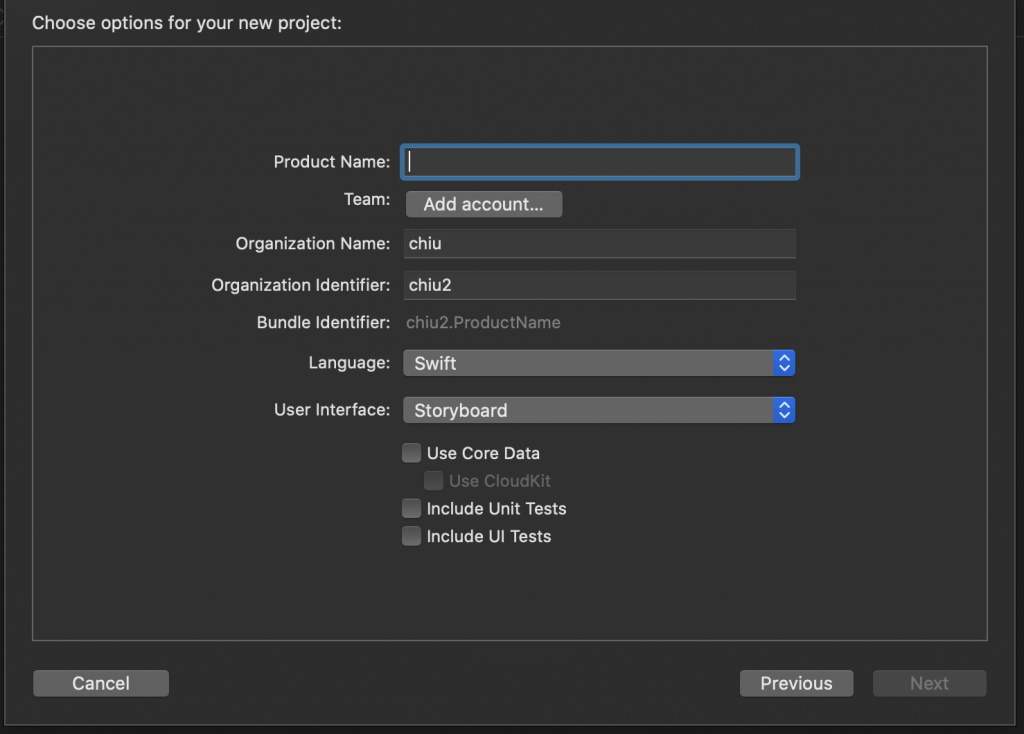
圖4: