我們昨天users的migration檔案是Laravel幫我們建立的,
但是我們還要建立另外兩個資料表-mind和board,
我們這裡使用Laravel提供的功能,
在這裡會使用到終端機(命令提示字元),
按照之前說的我們使用Cmder這個軟體來操作,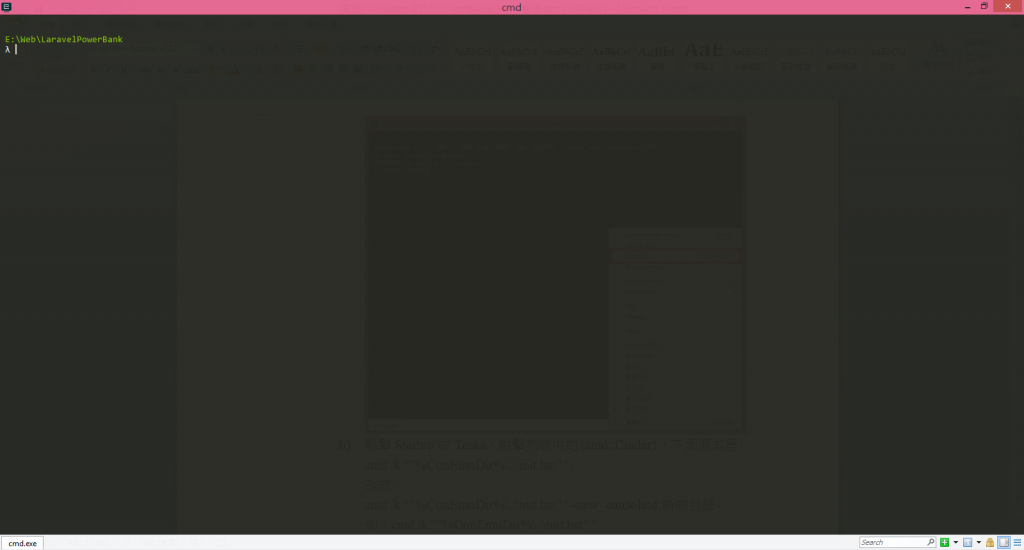
為了方便我們先修改Cmder開啟之後的預設目錄,
點擊右下角的三條橫槓的按鈕, 出現選單, 點擊Settings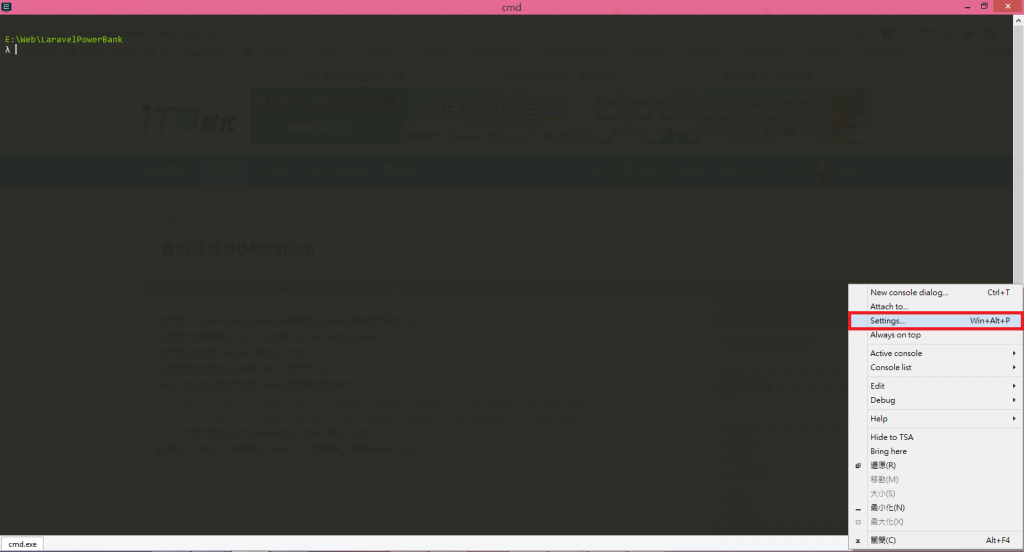
點擊Startup的Tasks,點擊列表中的{cmd::Cmder},下面原本是cmd /k ""%ConEmuDir%\..\init.bat" "
改成
cmd /k ""%ConEmuDir%..\init.bat" " -new_console:d:新的目錄
如:cmd /k ""%ConEmuDir%\..\init.bat" " -new_console:d:E:\Web\LaravelBlog
再點擊Save Settings按鈕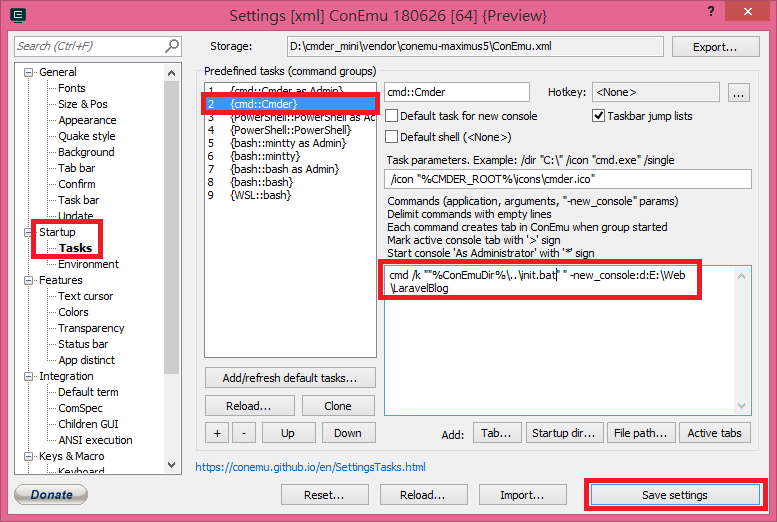
當我們重新開啟Cmder就會直接進入我們剛才設定的目錄,
方便我們之後操作.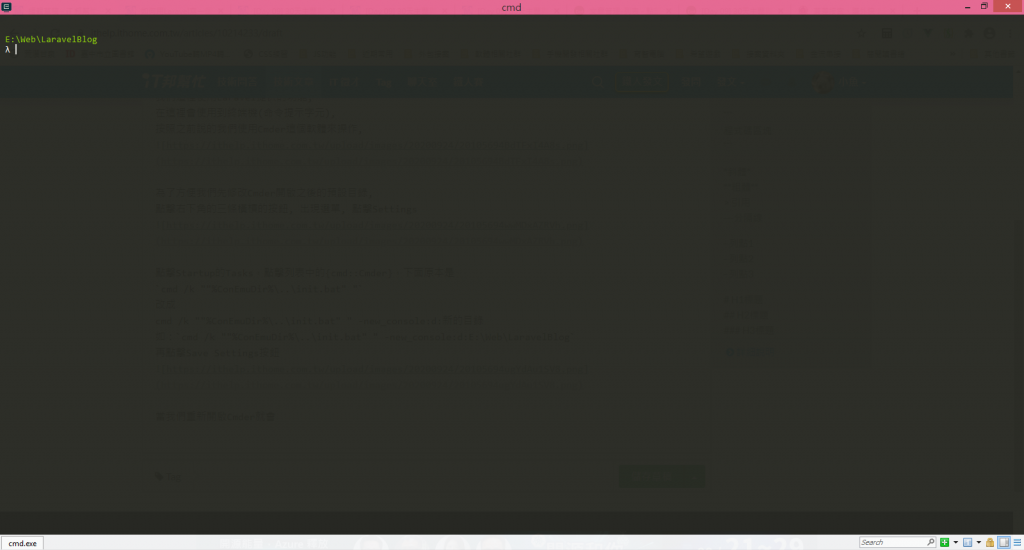
接下來我們要建立新的migration檔案,
首先要建立mind資料表的檔案,
輸入以下指令(PHP所在目錄必須設成PATH):php artisan make:migration create_mind_table --create=mind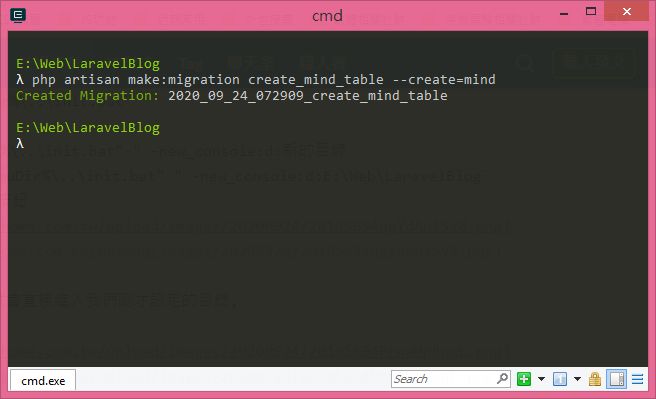
我們回到VS Code會發現多了一個create_mind_table.php建立mind資料表的檔案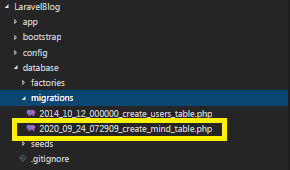
預設內容如下:
<?php

use Illuminate\Database\Migrations\Migration;
use Illuminate\Database\Schema\Blueprint;
use Illuminate\Support\Facades\Schema;

class CreateMindTable extends Migration
{
    /**
     * Run the migrations.
     *
     * @return void
     */
    public function up()
    {
        Schema::create('mind', function (Blueprint $table) {
            $table->id();
            $table->timestamps();
        });
    }

    /**
     * Reverse the migrations.
     *
     * @return void
     */
    public function down()
    {
        Schema::dropIfExists('mind');
    }
}
按照之前的規劃, 修改如下:
<?php

use Illuminate\Database\Migrations\Migration;
use Illuminate\Database\Schema\Blueprint;
use Illuminate\Support\Facades\Schema;

class CreateMindTable extends Migration
{
    /**
     * Run the migrations.
     *
     * @return void
     */
    public function up()
    {
        Schema::create('mind', function (Blueprint $table) {
            //主鍵
            $table->increments('id');
            //使用者代號
            $table->integer('user_id');
            //內容
            $table->string('content', 500)->default('');
            //啟用
            $table->integer('enabled')->default(1);
            //創建及修改日期
            $table->timestamps();
        });
    }

    /**
     * Reverse the migrations.
     *
     * @return void
     */
    public function down()
    {
        Schema::dropIfExists('mind');
    }
}
同理我們再新增一個board資料表
輸入以下指令:php artisan make:migration create_board_table --create=board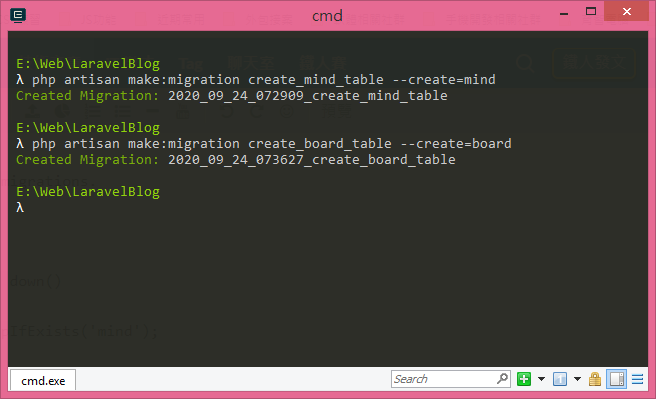
並且修改如下:
<?php

use Illuminate\Database\Migrations\Migration;
use Illuminate\Database\Schema\Blueprint;
use Illuminate\Support\Facades\Schema;

class CreateBoardTable extends Migration
{
    /**
     * Run the migrations.
     *
     * @return void
     */
    public function up()
    {
        Schema::create('board', function (Blueprint $table) {
            //主鍵
            $table->increments('id');
            //使用者代號
            $table->integer('user_id');
            //E-mail
            $table->string('email', 50)->default('');
            //圖片
            $table->string('picture', 50)->default('');
            //內容
            $table->string('content', 500)->default('');
            //啟用
            $table->integer('enabled')->default(1);
            //創建及修改日期
            $table->timestamps();
        });
    }

    /**
     * Reverse the migrations.
     *
     * @return void
     */
    public function down()
    {
        Schema::dropIfExists('board');
    }
}
