iT邦幫忙

第 12 屆 iThome 鐵人賽

DAY 25
1
Modern Web

我可以修改,所以先亂打系列 第 25

第25天-SourceTree-Git-版本控制-導入專案

  • 分享至 

  • xImage
  •  

這篇文章會有關於使用SourceTree與github新增專案的教學。

首先要先在github上新增專案。
https://h1144777.github.io/images/sourcetreeGit/001.png

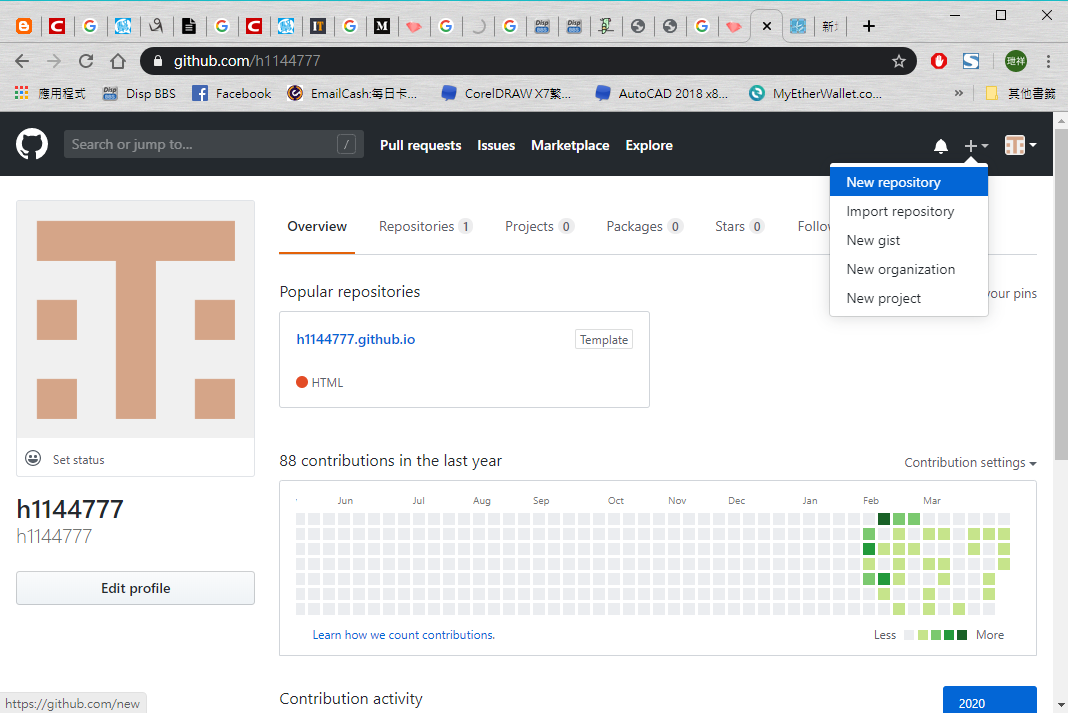
然後在Repository name輸入專案名稱後確認。
https://h1144777.github.io/images/sourcetreeGit/002.png

接下來下載SourceTree並安裝,安裝完成後開啟並登入Github帳號。
https://h1144777.github.io/images/sourcetreeGit/003.png

登入後會出現剛創立好的專案。
https://h1144777.github.io/images/sourcetreeGit/004.png

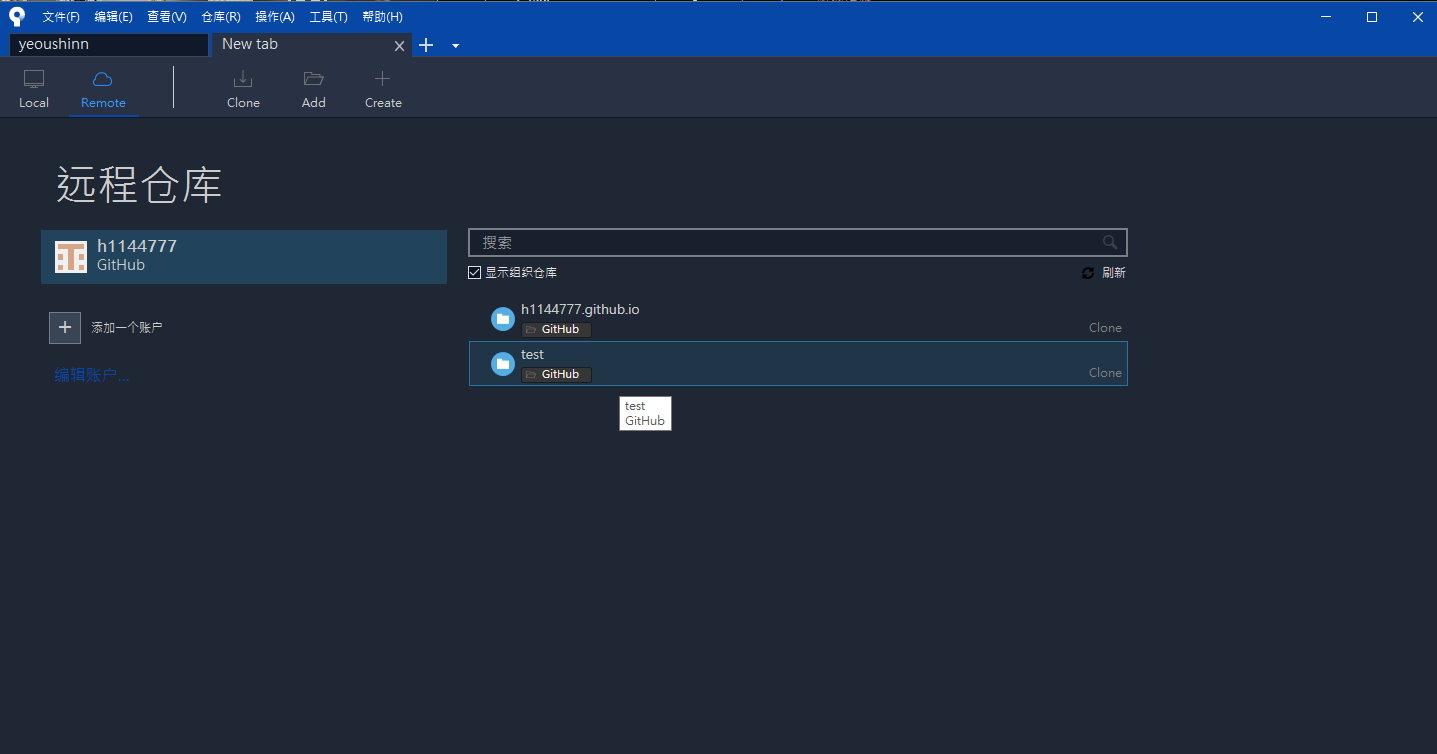
此時可以將專案下載下來到電腦本機,只要在專案上面按右鍵選擇克隆(clone),就會跳到以下頁面:
https://h1144777.github.io/images/sourcetreeGit/005.png

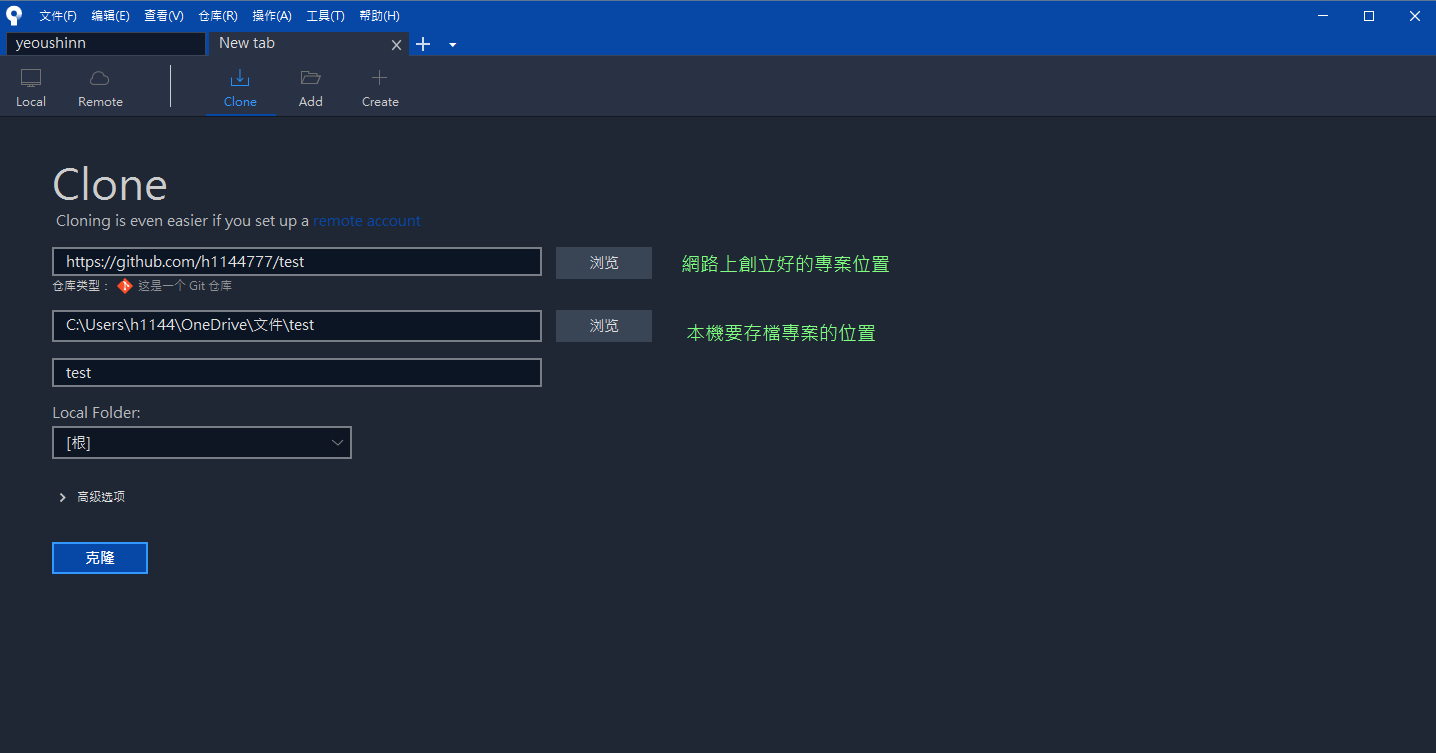
點選克隆(clone)後就可以進入版控頁面了

https://h1144777.github.io/images/sourcetreeGit/006.png
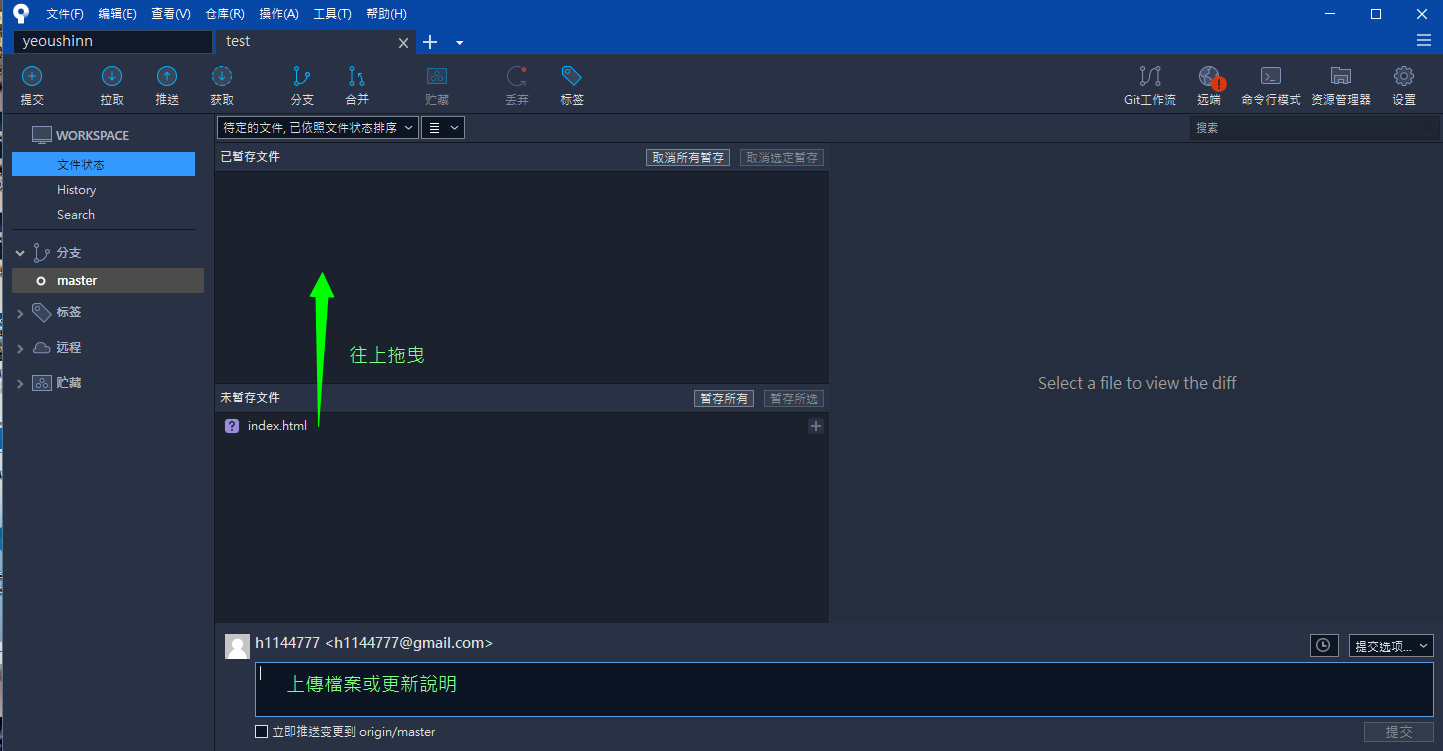
如果要上傳專案到雲端並開始使用,需將資料放到本機放置專案的資料夾,以下用index.html為範例:

將index.html加入資料夾後回到SourceTree,會發現剛剛放進去的檔案在上面,點選提交(commit)後再點選推送(Push)後就可以上傳到github了。
https://h1144777.github.io/images/sourcetreeGit/007.png
https://h1144777.github.io/images/sourcetreeGit/008.png

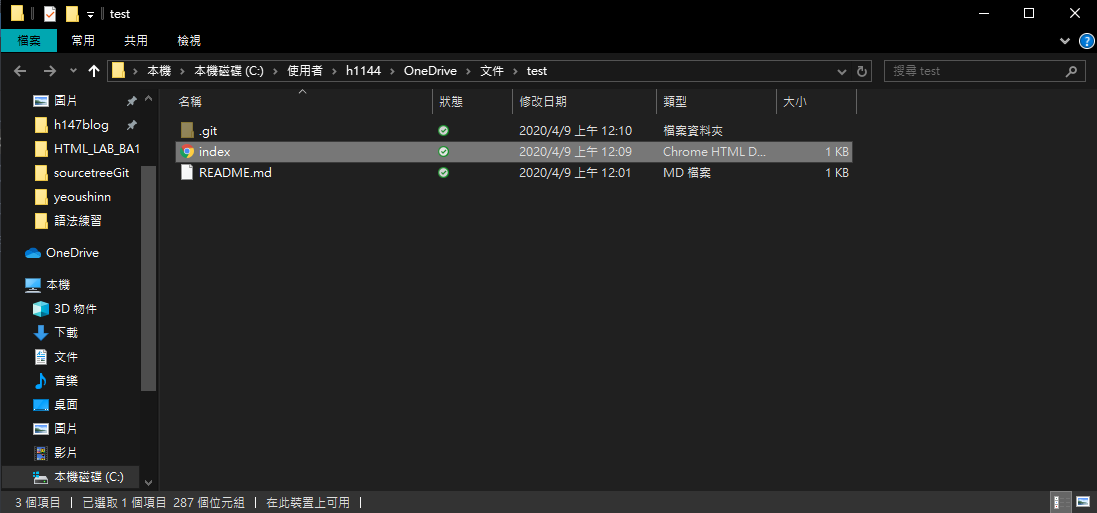
再到github網站上看,就可以看到剛剛的檔案已經傳上去了。
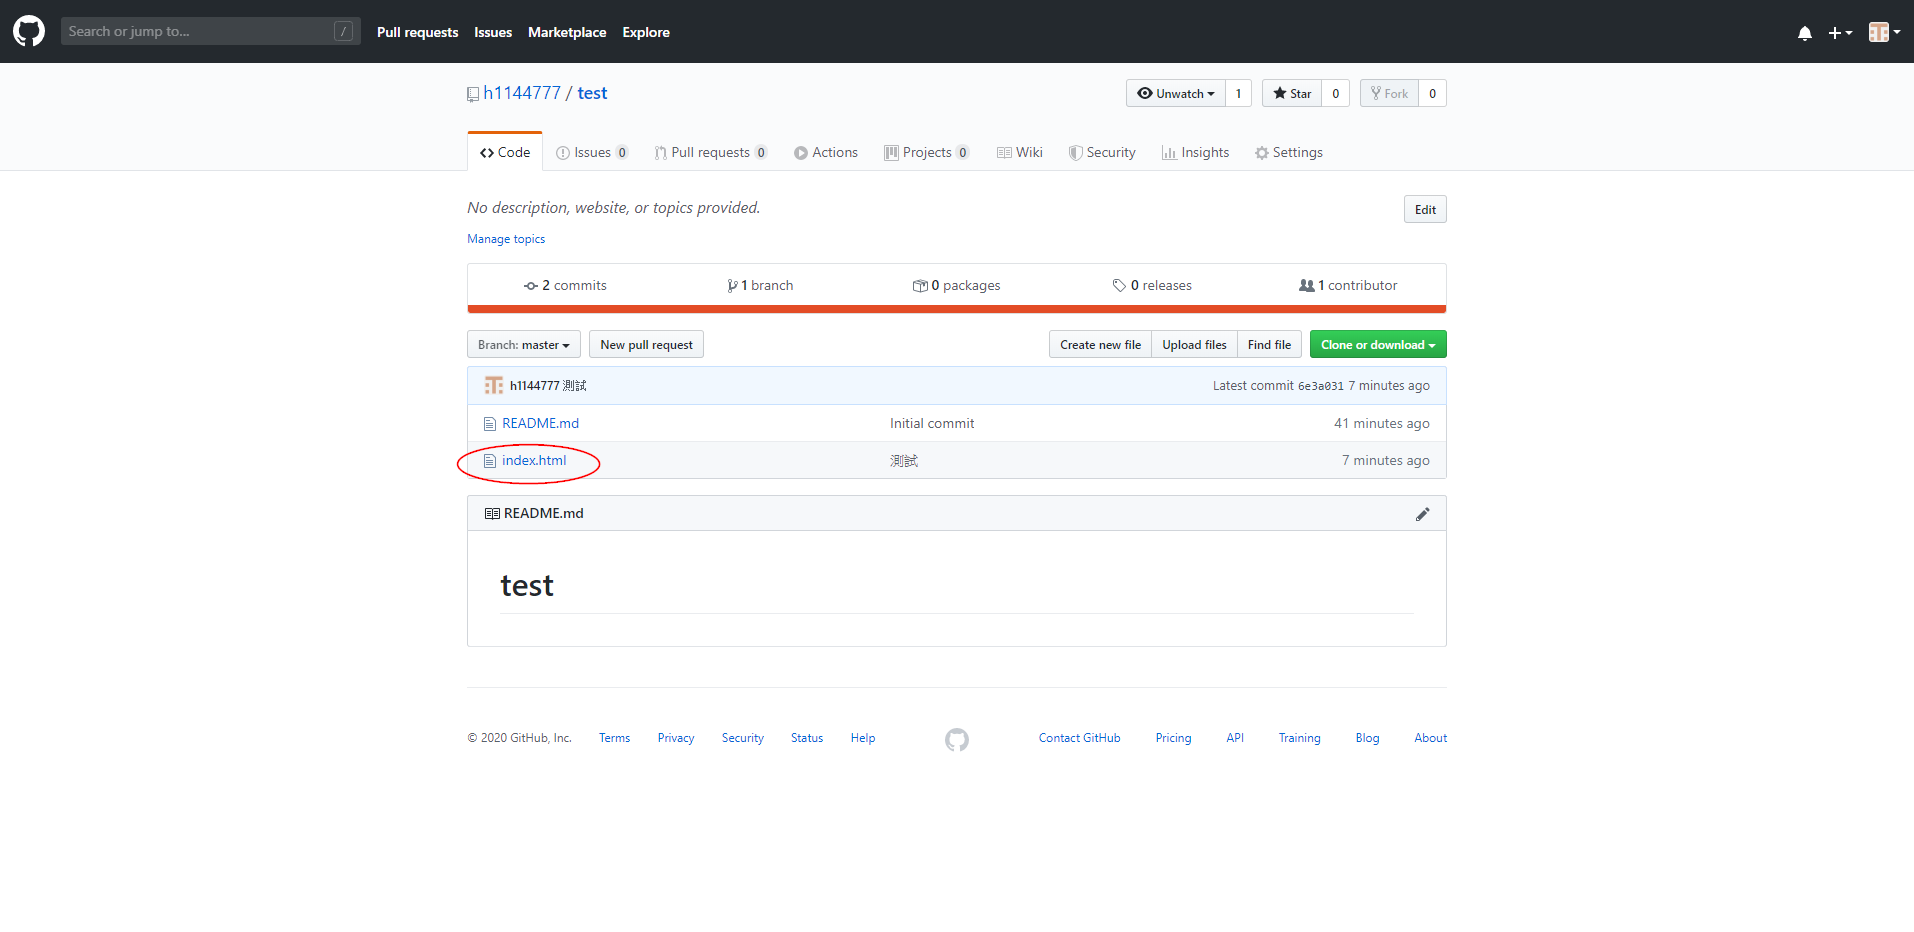
https://h1144777.github.io/images/sourcetreeGit/009.png

參考來源:
一步一步教你用 GitHub + SourceTree 做版本控制
Day24 Git 版本控制
SourceTree最新使用方法以及github多人開發方法
Git学习笔记(SourceTree克隆、提交、推送、拉取等)


上一篇
第24天:CSS-定位-(下)
下一篇
第26天-SourceTree-Git-版本控制-分支
系列文
我可以修改,所以先亂打30
圖片
  直播研討會
圖片
{{ item.channelVendor }} {{ item.webinarstarted }} |
{{ formatDate(item.duration) }}
直播中

尚未有邦友留言

立即登入留言