我們需要一個 http server,安裝 http-server ,安裝方式如文檔
建立一個資料夾 WebRTC ,裡面包含一個 index.html
<!DOCTYPE html>
<head>
<title>WebRTC</title>
</head>
<body>
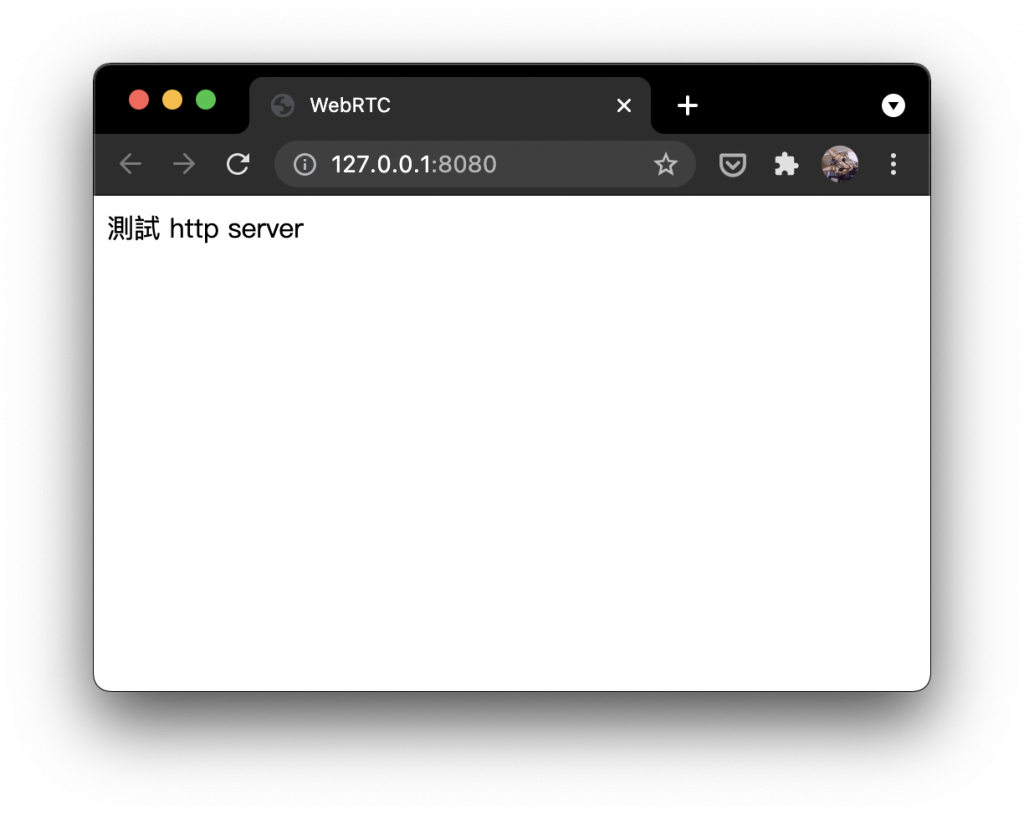
測試 http server
</body>
</html>
打開終端機 cd到 WebRTC 資料夾內並輸入 http-server
WebRTC samples 有非常多用於展示 WebRTC API 的 sample code ,是學習 WebRTC 很好的教材,今天我們透過一個切換設備的範例來看看如何學習。
在 WebRTC 資料夾內建立以下文件

將 index.html 修改為:
<!DOCTYPE html>
<html lang="en">
  <head>
    <title>WebRTC</title>
  </head>
  <body>
    <div>
      <label>音訊輸入裝置:</label>
      <select id="audioSource"></select>
    </div>

    <div>
      <label>音訊輸出裝置:</label>
      <select id="audioOutput"></select>
    </div>

    <div>
      <label>視訊輸入裝置:</label>
      <select id="videoSource"></select>
    </div>

    <video autoplay playsinline id="player"></video>
    <script src="https://webrtc.github.io/adapter/adapter-latest.js"></script>

    <script src="./js/main.js"></script>
  </body>
</html>
將 main.js 修改為:
/*
 *  Copyright (c) 2015 The WebRTC project authors. All Rights Reserved.
 *
 *  Use of this source code is governed by a BSD-style license
 *  that can be found in the LICENSE file in the root of the source
 *  tree.
 */

'use strict'

// 取得標籤
const videoElement = document.querySelector('video')
const audioInputSelect = document.querySelector('select#audioSource')
const audioOutputSelect = document.querySelector('select#audioOutput')
const videoSelect = document.querySelector('select#videoSource')
const selectors = [audioInputSelect, audioOutputSelect, videoSelect]

audioOutputSelect.disabled = !('sinkId' in HTMLMediaElement.prototype)

// 將讀取到的設備加入到 select 標籤中
function gotDevices(deviceInfos) {
  // Handles being called several times to update labels. Preserve values.
  const values = selectors.map((select) => select.value)
  selectors.forEach((select) => {
    while (select.firstChild) {
      select.removeChild(select.firstChild)
    }
  })
  for (let i = 0; i !== deviceInfos.length; ++i) {
    const deviceInfo = deviceInfos[i]
    const option = document.createElement('option')
    option.value = deviceInfo.deviceId
    if (deviceInfo.kind === 'audioinput') {
      option.text =
        deviceInfo.label || `microphone ${audioInputSelect.length + 1}`
      audioInputSelect.appendChild(option)
    } else if (deviceInfo.kind === 'audiooutput') {
      option.text =
        deviceInfo.label || `speaker ${audioOutputSelect.length + 1}`
      audioOutputSelect.appendChild(option)
    } else if (deviceInfo.kind === 'videoinput') {
      option.text = deviceInfo.label || `camera ${videoSelect.length + 1}`
      videoSelect.appendChild(option)
    } else {
      console.log('Some other kind of source/device: ', deviceInfo)
    }
  }
  selectors.forEach((select, selectorIndex) => {
    if (
      Array.prototype.slice
        .call(select.childNodes)
        .some((n) => n.value === values[selectorIndex])
    ) {
      select.value = values[selectorIndex]
    }
  })
}

// 讀取設備
navigator.mediaDevices.enumerateDevices().then(gotDevices).catch(handleError)

// 手動修改音訊的輸出 例如預設耳機切換成喇叭
function attachSinkId(element, sinkId) {
  if (typeof element.sinkId !== 'undefined') {
    element
      .setSinkId(sinkId)
      .then(() => {
        console.log(`Success, audio output device attached: ${sinkId}`)
      })
      .catch((error) => {
        let errorMessage = error
        if (error.name === 'SecurityError') {
          errorMessage = `You need to use HTTPS for selecting audio output device: ${error}`
        }
        console.error(errorMessage)
        // Jump back to first output device in the list as it's the default.
        audioOutputSelect.selectedIndex = 0
      })
  } else {
    console.warn('Browser does not support output device selection.')
  }
}

// 處理音訊改變的方法
function changeAudioDestination() {
  const audioDestination = audioOutputSelect.value
  attachSinkId(videoElement, audioDestination)
}

// 將視訊顯示在 video 標籤上
function gotStream(stream) {
  videoElement.srcObject = stream

  return navigator.mediaDevices.enumerateDevices()
}

// 錯誤處理
function handleError(error) {
  console.log(
    'navigator.MediaDevices.getUserMedia error: ',
    error.message,
    error.name,
  )
}

// 播放自己的視訊
function start() {
  if (window.stream) {
    window.stream.getTracks().forEach((track) => {
      track.stop()
    })
  }
  const audioSource = audioInputSelect.value
  const videoSource = videoSelect.value
  const constraints = {
    audio: { deviceId: audioSource ? { exact: audioSource } : undefined },
    video: { deviceId: videoSource ? { exact: videoSource } : undefined },
  }
  navigator.mediaDevices
    .getUserMedia(constraints)
    .then(gotStream)
    .then(gotDevices)
    .catch(handleError)
}

audioInputSelect.onchange = start
audioOutputSelect.onchange = changeAudioDestination

videoSelect.onchange = start

start()
打開終端機 cd到資料夾內並輸入 http-server ,使用瀏覽器開啟 http://localhost:8080/允許使用權限,就可以嘗試切換設備。


 iThome鐵人賽