Start進入系統
等它跑一下
好了我們選擇那隻企鵝(Duck)後點選VNC Remote 進入,按enter以root身分操作...
設定IP位址
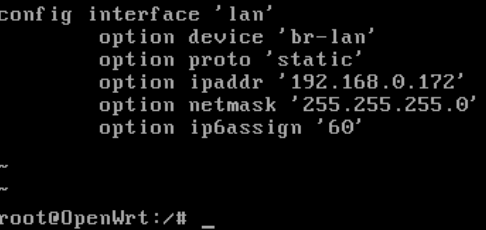
vi /etc/config/network
將OpenWRT IP改成與實體機(unRaid)同網段:
使用vi編輯器進行操作
按下鍵盤 'i' 鍵進行修改
找到option ipaddr,將ip更改為與實體機同網段的IP (例如unRaid IP為 192.168.0.2,將其修改為192.168.0.x即可)
然後按下鍵盤 'Esc',再按下'Shift'+':',輸入'wq',儲存退出
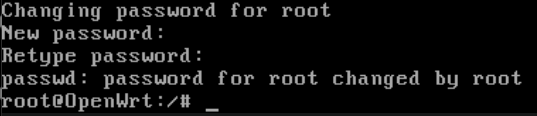
接著設定root密碼:
passwd root
重啟(Restart) 系統
TIP:
Restart後可對連接的實體路由器或交換機進行DHCP IP保留,避免搶IP
(綁定OpenWRT的mac跟IP)
登入網頁後台 (例如:192.168.0.172)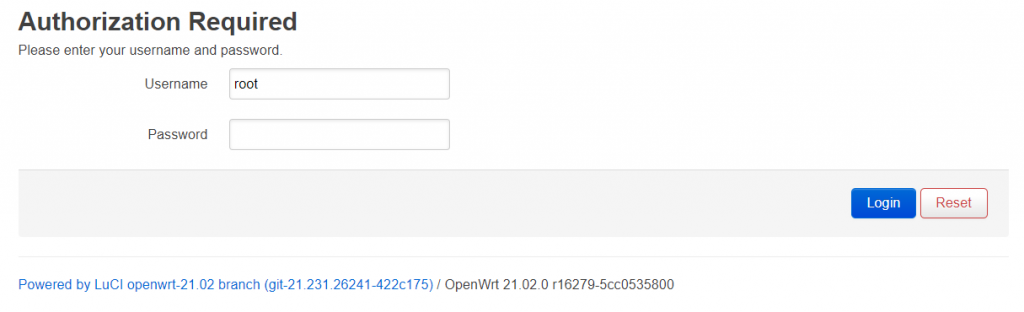
接著對實體路由器設定Gateway & DNS 接口,以便資料能被終端處理 (甚至送至外網)
位置: Network > Interfaces > 對網卡點選Edit
Ipv4 Gateway輸入實體路由器的IP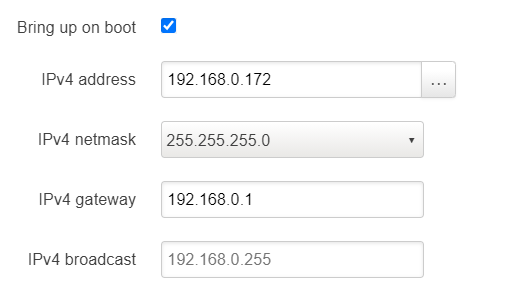
接著選擇Advenced Settings,修改DNS (DNS也指向終端即可)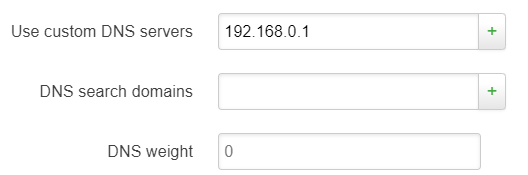
到DHCP Server 內勾選 Ignore interface(忽略此服務),讓其不去影響實體路由器分配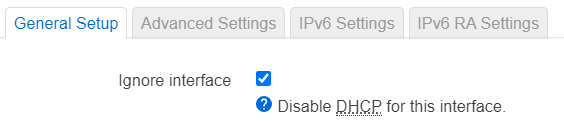
接下來設定防火牆
Network > Firewall
Lan口(區網)和wan口(Internet)設為全開;Drop invalid packets(丟棄無效封包)勾選它,避免有心人士透過封包進行port刺探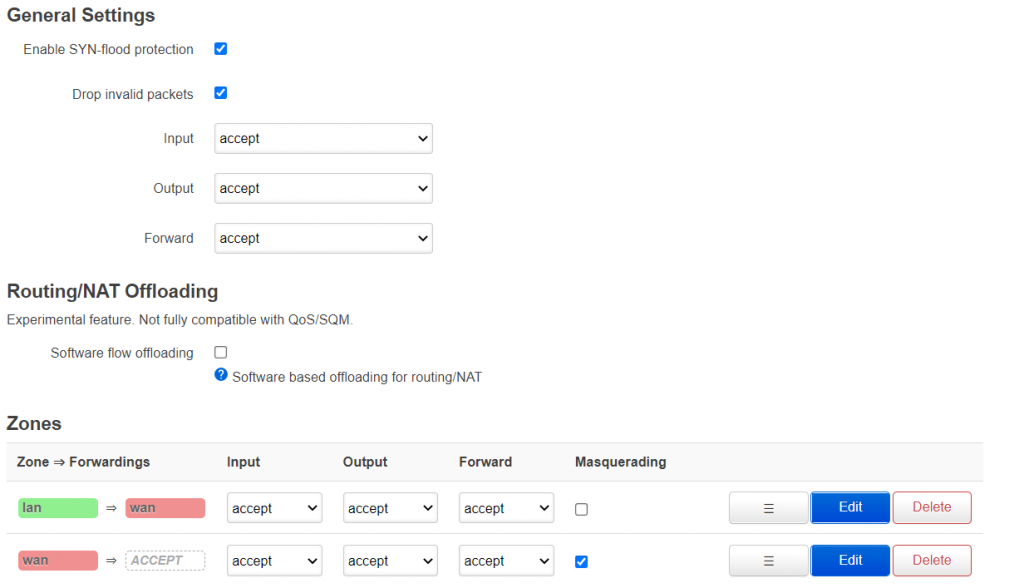
這時到 System > Software,點選Update lists
就可載入爆量的plugin了~~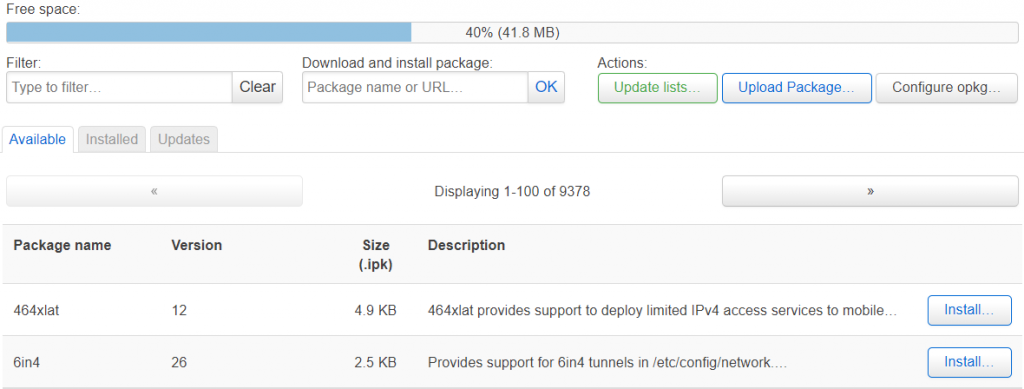
軟路由基礎設定先到這裡


 iThome鐵人賽