新增功能完成後,接著是待辦事項列表與刪除待辦事項。
前兩天為了說明前後端應用程式和關聯把文章寫得有點雜亂,畢竟前端也是臨時學的,沒有辦法以很清晰的概念說明,最後這兩天還是回歸NodeJS的部份,把伺服器端的API和資料庫連接的部份好好說明。
在前一天開發新增功能的時候,已經針對todoProj資料庫建立Schema以及Model,在讀取及刪除資料時,都會以此Model進行。
let Schema = mongoose.Schema;
let itemSchema = new Schema({
     Title: String,
     Note: String,
     Date: String,
     Tag: String
});
let itemData = mongoose.model("Item", itemSchema);
讀取待辦事項時,也要先建立資料庫的連接。首先新建一個函式以藉此讀取資料,在其中以mogoose建立與資料庫的連線,並以find()方法選取資料,exec()是執行取得資料的動作,其中可以設定回呼函式以進行後續資料處理,這裏將資料指派給全域變數itemList。
let ietmList=[];
function getItemList(){
    return new Promise((resolve, reject) =>{
        mongoose.connect("mongodb://localhost:27017/todoProj")
            .then(()=>{
                itemData.find().exec(function(err, items){
                    itemList = items;
                    resolve();
                });
            }).catch(err => {
                console.log(err);
                reject(err);
            });
    });
}
接著是後端與前端的資料傳遞,建立兩個Path為/api/itemList的get()方法中介層以接受請求與回傳資料。第一個中介層接收請求並從資料庫取得資料,第二個中介層等候資料取得再回傳至前端。
app.get("/api/itemList", (req, res, next) => {
    getItemList().then(next);
});

app.get("/api/itemList", (req, res) => {
    res.send(JSON.stringify({data: itemList}));
});
在前端應用程式接收回傳的JSON格式資料後,可以將資料規劃以列表呈現。
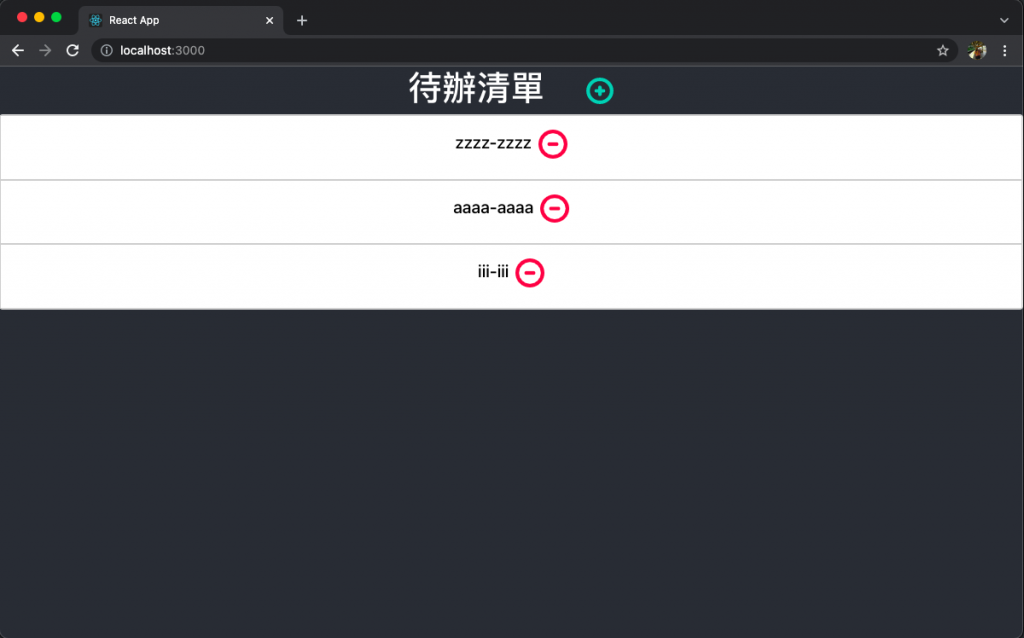
刪除待辦事項會藉由前端提出請求時的待辦事項ID進行條件刪除。
首先建立兩個Path為/api/deleteItem的post()方法中介層,接收前端請求、從資料庫中刪除資料,並回傳刪除狀態字串。
let deleteRes="";
app.post("/api/deleteItem", (req, res, next) =>{
    deleteItem(req.body.id).then(next);		// deleteItem為刪除資料的自定義函式
});

app.post("/api/deleteItem", (req, res) =>{
    res.end(JSON.stringify({data: deleteRes}));		// deleteRes會在deleteItem()中指派值
});
接著把deleteItem()函式定義完成,先以mongoose建立連線後,使用deleteOne({[篩選條件]})方法設定刪除目標資料,exec()執行動作並指派字串至全域變數deleteRes,作為回傳的資料。
function deleteItem(objId){
    return new Promise((resolve, reject) =>{
        mongoose.connect("mongodb://localhost:27017/todoProj")
            .then(()=>{
                itemData.deleteOne({_id: objId}).exec(function(err){
                    if (err!=null) return reject(err);
                    deleteRes = "success";
                    resolve();
                });
            }).catch(err => {
                console.log(err);
                reject(err);
            });
    });
}
今天的資料取得與刪除的部分順利地完成了,其實純粹以後端伺服器的開發,NodeJS和mongoDB的組合真的可以讓速度提升很多,而且語法也很單純,比較需要注意的是要記得資料庫處理需要時間,使用非同步的工具以等候資料庫作業運行完成。


 iThome鐵人賽