將JMeter安裝完成後,就可以開始嘗試做一些簡單的測試了,
我們可以先模擬多人同時登入的情況,進行簡單的壓力測試。
開啟JMeter後,系統預設會新增一個空白的執行計畫,
根據需要測試的內容,在測試計畫底下新增一個Thread Group。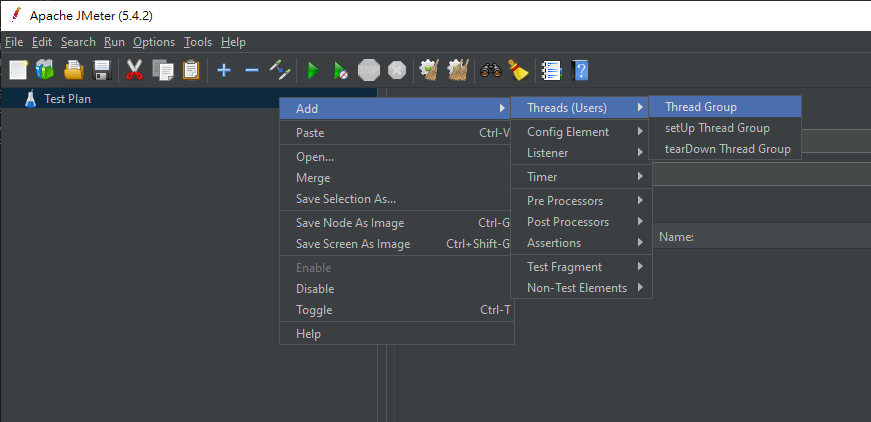
本次要執行的動作是使用者登入並進入到系統首頁,所以將Thread Group命名為登入。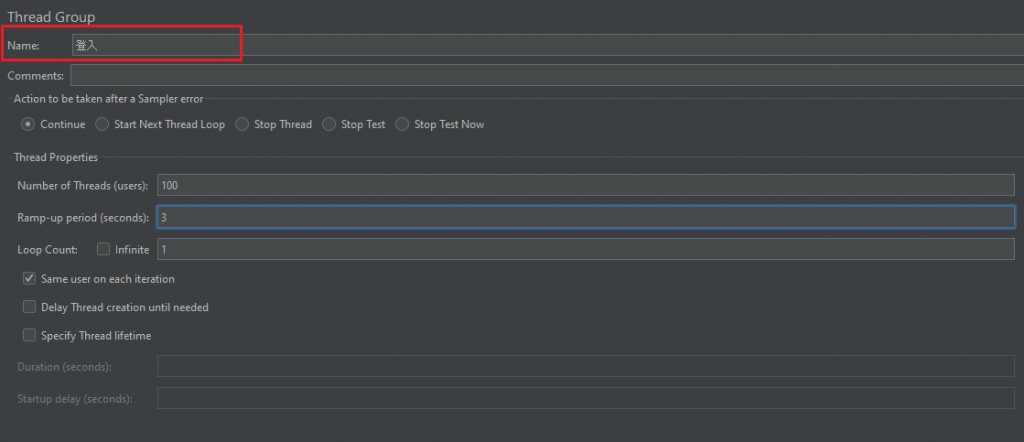
接下來設定Thread Properties,前三個欄位說明如下:
當我們如下圖設定時,代表這個測試同時需要100位使用者,
在3秒內執行完登入動作,並且執行1次即可(不重複)。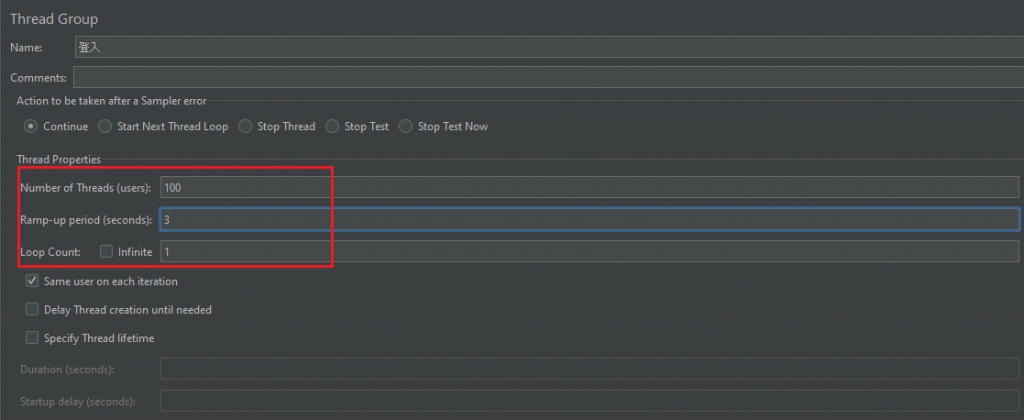
我們設定這個測試需要由100位使用者同時進行,這時候可以準備一個csv檔,
紀錄100組測試帳密資料。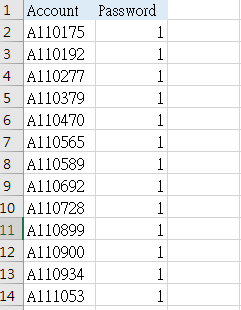
接著在登入Thread Group中,新增CSV Data Set Config。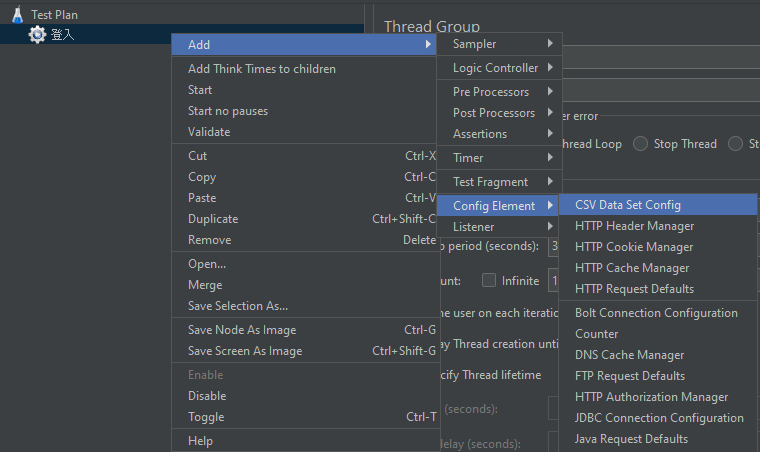
CSV Data Set Config設定如下圖。參數說明如下:

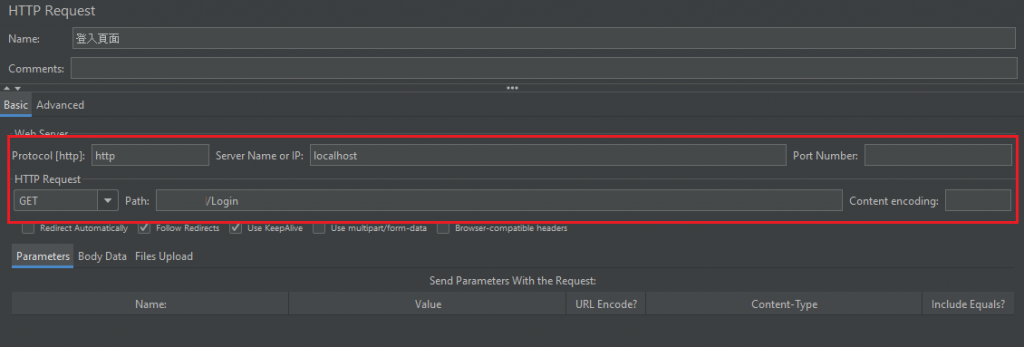
在Test Plan中,新增一個Http Request,將這個Http Request命名為登入頁面。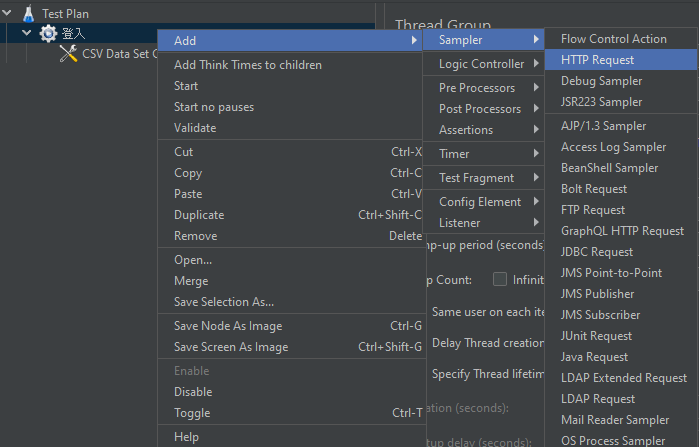

設定Web Server中的參數,指定要載入的登入頁面,本例使用本機環境載入登入頁面。設定參數如下圖。
若測試的系統有設定RequestVerificationToken,
那就需要登入頁中RequestVerificationToken的值抓出來一併傳送,才能通過登入頁防偽驗證,
在登入頁面新增一個CSS Selector Extractor來抓取。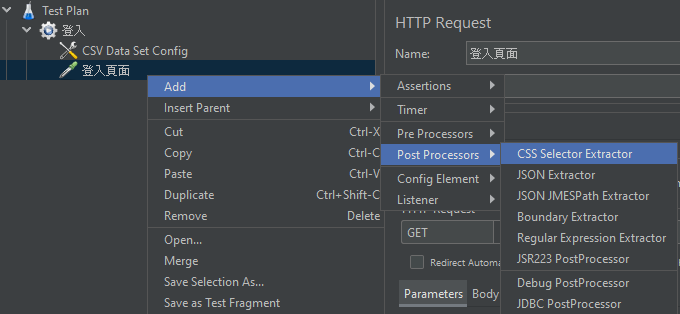
CSS Selector Extractor設定如下圖,
可以將登入頁中的RequestVerificationToken存到變數RequestVerificationToken中。

接下來在Test Plan中,再新增一個Http Request,
這一個Http Request是用來傳送登入資料的,我們將它命名為登入。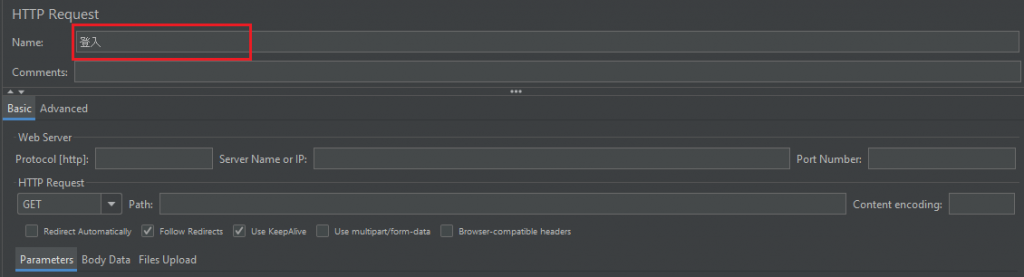
與登入頁面一樣,設定Web Server中的參數,但HTTP Request要設定為POST。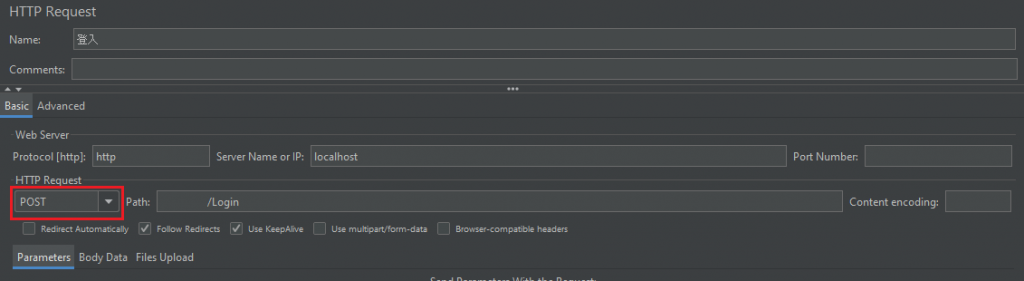
為了讓登入可以辨別登入頁面傳進來的參數值,需要在登入中新增Parameters,
這個範例需要的變數值分別為帳號(Account)、密碼(Password)與RequestVerificationToken,如下圖設定。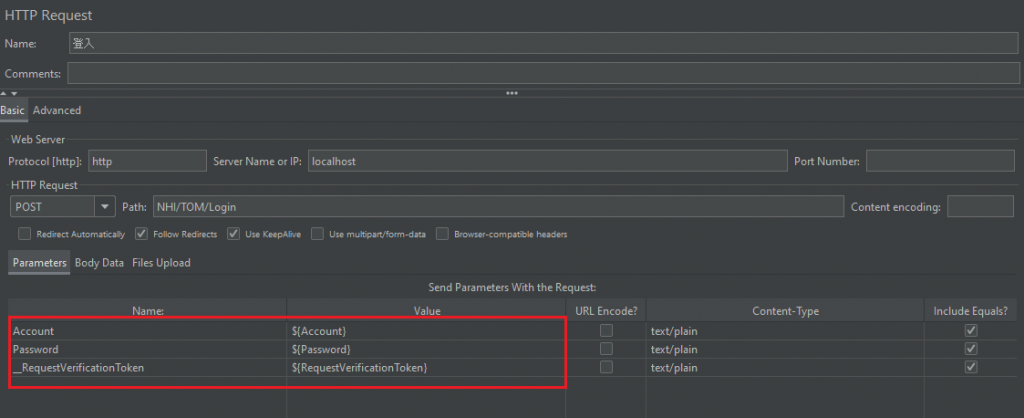
最後在Test Plan底下加入HTTP Cookie Manager,在登入後執行的動作,
都會繼續使用登入時產生的Cookie,以保持登入的狀態。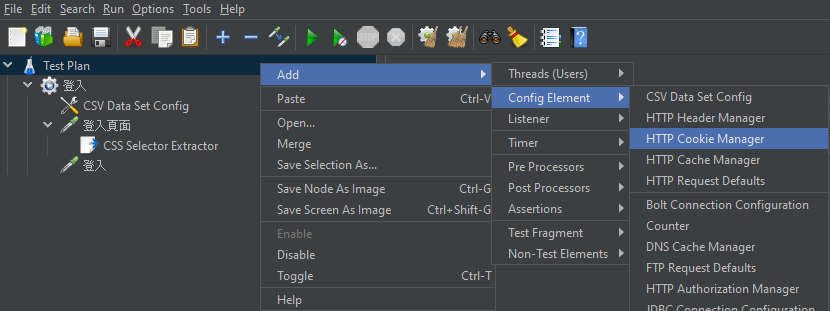
為了確認測試計畫使否有正確執行,以及進行後續的分析,
可以在Test Plan底下新增View Results Tree以及Summary Report。
新增完畢後,將本範例儲存為jmx檔,才能進行測試。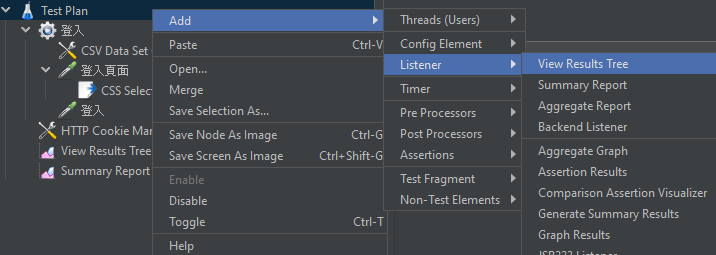
點選上方綠色箭頭的符號後,測試計畫會開始執行,等到執行結束後,
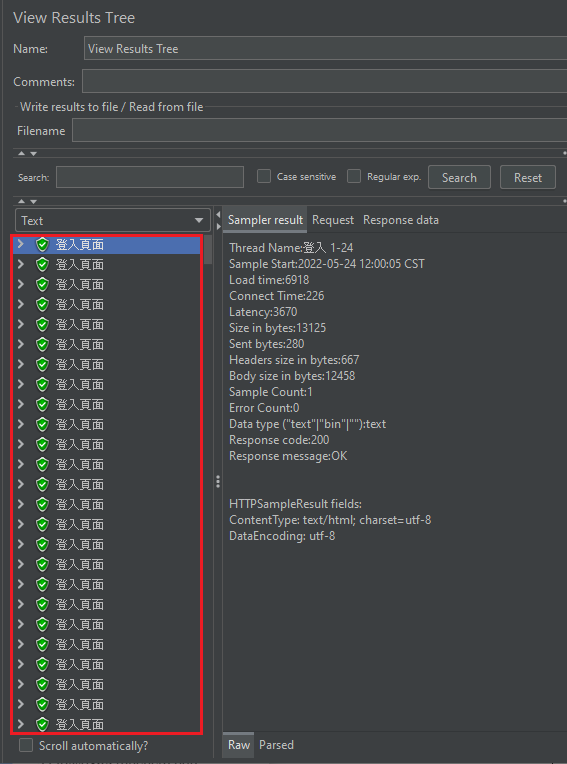
可以切換到View Results Tree頁面,確認是否有測試計畫正常執行,
若結果都呈現綠色,代表測試計畫有執行成功。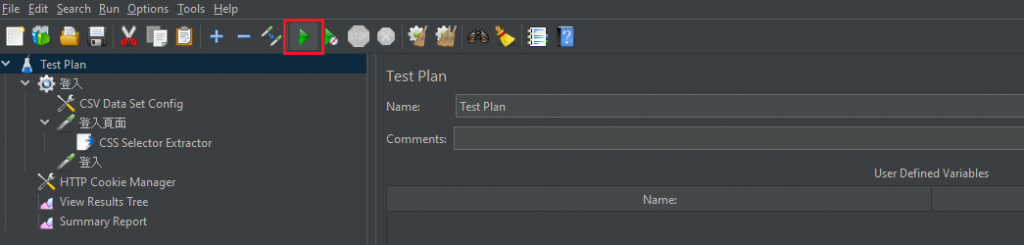
切換到Summary Report,可以檢視每一個動作執行的相關數據,例如執行次數、執行時間、錯誤率等等。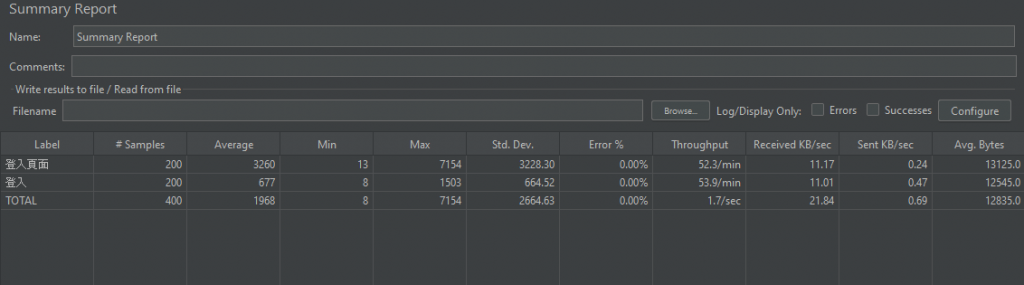
 wanjan_chen
