今天要帶大家認識兩個在製作app時幾乎都會用到的兩種UI元件,UITableView,他們都是繼承ScrollView,簡單來說scrollView是一種用來瀏覽無法在整個畫面容下的其他內容,所以使用者可以滑動螢幕來顯示超出螢幕外的內容。
今天會學到
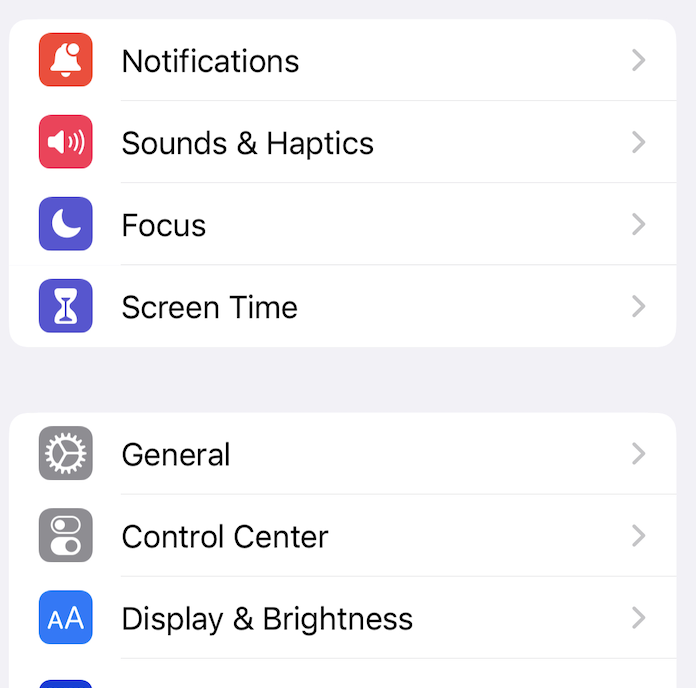
這是一個很常用而且也很簡單使用的元件,當你有一批資料需要列表顯示在畫面上時就會用到。像是iphone裡面的設定就是使用UITableView,簡單講解一下UITableView的特性

可以看下有什麼功能可以使用,再自己摸索吧
我們假設使用UI元件首先我們先在ViewController裡面新增UITableView元件,名稱叫做tableView
let tableView = UITableView()  //這是最簡單建立元件的方式,但我們今天教下面那種

let tableView:UITableView = {        //使用閉包建立元件,可以在閉包裡面設定tableView各項屬性
    let tableView = UITableView()
    tableView.separatorStyle = .singleLine    //分隔線的樣式
    tableView.allowsSelection = true     //cell是否可以被點選
    return tableView
}()
再來我們要把元件新增到View上,並且進行autolayout,我先最簡單把整個畫面都佔滿,程式碼要寫在viewDidLoad裡面
view.addSubview(tableView)   //把tableView新增到view上

tableView.snp.makeConstraints { make in    //進行autolayout
    make.edges.equalToSuperview()         //上下左右都跟比照父元件
}
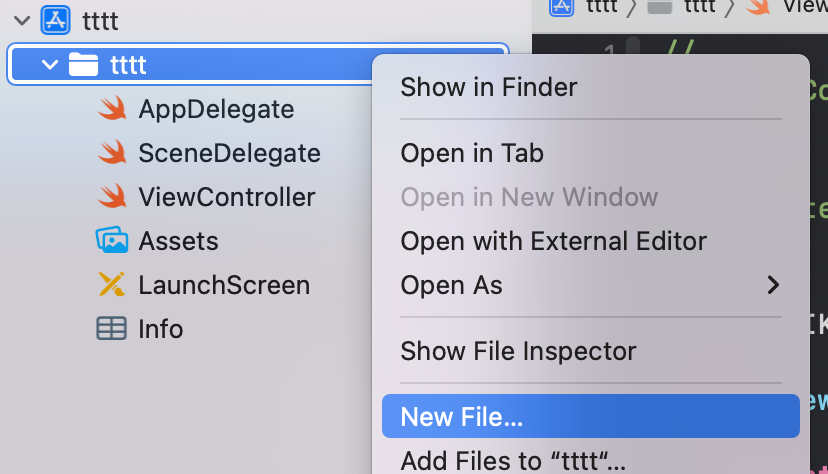
之後我們要客製化cell所以先新增一個TableViewCell的file
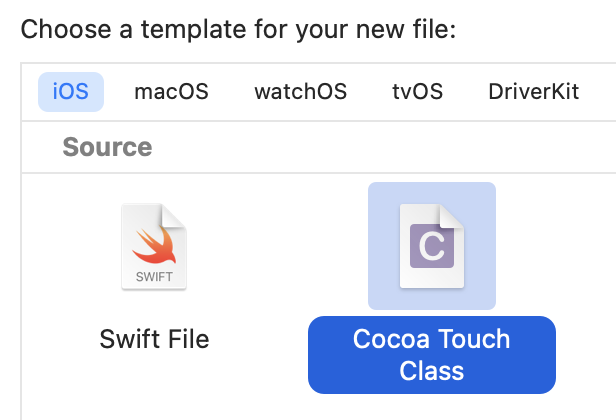
選擇cocoatouch class
選擇tableViewCell並且新增
之後在tableViewCell裡新增下面的程式碼
static let identifier = "tableViewCell"
之後回到ViewController的tableView元件的裡閉包裡,打上註冊TableViewCell
tableView.register(TableViewCell.self, forCellReuseIdentifier: TableViewCell.identifier)
在class ViewController外面新增一個擴展(extension),這樣程式碼分工比較好看。然後我們要繼承UITableViewDataSource,來管理表格區塊(Section)、需要多少列(Row)、列要顯示什麼
extension ViewController:UITableViewDataSource {  //表示要遵守UITableViewDataSource協定

    //設定一個section裡面有幾個cell
    func tableView(_ tableView: UITableView, numberOfRowsInSection section: Int) -> Int {
        return 10
    }

    func tableView(_ tableView: UITableView, cellForRowAt indexPath: IndexPath) -> UITableViewCell {
        //使用dequeueReusableCell來重複使用cell
        guard let cell = tableView.dequeueReusableCell(withIdentifier: TableViewCell.identifier, for: indexPath) as? TableViewCell else{ return UITableViewCell() }
        cell.textLabel?.text = "how are you"   //cell裡面的label文字顯示how are you
        return cell
    }

}
最後在ViewController的viewDidLoad裡面新增下方程式碼,設置委任的對象是自己,就大功告成囉
tableView.dataSource = self
class ViewController: UIViewController{

    private let tableView: UITableView = {
        let tableView = UITableView()
        tableView.separatorStyle = .singleLine
        tableView.allowsSelection = true
        tableView.register(TableViewCell.self, forCellReuseIdentifier: TableViewCell.identifier)
        return tableView
    }()

    override func viewDidLoad() {
        super.viewDidLoad()
        view.addSubview(tableView)   //把tableView新增到view上
        tableView.snp.makeConstraints { make in    //進行autolayout
            make.edges.equalToSuperview()         //上下左右都跟比照父元件
        }
        tableView.dataSource = self
    }
}

extension ViewController:UITableViewDataSource {
    //設定一個section裡面有幾個cell
    func tableView(_ tableView: UITableView, numberOfRowsInSection section: Int) -> Int {
        return 10
    }

    func tableView(_ tableView: UITableView, cellForRowAt indexPath: IndexPath) -> UITableViewCell {
        //使用dequeueReusableCell來重複使用cell
        guard let cell = tableView.dequeueReusableCell(withIdentifier: TableViewCell.identifier, for: indexPath) as? TableViewCell else{ return UITableViewCell() }
        cell.textLabel?.text = "how are you"
        return cell
    }

}
tableView還有很多可以設定的項目,UITableViewDelegate可以處理外觀等其他東西可以回家去研究一下哦。
還有一個很常用的元件叫做UICollectionView,跟UITableView用法很像,但是他的cell可以並排,那今天先介紹到這邊~辛苦了
