步驟1:
按建立VM 再以下將硬碟刪除用上傳方式新增
步驟2:
上傳 IMG 檔
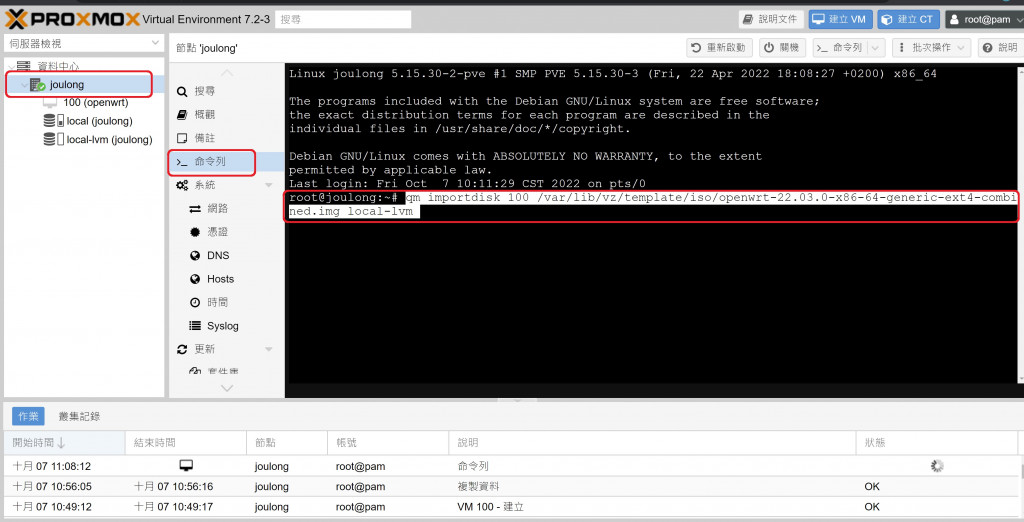
qm importdisk 100 /var/lib/vz/template/iso/openwrt-22.03.0-x86-64-generic-ext4-combined.img local-lvm
步驟3:
* 點擊"建立VM"
- 一般-設定名稱"openwrt"�; 勾選"進階"; 繼續(下一步)
- 作業系統-勾選"不要使用任何媒體"; 繼續(下一步)
- 系統(不更改); 繼續(下一步)
- 硬碟(不更改); 繼續(下一步)
- CPU-核心選為四核心 ; 繼續(下一步)
� - 記憶體- 選為1024 ; 繼續(下一步)
- 網路(Default-vmbr0、半虛擬化, 不更改); 繼續(下一步)
- 確認- 點擊"完成"(注意:不要勾選"建立完成後開機")
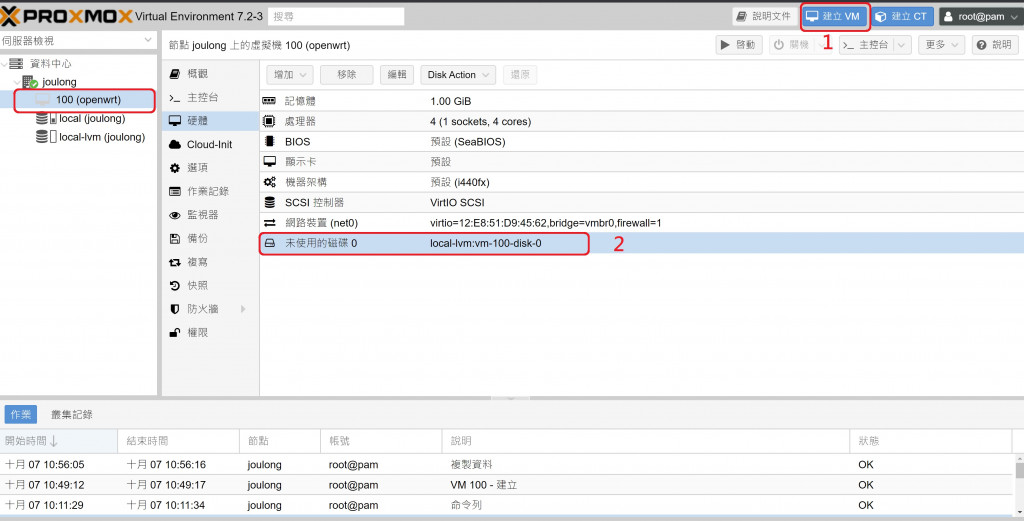
* 點擊進入"資料中心"-"joulong"-"100(openwrt)"-硬體
- 中斷連結"硬碟"、移除"未使用磁碟"
- 移除"CD/DVD"
- 增加其他三個網路裝置, 橋接分別選擇vmbr1、vmbr2、vmbr3, "型號"選擇"VirtIO(半虛擬化)"
步驟4:
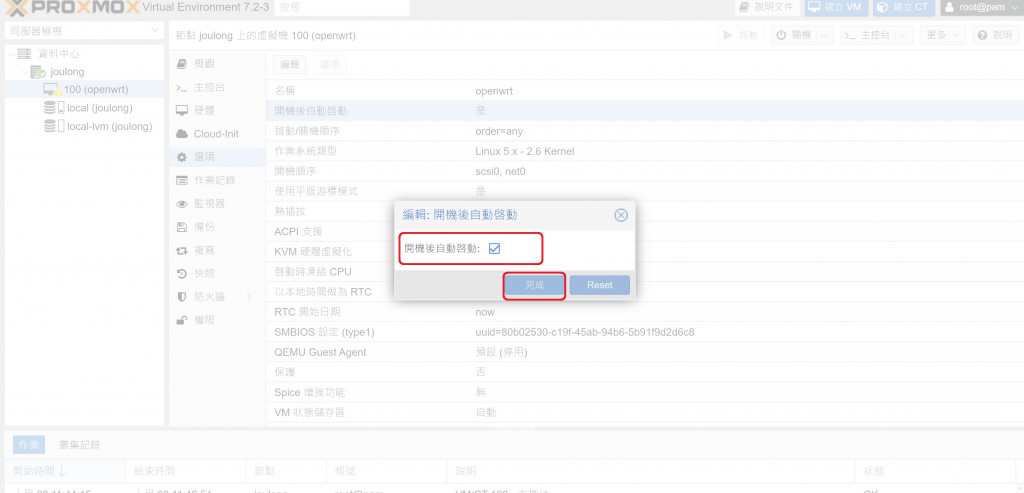
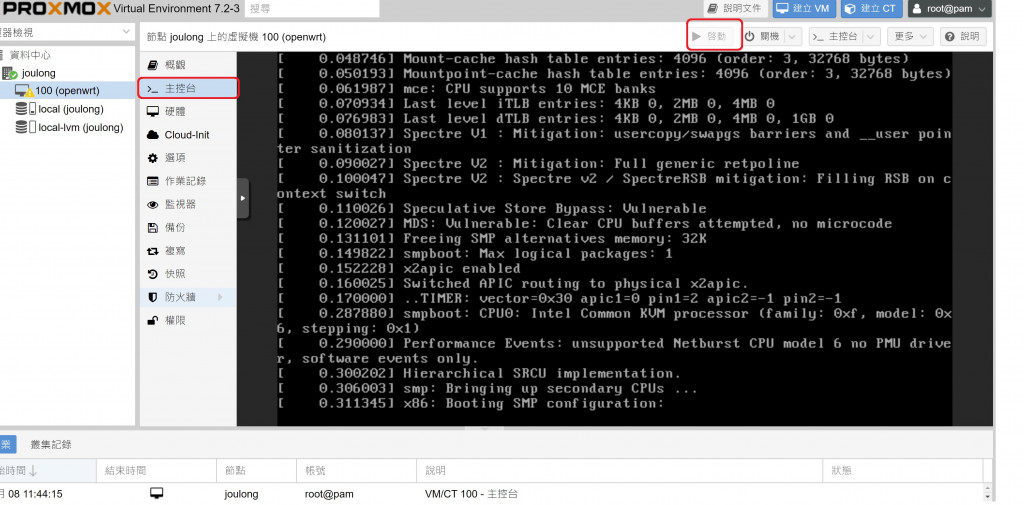
1.設定開機
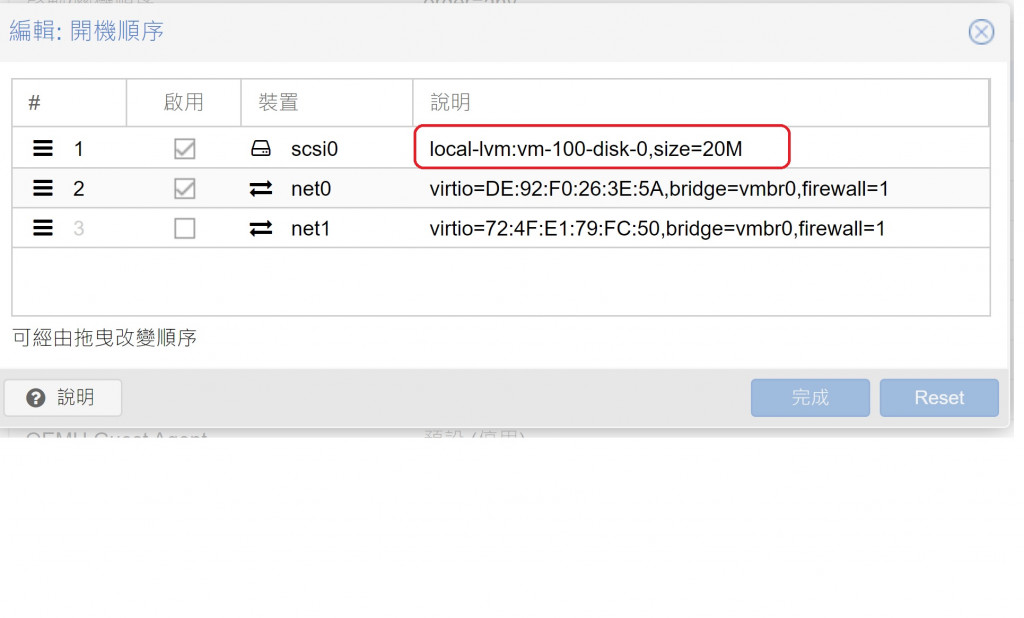
2.設定開機順序
3.開機畫面
 joulongleu
