跟 TailwindCSS 一樣所見即所得,寫上去即可見效,今天就要運用 AlpineJS 實作驗證與錯誤樣式
根據昨天的設定我們已經可以處理 nesting class name,在動 View 之前先稍作整理與新增樣式
# app/assets/stylesheets/button.css

.button {
  @apply bg-gray-500;
  @apply px-4 py-1;
  @apply rounded-full;

  &.disabled {
    @apply opacity-25 cursor-not-allowed;
  }

  &__black {
    @apply text-black;
  }

  &__white {
    @apply text-white;
  }

  &__blue {
    @apply text-blue-300;
  }

  &__red {
    @apply text-red-300;
  }

  &__green {
    @apply text-green-300;
  }

  &__yellow {
    @apply text-yellow-300;
  }

  &__orange {
    @apply text-orange-300;
  }
}
# app/assets/stylesheets/application.postcss.css

...

input {
  &.has-error {
    @apply border-red-500 focus:border-red-500;;
    @apply focus:ring-red-500;
  }
}
除了 disabled 之外都是之前存於 ButtonComponent 的 class name,這次順便整理,主要目的還是做到用 disabled 切換按鈕效果
下一步就是針對畫面處理
# app/views/accountings/_new_form.html.erb

<%= form_with(..., html: {
                     "x-data": "{ valid: null, amount: null, name: null }"
                   }) do |form| %>

  ...

  ...

  <%= form.label :name %>
  <%= form.text_field :name, ...,
                     "x-on:input": "name = $el.value !== '';valid = name && amount;",
                     "x-bind:class": "name != null && !name && 'has-error'" %>

  <%= form.label :amount %>
  <%= form.number_field :amount, ..., min: 1,
                     "x-on:input": "amount = $el.value !== '';valid = name && amount;",
                     "x-bind:class": "amount != null && !amount && 'has-error'" %>

  <%= render ButtonComponent.new(...,
                                 button_classes:'w-full disabled',
                                 valid_key: 'valid').with_content('新增帳務') %>
<% end %>
這裡主要分成三個部分 全部驗證的結果(valid) / name 的驗證結果 / amount 的驗證結果
先從 name 來看 , x-on 分為兩個部分 name = $el.value !== ''; 和 valid = name && amount;
第一步, name 針對 input 改變時,欄位 value 是不是空值會賦予給 name 這個 Key。
這個 Key 是透過上方的 x-data 初始化給予的,此時 name 在每次輸入時被更新。
第二步, valid 也需要不斷被更新,所以 valid 更新值這件事也在 input 事件時且 name 更新過後觸發,這就是寫前後順序的用意
而 valid 是根據 name & amount 一起判斷,來達成最後下方的新增按鈕是否可按
寫到這邊,即可做成單個欄位的驗證

接著就是處理如何讓按鈕可以切換 disabled
# app/components/button_component.rb

class ButtonComponent < ViewComponent::Base
  attr_reader ..., :valid_key

  # 都拉去 CSS 處理了
  MODIFIERS = {
    black: %w[button__black],
    white: %w[button__white],
    blue: %w[button__blue],
    green: %w[button__green],
    red: %w[button__red],
    yellow: %w[button__yellow],
    orange: %w[button__orange]
  }.freeze

  def initialize(..., valid_key: nil)
    ...
    @valid_key = valid_key
  end

  ...

  private

  def base_button
    content_tag(:button, content, **button_attr)
  end

  def button_attr
    {
      class:"button #{modifiers} #{button_classes}"
    }.merge(x_attr)
  end

  def x_attr
    return {} unless valid_key.present?

    {
      'x-bind:class': "{ 'disabled': ! #{valid_key} };"
    }
  end

  ...
end
因為 x-data 是在外部初始化,所以需要傳入給 button 知道我現在切換按鈕狀態的 class name 是要依據哪一個 x-data 的 key
做到這邊算完成一個簡單的前端驗證了,如果條件簡單如這裡切換按鈕,我相信這會是一個不錯的解決方案
| Valid | Invalid |
|---|---|
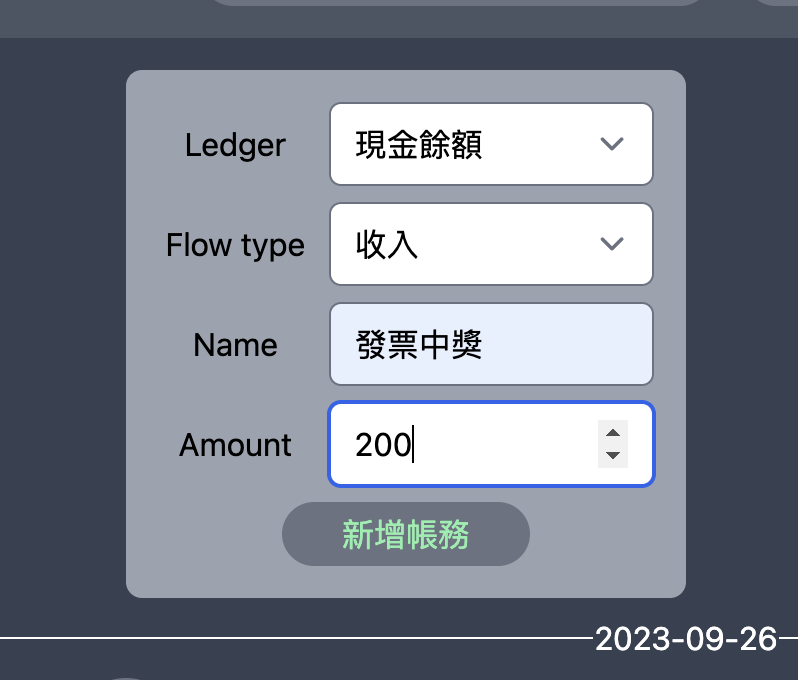 |
 |
講到臭的東西,因為沒有要做特殊 error message,且驗證也有預設的可以用
# app/models/accounting.rb

class Accounting < ApplicationRecord
  ...

  validates :name, :amount, presence: true
end
因為目前功能很簡陋,所以 Ledger 一併套上這樣就算完成了(茶