單元測試的測試功能都介紹了差不多了,其實到後來可以發現,基本上單元測試能測的都大同小異,就是一些寫法跟語法的不同而已,介紹完了單元測試,我們來看看要怎麼撰寫端對端 (End-to-end) 的測試吧!
這邊我以 React 比較常使用的 E2E 測試套件 Cypress 來介紹,Cypress 提供了簡單的介面,讓我們可以快速的寫出 E2E 測試,而且 Testing Library 也有提供 Cypress Testing Library 讓我們可以使用 Testing Library 的語法來寫 E2E 測試。
npm install cypress --save-dev
執行的時候只要下
npx cypress open
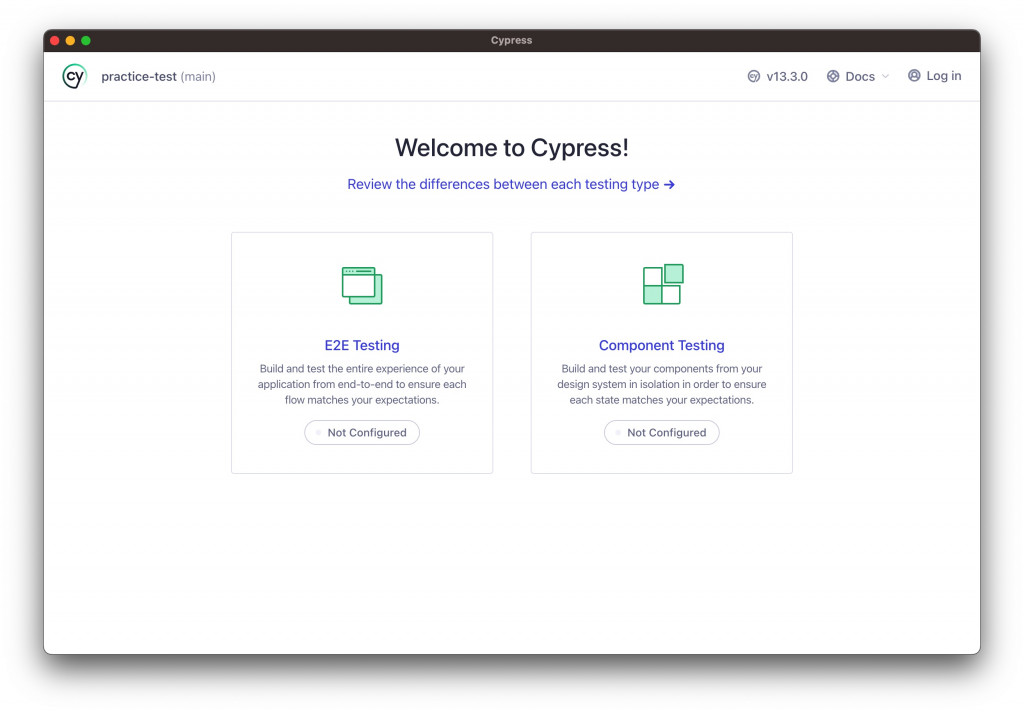
第一次使用時會顯示兩個選項讓你選,一個是 E2E Testing 另一個是 Component Testing,差別在於 E2E Testing 測試的是整個應用程式,而 Component Testing 測試的是單一元件,這邊我們先選擇 E2E Testing。
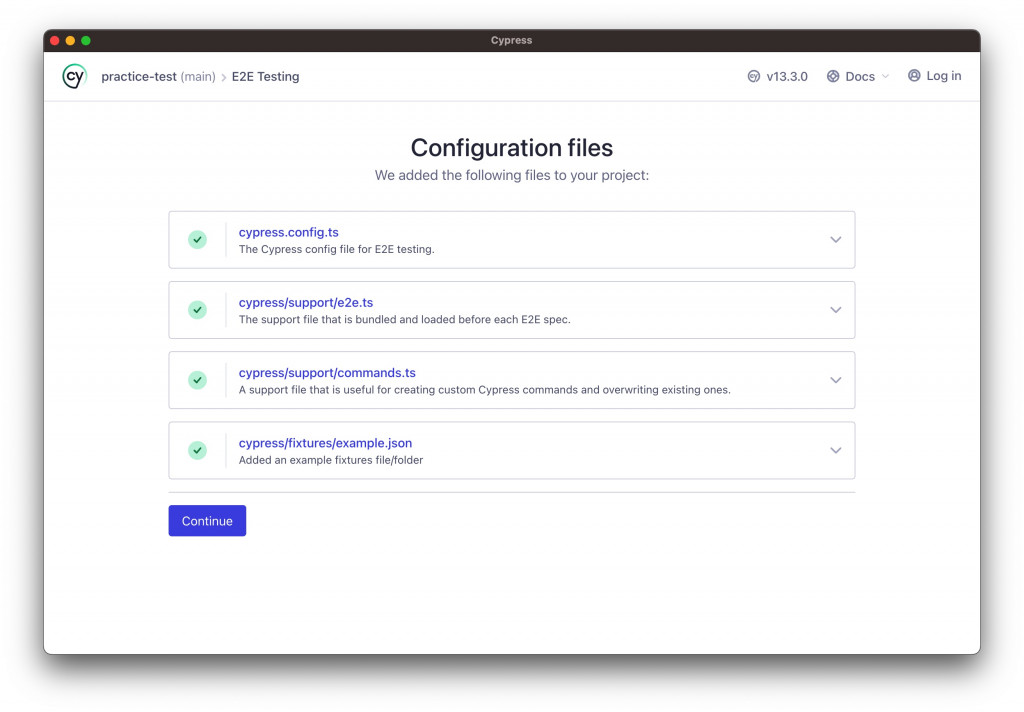
接著他會自動幫你增加四個檔案
再來可以選擇使用哪個瀏覽器做測試,這邊我們選擇 Chrome。

選擇完後就可以開始寫測試了,他會自動幫你開啟一個瀏覽器,並且在左邊顯示所有的測試檔案,點擊後就可以開始寫測試了。
這邊以官方提供的範例來看看 Cypress 的測試流程
/// <reference types="cypress" />

describe("example to-do app", () => {
  beforeEach(() => {
    cy.visit("https://example.cypress.io/todo");
  });

  it("displays two todo items by default", () => {
    cy.get(".todo-list li").should("have.length", 2);
    cy.get(".todo-list li").first().should("have.text", "Pay electric bill");
    cy.get(".todo-list li").last().should("have.text", "Walk the dog");
  });

  it("can add new todo items", () => {
    const newItem = "Feed the cat";
    cy.get("[data-test=new-todo]").type(`${newItem}{enter}`);
    cy.get(".todo-list li")
      .should("have.length", 3)
      .last()
      .should("have.text", newItem);
  });

  it("can check off an item as completed", () => {
    cy.contains("Pay electric bill")
      .parent()
      .find("input[type=checkbox]")
      .check();
    cy.contains("Pay electric bill")
      .parents("li")
      .should("have.class", "completed");
  });

  context("with a checked task", () => {
    beforeEach(() => {
      cy.contains("Pay electric bill")
        .parent()
        .find("input[type=checkbox]")
        .check();
    });

    it("can filter for uncompleted tasks", () => {
      cy.contains("Active").click();
      cy.get(".todo-list li")
        .should("have.length", 1)
        .first()
        .should("have.text", "Walk the dog");
      cy.contains("Pay electric bill").should("not.exist");
    });

    it("can filter for completed tasks", () => {
      cy.contains("Completed").click();

      cy.get(".todo-list li")
        .should("have.length", 1)
        .first()
        .should("have.text", "Pay electric bill");

      cy.contains("Walk the dog").should("not.exist");
    });

    it("can delete all completed tasks", () => {
      cy.contains("Clear completed").click();
      cy.get(".todo-list li")
        .should("have.length", 1)
        .should("not.have.text", "Pay electric bill");
      cy.contains("Clear completed").should("not.exist");
    });
  });
});
這是一段測試 To-do List 是否運作正常的測試碼,可以看到寫起來其實跟 Jest 很像,只不會 Cypress 使用了更多在測試 UI 畫面的語法,像是 cy.get()、cy.contains()、cy.parent()、cy.find() 等等,而且比起 Testing Library 在選擇元素的語法上更簡單,是使用 CSS Selector 來選擇元素,而不是像 Testing Library 那樣使用 getByRole、getByLabelText 等等,這樣的好處是可以直接使用瀏覽器的開發者工具來選擇元素,而且也不用擔心元素的層級關係,但缺點就是如果元素的層級關係改變了,就需要重新修改測試碼。
實際跑起來的畫面如下

下一篇來把之前寫的程式碼試著用 Cypress 來測試看看吧!

 iThome鐵人賽