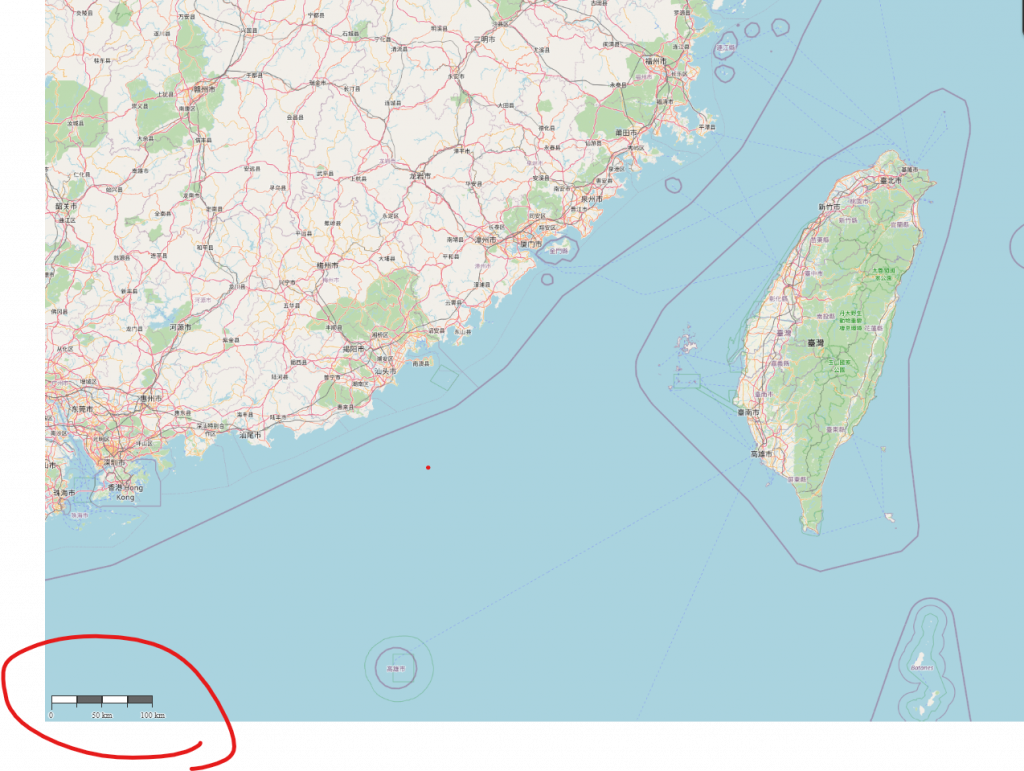
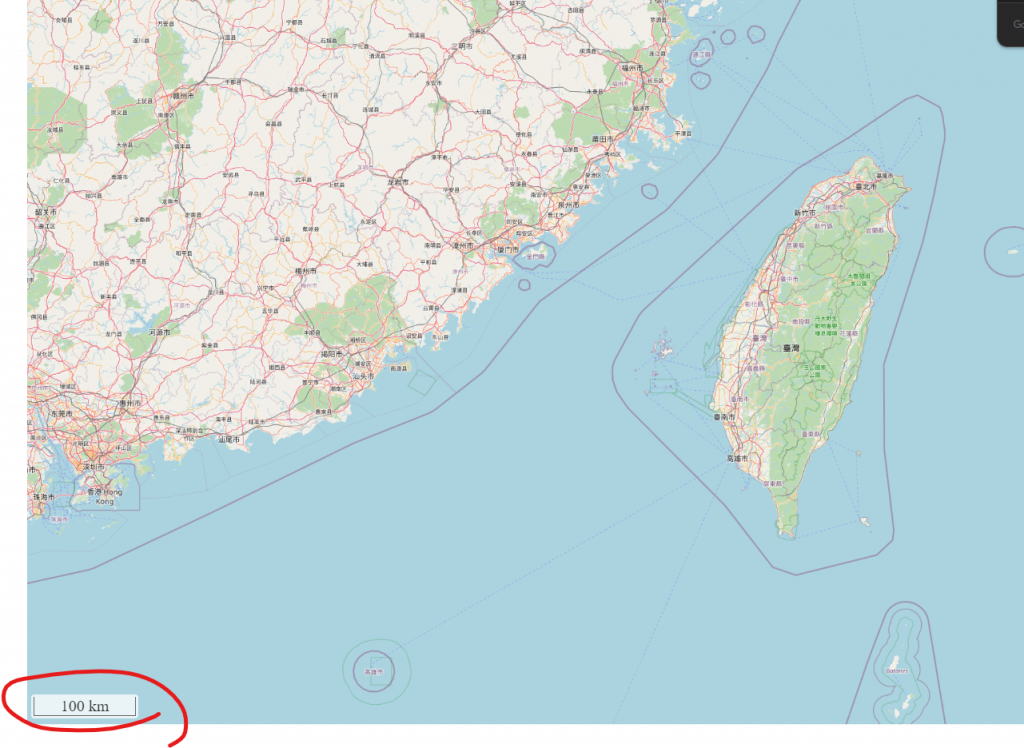
官網的範例參考
https://openlayers.org/en/latest/examples/scaleline-indiana-east.html
https://openlayers.org/en/latest/apidoc/module-ol_control_ScaleLine-ScaleLine.html
如果去看網址中API的參數有很多可以調整,這需要大家針對自己的需求去試試看了,我這邊只有簡單示範如何將比例尺快速的加入到地圖中,因為我自己平常在用的時候,也很少去調整它.......
const map = new ol.Map({
    layers: [
        new ol.layer.Tile({
            source: new ol.source.OSM()
        })
    ],
    target: 'map',
    view: new ol.View({
        projection: "EPSG:3857",
        center: ol.proj.fromLonLat([120.846642, 23.488793]),
        zoom: 7.5,
        maxZoom: 20,
        minZoom: 5,
        enableRotation: false,
    }),
    controls: []
});

map.addControl(
    new ol.control.ScaleLine({
        // {'degrees'} {'imperial'} {'nautical'} {'metric'} {'us'}
        // 比例尺有提供幾種單位可以調整,範例如下
        // units: 'us'
        bar: true,
        steps: 4
    })
);

如果使用參數className的話,通常會要整個去設計比例尺的樣式,所以我通常不是這樣操作的,我是用更暴力更直接的方法,到F12中找到對應的css名稱,強制修改成我要的字體大小
.ol-scale-line .ol-scale-line-inner {
    font-size: 20px;
}
const map = new ol.Map({
    layers: [
        new ol.layer.Tile({
            source: new ol.source.OSM()
        })
    ],
    target: 'map',
    view: new ol.View({
        projection: "EPSG:3857",
        center: ol.proj.fromLonLat([120.846642, 23.488793]),
        zoom: 7.5,
        maxZoom: 20,
        minZoom: 5,
        enableRotation: false,
    }),
    controls: []
});

map.addControl(
    new ol.control.ScaleLine({
        // 比例尺常用的參數調整如下
        // units: 'us' // {'degrees'} {'imperial'} {'nautical'} {'metric'} {'us'}
        // bar: true,
        // steps: 4
    })
);
如此你就可以看到放大版的比例尺了
https://github.com/weijung0923/learning-openlayers-micromastery/tree/day07
