iT邦幫忙

2024 iThome 鐵人賽

DAY 3
0
Security

網路安全基礎概念與實作系列 第 3

Day 3: 安裝Nmap

  • 分享至 

  • xImage
  •  

前兩天了解基礎概論了,今天我決定來學習如何安裝Nmap 工具,並在Day4進行基本的網路掃描,Nmap (Network Mapper)是十分靈活強大的網路掃描工具,不但可以掃描端口,還能識別網路服務和操作系統,對進行安全分析有很大的幫助。

安裝Nmap

我選擇在Windows上安裝Nmap,前往Nmap官方網站Nmap Download Page。
https://ithelp.ithome.com.tw/upload/images/20240917/20169199r8bq51MB2Y.png
下載 Windows 安裝檔案。
https://ithelp.ithome.com.tw/upload/images/20240917/20169199I350FSzjZg.png
依照安裝流程完成安裝。
https://ithelp.ithome.com.tw/upload/images/20240917/20169199aRdItRsLxs.png
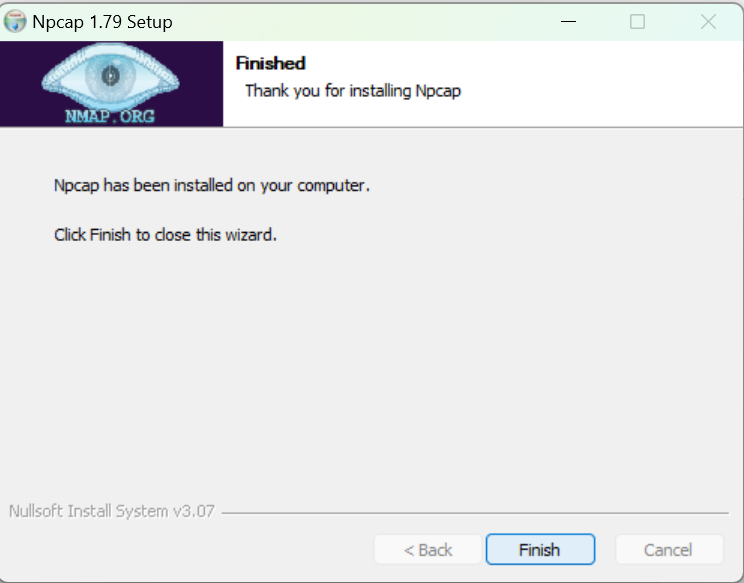
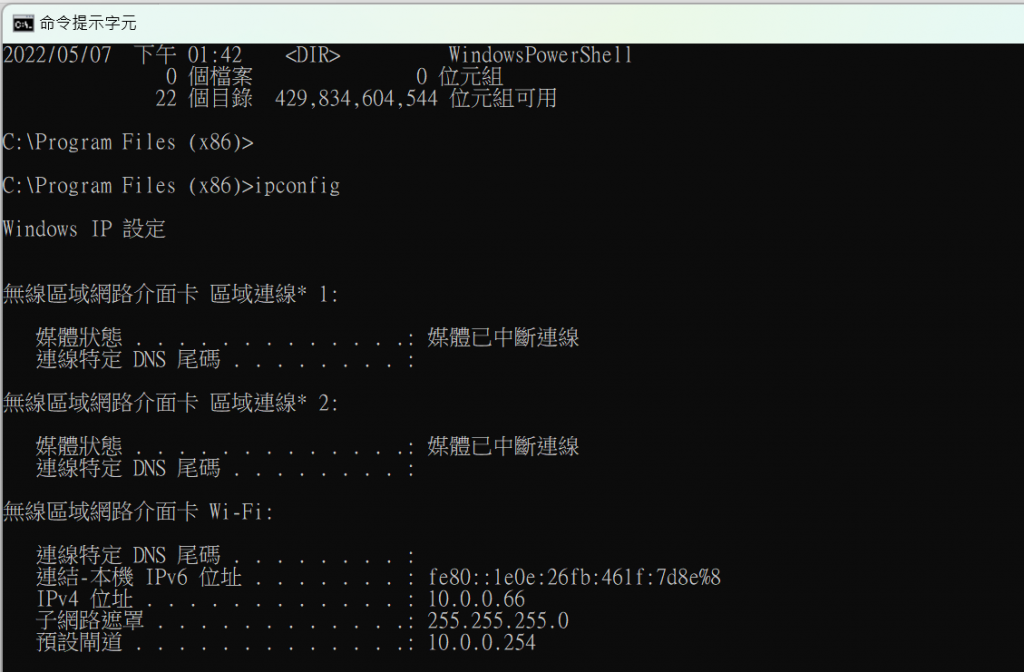
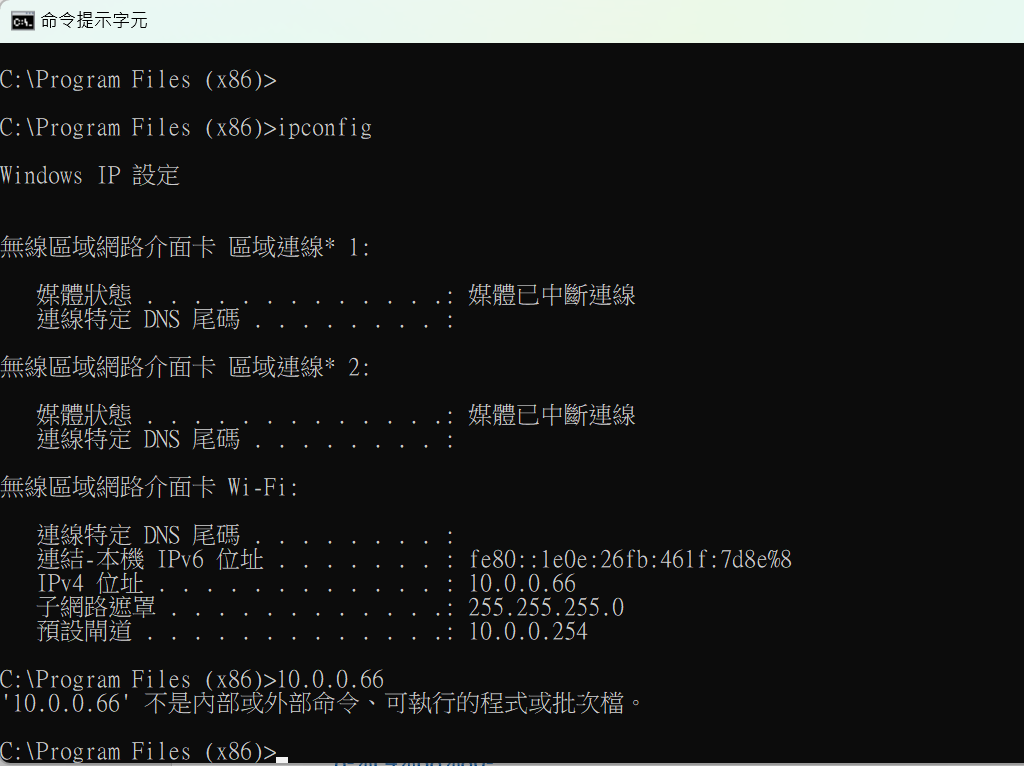
安裝完成後,開啟命令提示字元 (cmd),輸入 nmap 測試是否安裝成功。
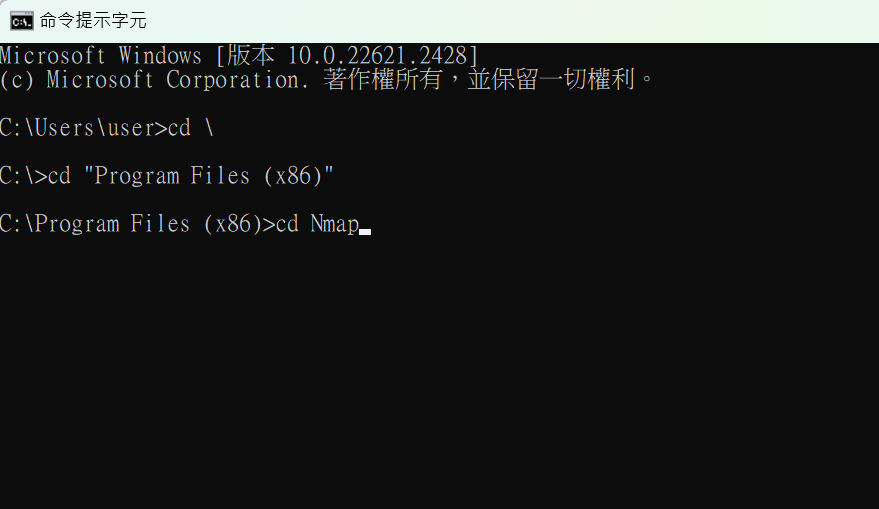
https://ithelp.ithome.com.tw/upload/images/20240917/2016919919KmpKcQ2J.png
輸入cd Nmap
https://ithelp.ithome.com.tw/upload/images/20240917/20169199xe1imCllEI.png

https://ithelp.ithome.com.tw/upload/images/20240917/20169199zJKLaczBHR.png

https://ithelp.ithome.com.tw/upload/images/20240917/201691998DYSFjrEfX.png
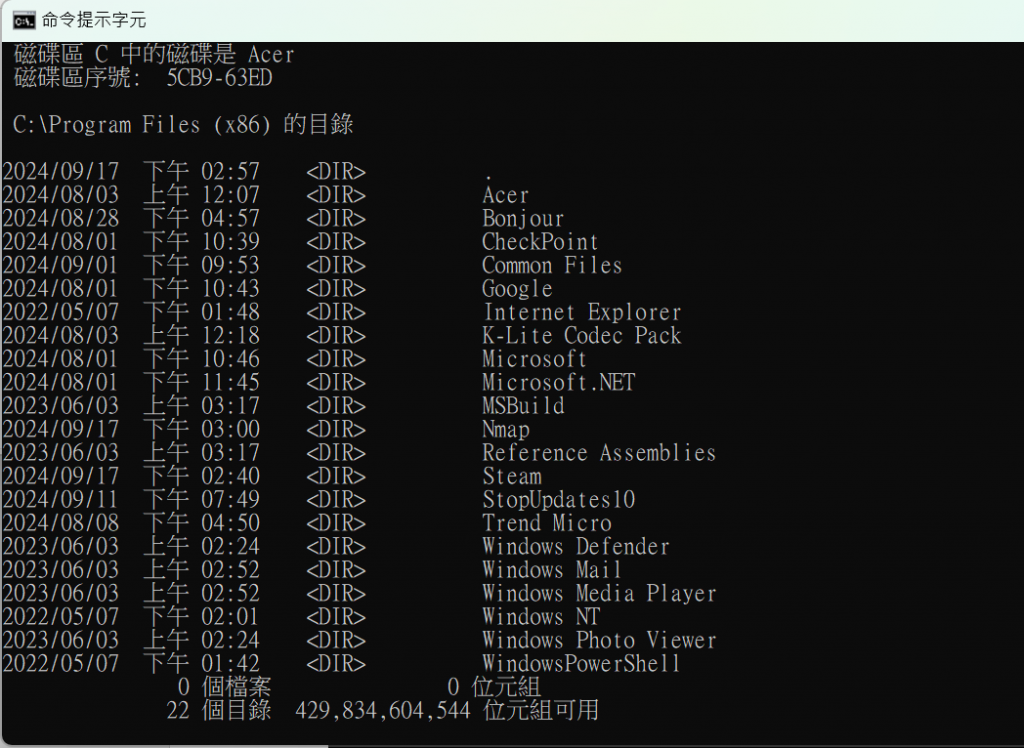
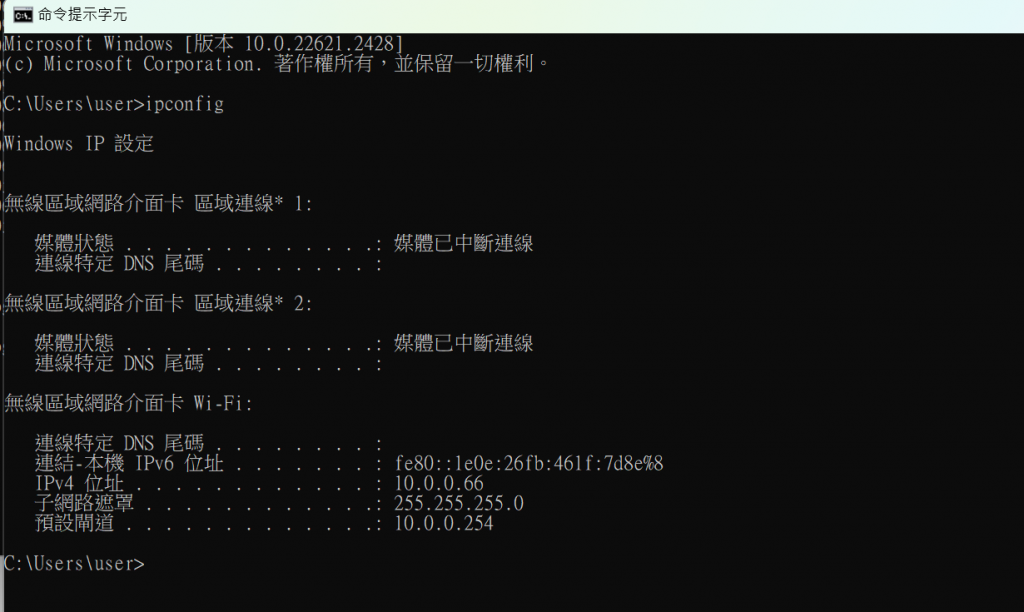
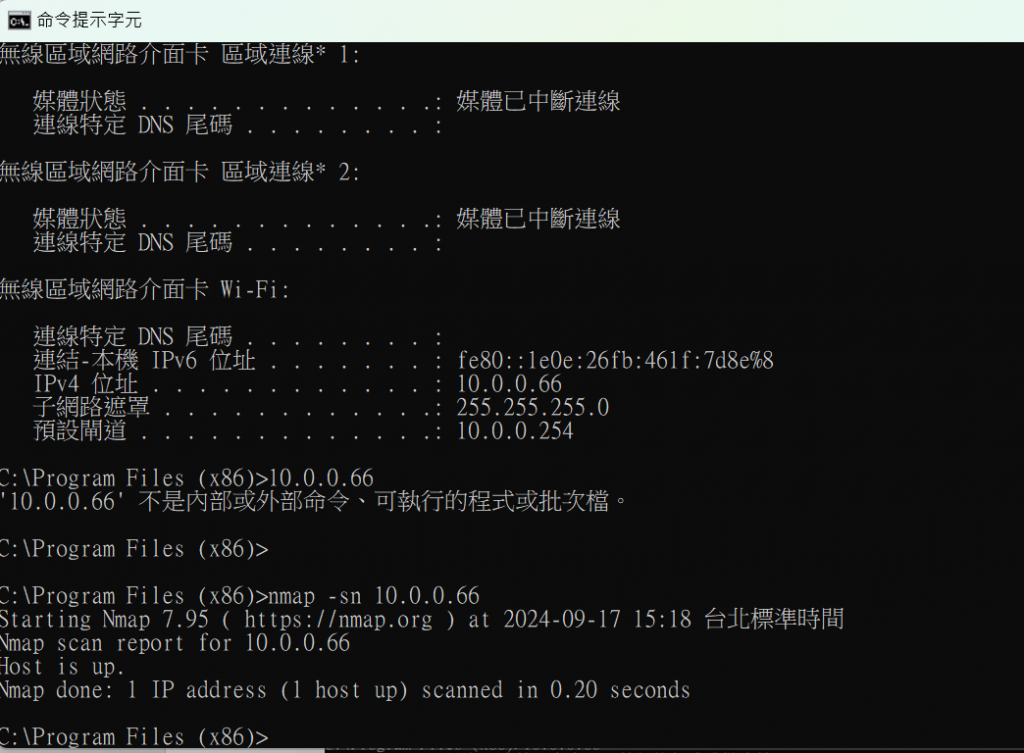
輸入目標類型,可以是IP或區域名。我將它設置為10.0.0.66,可以選擇不同類型的掃描,有Intense scan、Ping scan等類型。
https://ithelp.ithome.com.tw/upload/images/20240917/20169199Jvi47fCQ2l.png

https://ithelp.ithome.com.tw/upload/images/20240917/20169199DPVoj4pw5d.png

https://ithelp.ithome.com.tw/upload/images/20240917/20169199CWyKvDmICy.png

https://ithelp.ithome.com.tw/upload/images/20240917/20169199dV7X1xklzK.png
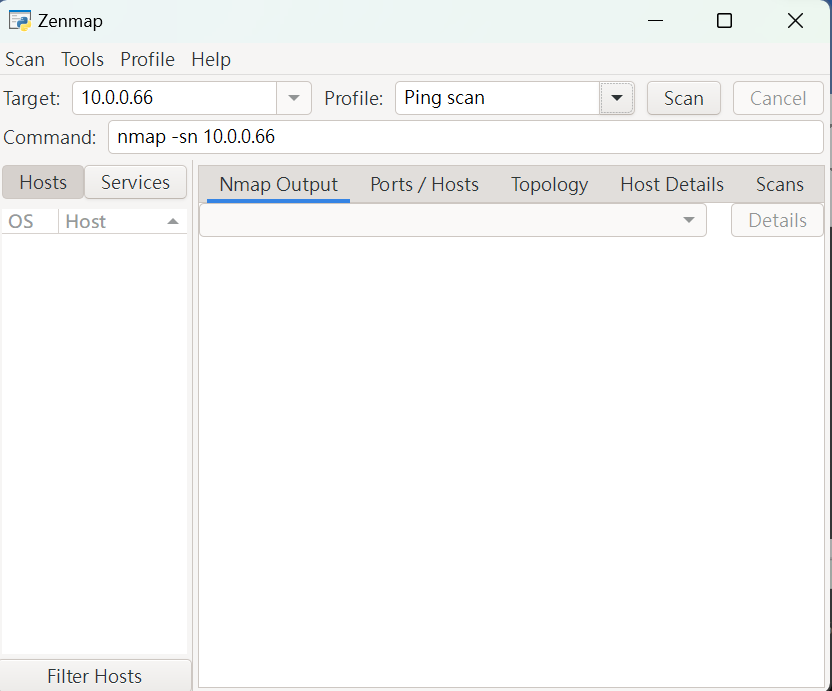
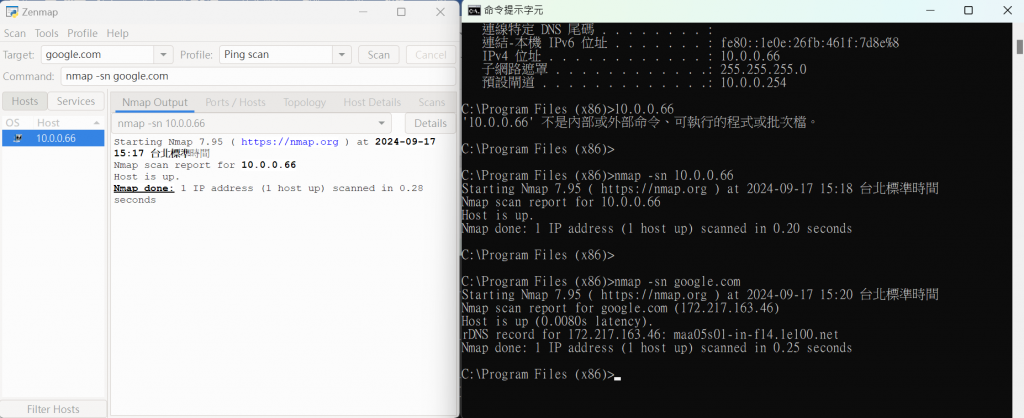
輸入google.com,可以看到更多有關google.com的訊息。

以上步驟完成就安裝測試完成了!


上一篇
Day 2: 常見的網路攻擊手法
下一篇
Day 4: 使用 Nmap 進行網路掃描
系列文
網路安全基礎概念與實作26
圖片
  直播研討會
圖片
{{ item.channelVendor }} {{ item.webinarstarted }} |
{{ formatDate(item.duration) }}
直播中

尚未有邦友留言

立即登入留言