資料庫的部分我們選用 postgreSQL,為什麼選用 postgreSQL?因為我沒用過,想趁鐵人賽的機會順便學一下。安裝資料庫這種事情,我可不行搞臭我的電腦,所以我們可以選擇把 postgreSQL 安裝在 docker 裡面。
為了避免我們開發到一半資料不見,我們先用 docker 創一個自己的 volume whisper_db
docker volume create whisper_db
如果我們已經將 docker container 建立好且開始始用資料庫後發現整個 container 的配置有需要調整時,我們可以直接刪除整個 container 並將 volumes 重新掛載上去,這樣原本資料庫內的資料就還會存在。
接著查看 postgreSQL 在 DockerHub 上的頁面 https://hub.docker.com/_/postgres
我們可以建立一個 docker-compose.yml 檔
# Use postgres/example user/password credentials
version: '3.9'

services:
  db:
    image: postgres
    shm_size: 128mb
    volumes:
      - whisper_db:/var/lib/postgresql/data
    environment:
      POSTGRES_PASSWORD: example
    ports:
      - 5432:5432

  adminer:
    image: adminer
    ports:
      - 8080:8080

volumes:
    whisper_db:
接著我們使用 docker-compose 建立 image 和 container
docker-compose up -d
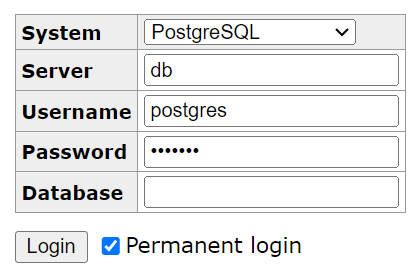
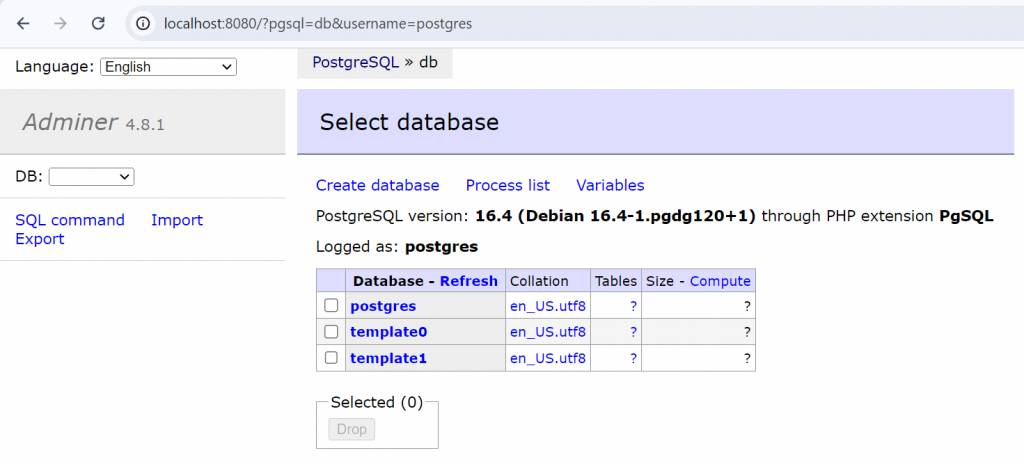
接著使用瀏覽器進入 http://localhost:8080 ,就可以看到 adminer 圖行化介面了,預設的帳號是 postgres 而密碼則是在 docker-compose.yml 中指定的 example
可以直接用 adminer 建立資料庫及資料表。不過,我們仍在此提供一些相關的指令使用打法。
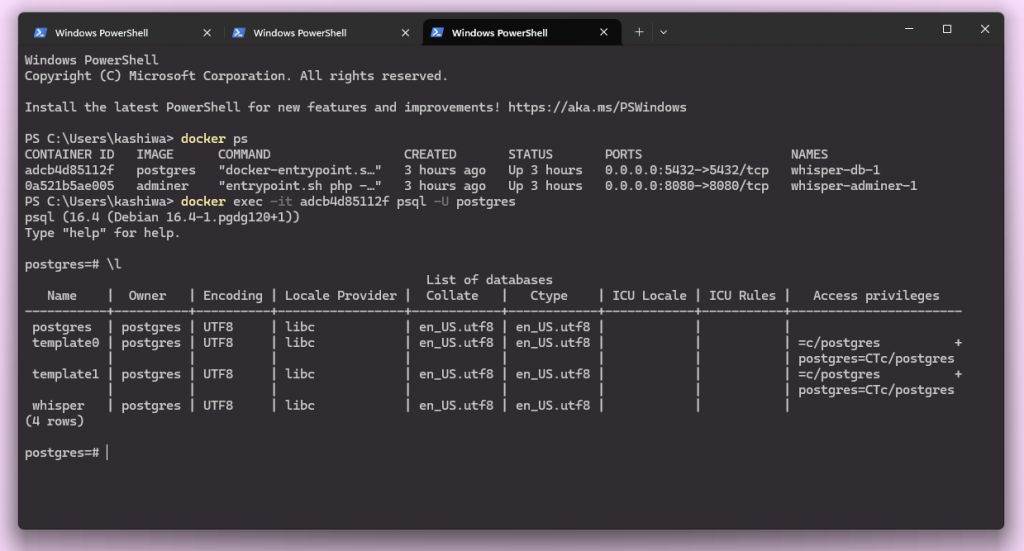
首先先查看目前有哪些 container 正在執行
docker ps
進入 PostgreSQL 的命令列,-U 參數用於指定要連接的資料庫用戶名,預設為 postgres
docker exec -it <container_name> psql -U postgres
進入後就會像這樣
PS C:\Users\kashiwa> docker exec -it a2790f6a0d02 psql -U postgres
psql (16.4 (Debian 16.4-1.pgdg120+1))
Type "help" for help.

postgres=#
我們可以使用 CREATE DATABASE <database_name>; 的指令來新增資料庫,這裡以 whipser 示範
postgres=# CREATE DATABASE whisper;
接著使用 \l 來列出所有資料庫
postgres=# \l
使用 \c 連接到其他資料庫
postgres=# \c whisper
You are now connected to database "whisper" as user "postgres".
whisper=#
在此,我們示範建立 user 資料表
create table users (
    id                      serial          not null primary key,
    name                    text            not null,
    user_id                 text            not null,
    email                   text            not null,
    public_key              text            not null,
    encrypted_private_key   text            not null,
    hash_password           char(44)        not null,
    hash_pin                char(44)        not null,
    salt                    char(44)        not null,
    created_at              timestamptz     default now(),
    updated_at              timestamptz     default now()
);
其中,serial 代表這個欄位會在插入新資料時自動加一,類似於 MySQL 中的 AUTO_INCREMENT 或 SQLite 中的 AUTOINCREMENT。create_at 後的 timestamptz 代表是 timestamp 加上時區 z 。且我們可以設定使用現在時間來當作預設值。
那麼建立資料表後要如何新增欄位呢?新增欄位時我們可以使用以下命令:
alter table <yourtable> add column <column name> <column type> <defualt value>;
比如,我們突然發現忘記加入:profile
alter table users add column profile text;
類似的語法也可以為某個欄位更名:
alter table <your_table> rename column <old_name> to <new_name>;
或清除某個欄位:
alter table <your_table> drop column <column>;
如果想要將整張 table 砍掉重練則可以使用:
drop table <your_table>;
打完指令後要記得加分號,如果忘記加,補接就可以了
接著,我們可以使用 \d <table> 查看表格的 schema
whisper=# \d users
                                            Table "public.users"
        Column         |           Type           | Collation | Nullable |              Default
-----------------------+--------------------------+-----------+----------+-----------------------------------
 id                    | integer                  |           | not null | nextval('users_id_seq'::regclass)
 name                  | text                     |           | not null |
 user_id               | text                     |           | not null |
 email                 | text                     |           | not null |
 public_key            | text                     |           | not null |
 encrypted_private_key | text                     |           | not null |
 hash_password         | character(44)            |           | not null |
 hash_pin              | character(44)            |           | not null |
 salt                  | character(44)            |           | not null |
 created_at            | timestamp with time zone |           |          | now()
 updated_at            | timestamp with time zone |           |          | now()
 profile               | text                     |           |          |
Indexes:
    "users_pkey" PRIMARY KEY, btree (id)
也可以使用 \dt 查看資料庫內的表格
whisper=# \dt
         List of relations
 Schema | Name  | Type  |  Owner
--------+-------+-------+----------
 public | users | table | postgres
(1 row)
後記:查看內容時有時會因為畫面不夠而出現 (END) 的情況
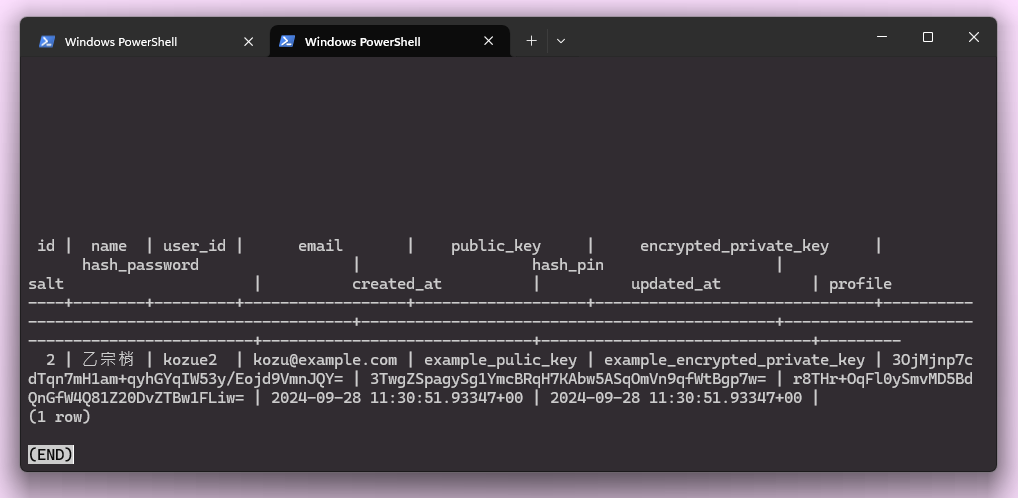
此時別謊,先試試按下 Ctrl+D ,以為會跳出,結果不會,那麼該使用 CTRL+C 大法了吧,結果也跳不出去,最後使用 CTRL+Z ,結果直接從 docker 中跳了出來。那麼正確作法是什麼?只要按下 q 就可以離開了🙄