在上一篇文章中,已經初步設定好SniperPhish,屆時您的網址變更為「http://localhost/spear」,出現登入畫面,接著可使用預設的帳號「admin」與密碼「sniperphish」去登入SniperPhish平台。
進來之後就是首頁,可瀏覽追蹤活動「Campaigns」時間線,項目包括Quick Tracker(快速追蹤,黃色)、Web Tracker(網頁追蹤,青綠色)以及Mail Campaign(郵件活動追蹤,藍色)(PS:第一次登入SniperPhish沒有上述資料)。右上角顯示最近一次登入SniperPhish的時間以及登入頭像,左排羅列SniperPhish的主要功能。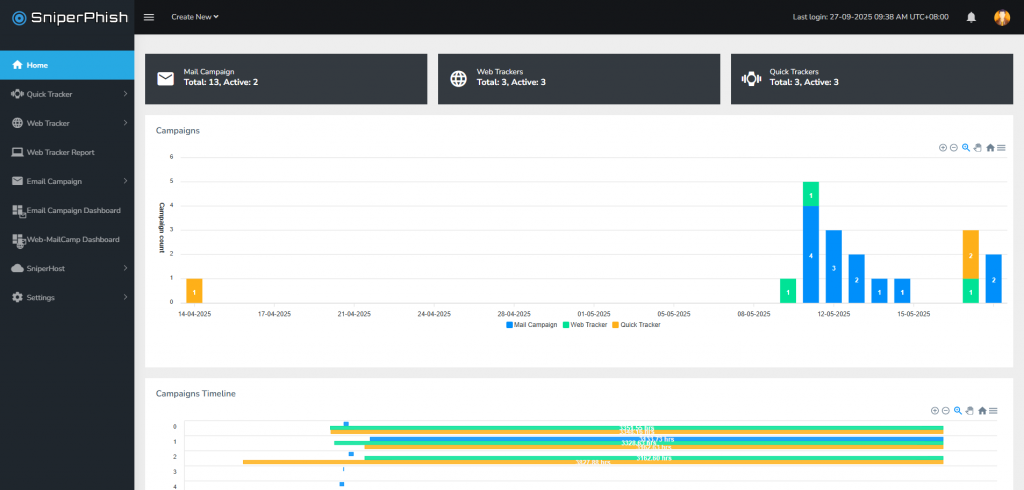
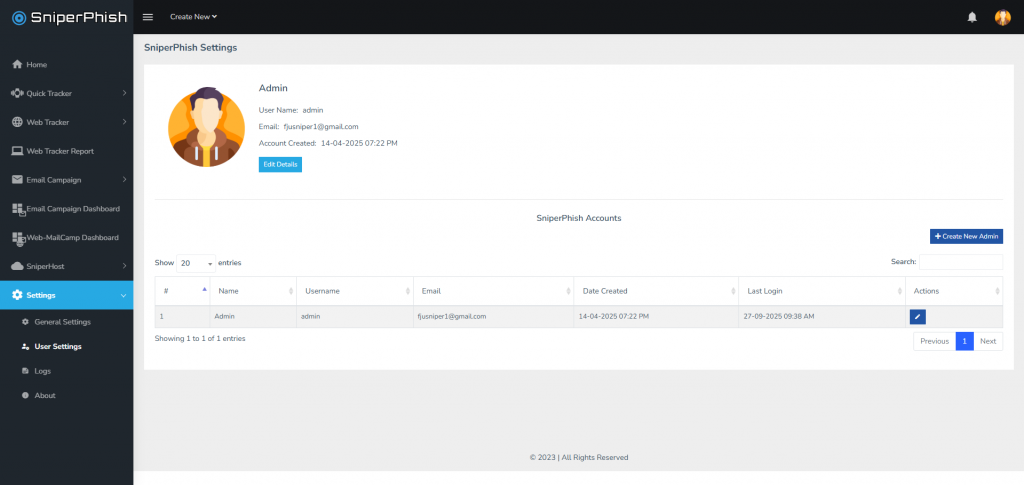
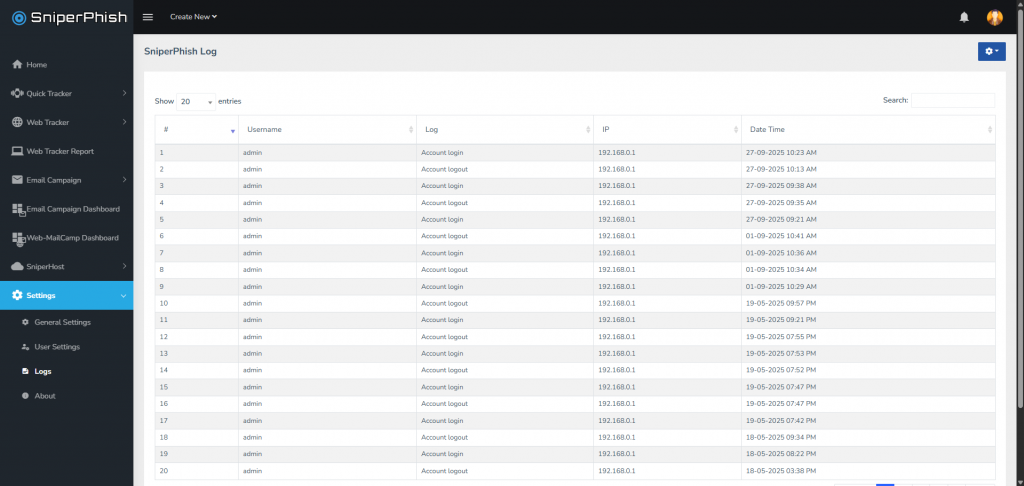
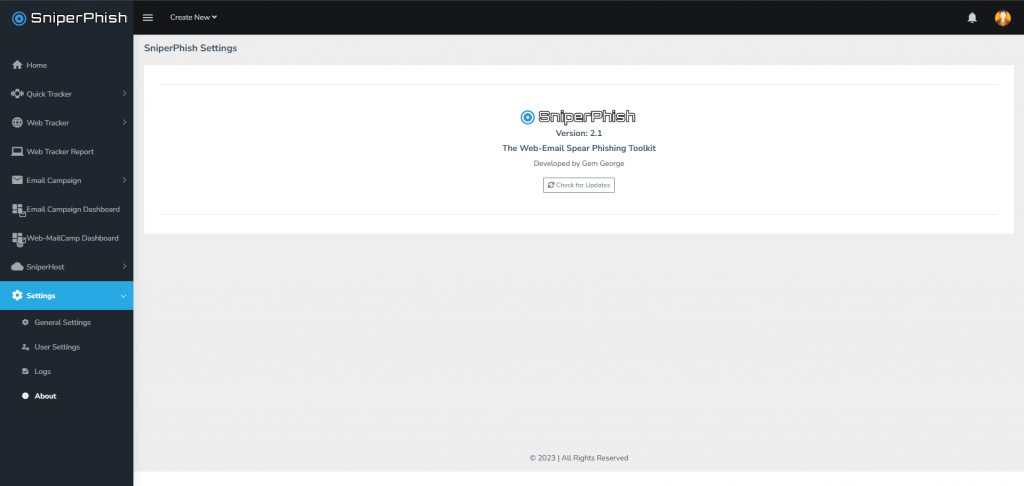
先從Settings(設定)開始說起,Settings的功能包括General Settings(一般設定)、User Settings(管理員設定)、Logs(日誌)和About(關於)。其中General Settings可以設定時區和時間格式,另外也可以設定SniperPhish base URL,這攸關於網頁追蹤。在User Settings部分除了可以調整管理者名稱、信箱、密碼之外,還可以手動新增管理員(名稱、登入帳號、登入密碼、郵件)。logs部分可以查閱SniperPhish登入與登出紀錄。About則展示SniperPhish的開發者和更新確認按鈕。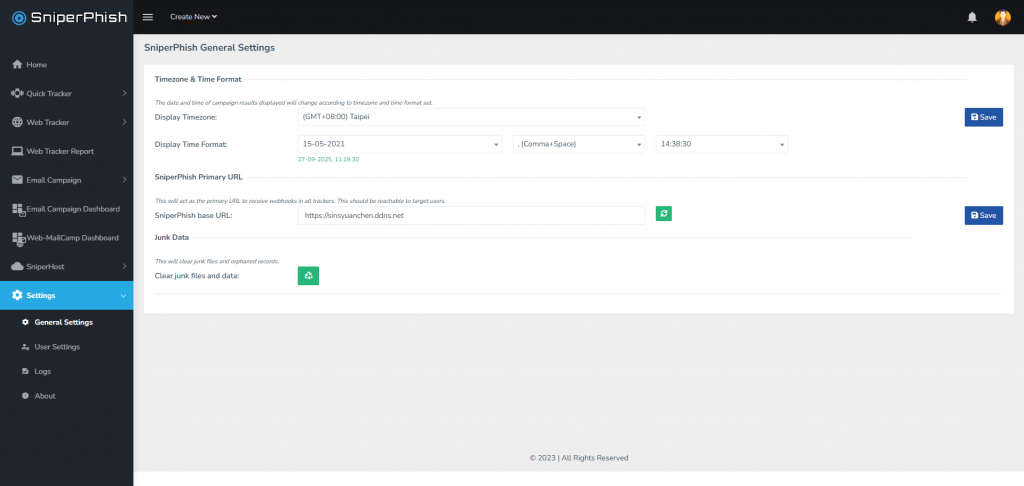
由於接下來Tracker系列要介紹蠻多的,將留到下一篇再來介紹囉!
 sinsyuan0522
