很多人聽過Nginx, 也知道Nginx很強大, 如何取得強大的Nginx卻是一個疑問, 這也是Nginx的市占率尚不能超越IIS的主因, 所以Nginx一直是許多大型網站所使用的伺服器, 卻較難進入尋常百姓家, 雖然許多Linux發行版提供包裝好的Nginx套件, 卻常常是很舊的版本, 當所用的Linux無法提供最新版本的軟體系統套件時, 我們可以透過編譯原始檔來使用最新的版本, 編譯並沒有想像中的困難, 本文將詳細解說編譯Nginx的過程.
上一篇: Linux Pi的奇幻旅程(21)-Nginx
http://ithelp.ithome.com.tw/question/10137229
下一篇: Linux Pi的奇幻旅程(23)-PHP網站建置
http://ithelp.ithome.com.tw/question/10138045
編譯(compiling)難嗎? 難!真的不容易! 可行嗎? 可行! 為什麼要編譯? 能不編譯嗎? 當別人提供的版本是有資安疑慮的時候, 最好的方法就是自己編譯, 前文已將編譯的環境準備好了, 我們正在目錄~/workbench/nginx-1.5.6 之下:
pi@raspberrypi ~/workbench/nginx-1.5.6 $
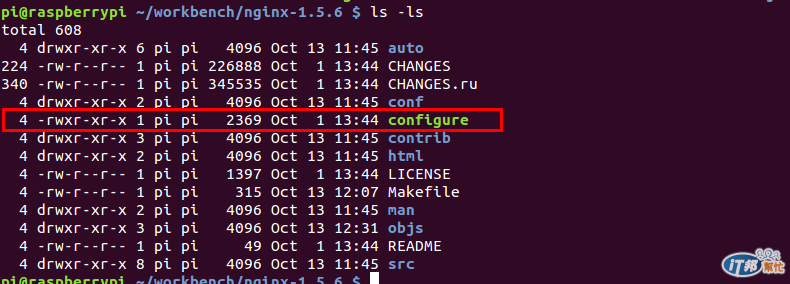
在這個目錄中, 有一個重要的檔案, 就是組態檔configure, 這是一個可執行的腳本, 也是用來組態要編譯的Nginx.
這是組態的命令加上很多很多的參數:
pi@raspberrypi ~/workbench/nginx-1.5.6 $ ./configure --prefix=/usr --sbin-path=/usr/sbin/nginx --conf-path=/etc/nginx/nginx.conf --pid-path=/var/run/nginx.pid --lock-path=/var/lock/nginx.lock --user=www-data --group=www-data --http-log-path=/var/log/nginx/access.log --error-log-path=/var/log/nginx/error.log --http-client-body-temp-path=/var/lib/nginx/body --http-proxy-temp-path=/var/lib/nginx/proxy --http-fastcgi-temp-path=/var/lib/nginx/proxy --http-uwsgi-temp-path=/var/lib/nginx/uwsgi --http-scgi-temp-path=/var/lib/nginx/scgi --with-http_ssl_module --with-http_stub_status_module --with-debug
洋洋灑灑, 真的看起來很複雜, 其實不是那麼複雜的. 複雜怕專業, 專業怕軟腳, 硬起來, 沒什麼好怕的, 基本上, 官方文件上有說明, 先依樣畫葫蘆個幾次, 就慢慢熟了. 更何況, 如果您一路跟著這一系列文章學過來, 更不會有問題.
真的不會有問題嗎? 系統開始組態之後, 沒一會兒, 就出了問題了:
checking for PCRE library ... not found
checking for PCRE library in /usr/local/ ... not found
checking for PCRE library in /usr/include/pcre/ ... not found
checking for PCRE library in /usr/pkg/ ... not found
checking for PCRE library in /opt/local/ ... not found
./configure: error: the HTTP rewrite module requires the PCRE library.
You can either disable the module by using --without-http_rewrite_module option, or install the PCRE library into the system, or build the PCRE library statically from the source with nginx by using --with-pcre=<path> option.
看到一堆not found, 開始緊張起來, 到底是什麼問題? PCRE是Perl Compatible Regular Expressions, 也就是和Perl相容的正則表達式, 正則表達式是用來描述與匹配特定的字元字串等, 利用匹配後的結果找出符合的字元字串, 然後提供給其它的程式使用. Nginx官方建議要自行下載pcre的函式庫來編譯, 但是這樣增加了編譯Nginx的複雜度, 我就用Raspbian所提供的pcre套件吧.
就用apt-get來安裝, 我也不去選擇應該裝的是哪一類的pcre, 就裝上開頭是libpcre3的所有套件, 這也是libpcre3*中的*所代表的意義:
pi@raspberrypi ~/workbench/nginx-1.5.6 $ sudo apt-get install libpcre3*
裝好PCRE之後, 再組態一次吧, 這次該不會再有問題? 果然還是有問題:
checking for PCRE library ... found
checking for PCRE JIT support ... found
checking for OpenSSL library ... not found
./configure: error: SSL modules require the OpenSSL library. You can either do not enable the modules, or install the OpenSSL library into the system, or build the OpenSSL library statically from the source with nginx by using --with-openssl=<path> option.
我們看到了已經有了PCRE library和PCRE JIT, 但是又少了OpenSSL的函式庫, 其實openssl是存在的, 但是少了可以編譯的函式表頭, 就裝上這些OpenSSL表頭吧:
pi@raspberrypi ~/workbench/nginx-1.5.6 $ sudo apt-get install libssl-dev
裝上了OpenSSL的表頭後, 就沒問題了嗎? 試試吧. 系統一直跑, 看起來該有的都有了, 果然, 沒多久, 組態完成了:
Configuration summary
nginx path prefix: "/usr"
nginx binary file: "/usr/sbin/nginx"
nginx configuration prefix: "/etc/nginx"
nginx configuration file: "/etc/nginx/nginx.conf"
nginx pid file: "/var/run/nginx.pid"
nginx error log file: "/var/log/nginx/error.log"
nginx http access log file: "/var/log/nginx/access.log"
nginx http client request body temporary files: "/var/lib/nginx/body"
nginx http proxy temporary files: "/var/lib/nginx/proxy"
nginx http fastcgi temporary files: "/var/lib/nginx/proxy"
nginx http uwsgi temporary files: "/var/lib/nginx/uwsgi"
nginx http scgi temporary files: "/var/lib/nginx/scgi"
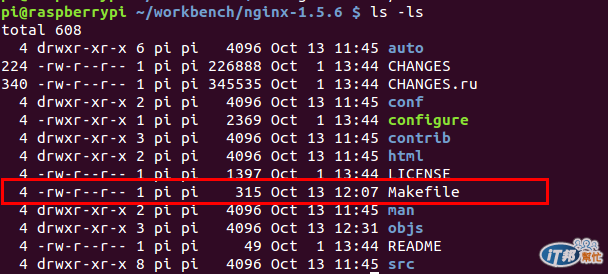
此時產生了一個正確的Makefile檔:
這是一個文字檔, 就來瞧瞧其頭(head)尾(tail)吧:
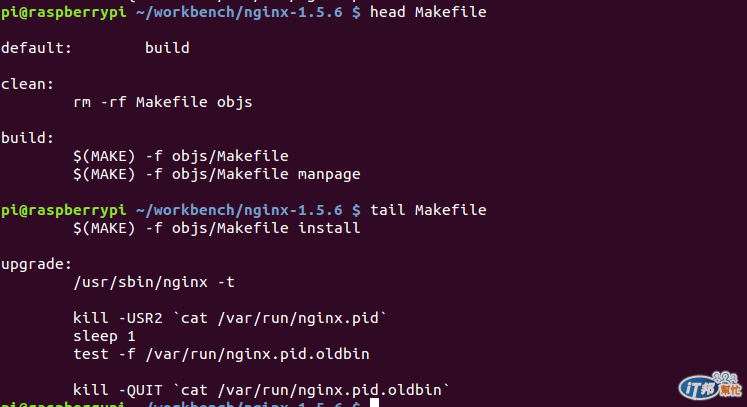
剛好就在尾巴的部份, 告訴您要如何更新一個舊版的Nginx:
upgrade:
/usr/sbin/nginx -t
kill -USR2 cat /var/run/nginx.pid
sleep 1
test -f /var/run/nginx.pid.oldbin
kill -QUIT cat /var/run/nginx.pid.oldbin
這是Nginx強大的地方, 您可以在一個繁忙的Nginx系統中更新Nginx, Nginx會很聰明的將舊版的Nginx的執行緒(thread)從記憶體中一個一個地轉移成新版的Nginx, 如果測試失敗了, 還是可以用舊的Nginx繼續提供服務, 不用重啟系統.
組態好了Nginx, 就可以開始編譯了:
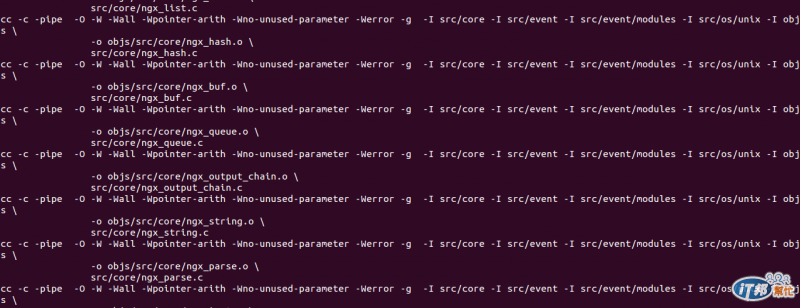
pi@raspberrypi ~/workbench/nginx-1.5.6 $ make
您會看到螢幕上快速地跑出編譯的輸出資訊, 系統不斷的跑, 下圖是一個片段:
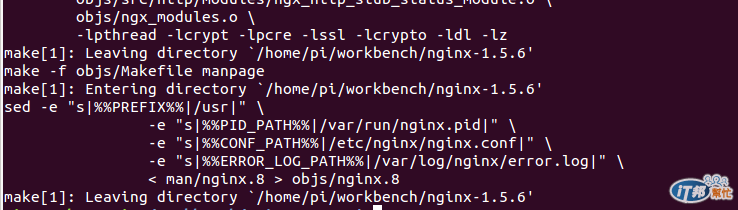
類似上圖的片段一直持續著, 約莫8分鐘之後, 編譯完成了, 如下圖, 如果沒有顯示任何錯誤, 就是正確的編譯了.
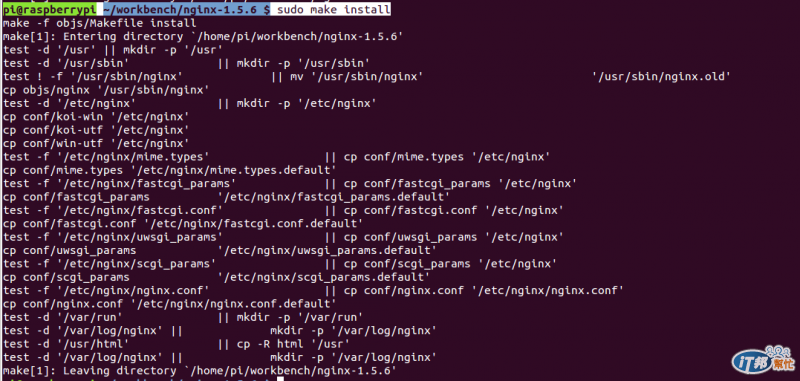
編譯完成後, 就需安裝到系統中, 由於組態時設定要安裝Nginx到系統目錄區中, 例如, 目錄/etc, /usr, 及/var之下, 必需以root的權限安裝. 安裝的指令如下:
pi@raspberrypi ~/workbench/nginx-1.5.6 $ sudo make install
安裝的結果如下:
這樣就完成編譯與安裝Nginx到Raspberry Pi了. 接著檢查Nginx的版本:
pi@raspberrypi ~/workbench/nginx-1.5.6 $ nginx -v
nginx version: nginx/1.5.6
這是最新的版本了.
啟動的腳本已安裝為檔案/etc/init.d/nginx, 並建立了runlevel 2的啟動連結了:
pi@raspberrypi ~/workbench/nginx-1.5.6 $ ls -ls /etc/rc2.d|grep nginx
0 lrwxrwxrwx 1 root root 15 Oct 13 11:39 S02nginx -> ../init.d/nginx
可以重開機自動啟動Nginx, 或者手動啟動:
$ sudo /etc/init.d/nginx start
本文介紹的Nginx編譯過程發生的錯誤是故意的作為, 通常會先安裝pcre和openssl, 自然就不會有那些錯誤了. 至於組態檔的參數很多, 對於初學者來說, 其實只要複製貼上就可以了. 而因為我所編譯的Nginx版本是綠色軟件, 也就是不安裝到系統目錄區, 我所使用的組態參數遠多於本文所列出的, 當然這都是學習的結果. 祝福各位編譯順利.


 iThome鐵人賽