CoreData: 用來儲存資料將物件序列化之後儲存在XML,Binary,SQLite
new file一個CoreFileModel,或是你可以在建立專案時勾選CoreData他會送你一個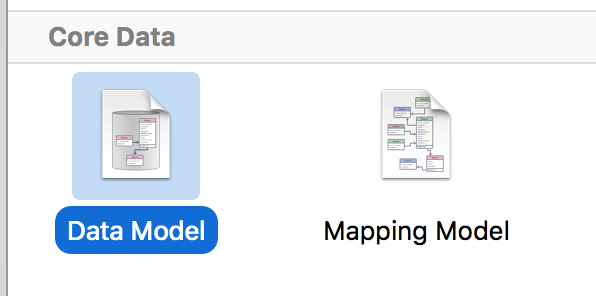
會多出一個.xcdatamodeld檔案點他可以進入管理介面
藍色框框可以新增Entities
橘色框框那裡可以選擇檢視Entities的模式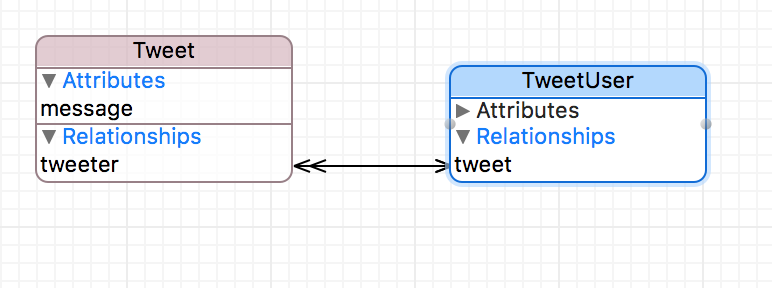
Entities之間可以有連結ControlDrag就可以連
1.勾選Use CoreData
var moc : NSManagedObjectContext? = (UIApplication.shared.delegate as? AppDelegate)?.persistentContainer.viewContext
2.新增一個UIManagedDocument向他索取managedObjectContext
       //檔案管理者
        let fm = FileManager.default
        //跟他取得路徑
        if let docsDir = fm.urls(for: .documentDirectory, in: .userDomainMask).first{
            let url = docsDir.appendingPathComponent("MyDocName")
            let document = UIManagedDocument(fileURL: url)

            if document.documentState == .normal {
                //可以使用
            }else if document.documentState == .closed {
                //檢查檔案存在嗎
                let path = url.path
                let fileExist = FileManager.default.fileExists(atPath: path)
                if fileExist {
                    //打開用這個async方法
                    document.open(completionHandler: { (success) in
                        //somecode
                    })
                }else{
                    //建立一個用這個async方法
                    document.save(to: document.fileURL, for: .forCreating, completionHandler: { (success) in
                        //somecode
                    })
                }
            }

        }
我們從uimanagerdocument或是appdelegate裡拿到這東西後
現在我們用它來刪除,插入,尋找物件
let moc = document.managedObjectModel
            let tweet : NSManagedObject = NSEntityDescription.insertNewObject(forEntityName: "Tweet", into: moc)
兩個方法
func valueForKey(String) -> AnyObject
func setValue(AnyObject?,forKey: String)
如果relastionship是 To - many 是NSSet
不是的話則是NSManagedObjects
let moc = (UIApplication.shared.delegate as! AppDelegate).managedObjectContext
save() 會 throw東西所以你必須接他
//接下來
do {
    try moc.save()
} catch let error {

}
//管他的不想接要crash就給你cra
try! moc.save()

//來個nil吧
try? moc.save()
呼叫這兩個還蠻醜的
所以我們建立一個NSManagedObject的Subclass
步驟1.這裡找到新增subclass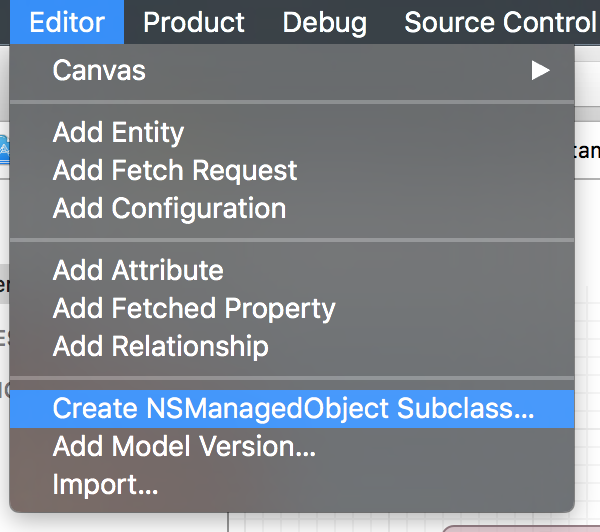
步驟2.勾選目標model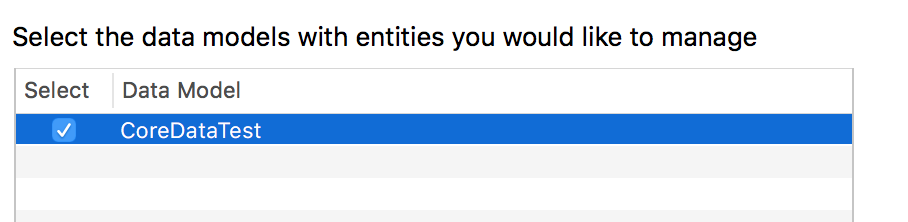
步驟3.勾選entity
你就可以得到這些檔案
其中一個存放屬性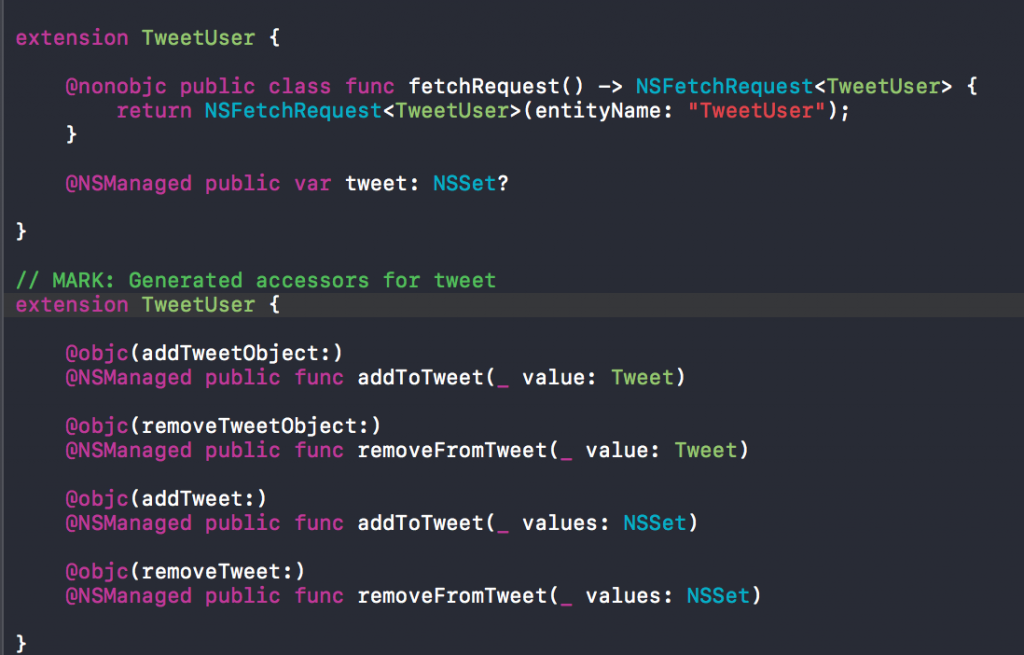
重點在 as? Tweet
   let moc = document.managedObjectContext
            if let myTweet = NSEntityDescription.insertNewObject(forEntityName: "Tweet", into: moc) as? Tweet {
            myTweet.message = "ABC"
            }
這樣就好多了不用 setValue("ABC",forKey: "message")
moc.delete(NSManagedObject)
在NSMangedObject subclass裡可以加入
func prepareForDeletion() {
//可以做一些事
}
Querying就跟這東西有關了
var predicate: NSPredicate?
//The predicate of the fetch request.
var fetchLimit: Int
//The fetch limit of the fetch request.
var fetchOffset: Int
//The fetch offset of the fetch request.
var fetchBatchSize: Int
//The batch size of the objects specified in the fetch request.
var affectedStores: [NSPersistentStore]?
//An array of persistent stores specified for the fetch request.
建立一個NSFetchRequest
 let request:NSFetchRequest<NSFetchRequestResult> = NSFetchRequest(entityName: "Level")

       request.predicate = NSPredicate(format: "unique = %@", tweetInfo.id!)

       if let tweet = (try? contexr.fetch(request))?.first as? Tweet{
            return tweet
        }
let descr = NSSortDescriptor(key: "Tweet", ascending: true, selector: Selector?)
最後你的Request會是個陣列好描述怎麼排序
fetchRequest.sortDescriptoe = [descr1,descr2]
// or
// fetchRequest.sortDescriptoe = [NSSortDescriptor(key: "name",ascending : true)]
let predicate = NSPredicate(format: "text = %@ OR text contain[c] %@", "mypredicate")
詳細的還要看一下官方文件有點像 printf
            let moc = document.managedObjectContext
            let fetchRequest = NSFetchRequest<NSFetchRequestResult>(entityName: "Tweet")
            fetchRequest.fetchBatchSize = 20
            fetchRequest.fetchLimit = 100

            let predicate = NSPredicate(format: "text = %@ OR text contain[c] %@", "mypredicate")
            fetchRequest.predicate = predicate
            let resault = try? moc.fetch(fetchRequest)
CoreData不是線程安全的,對於ManagedObject以及ManagedObjectContext的訪問都只能在對應的線程上進行,而不能誇線程。
如何多線程
func performBlock(_ block: -> Void)//在私有隊列中異步地執行 Blcok
func performBlockAndWait(_ block: -> Void)//在私有隊列中執行 Block 直至操作結束才返回
原文網址:https://read01.com/jxQ3zx.html
使用NSFetchedResultsController來回答有關UITableViewDataSource protocol 的問題
    override func tableView(_ tableView: UITableView, numberOfRowsInSection section: Int) -> Int {
        // #warning Incomplete implementation, return the number of rows
        //        return tweets[section].count
        let moc = document.managedObjectContext

        let fetchRequest = NSFetchRequest<NSFetchRequestResult>(entityName: "Tweet")
        let predicate = NSPredicate(format: "text = %@ OR text contain[c] %@", "mypredicate")
        fetchRequest.fetchBatchSize = 20
        fetchRequest.fetchLimit = 100
        fetchRequest.predicate = predicate

        //這裡這裡
        let frc = NSFetchedResultsController(fetchRequest: fetchRequest, managedObjectContext: moc, sectionNameKeyPath: "哪個attribute是section name", cacheName: nil)

        return frc.sections?.count ?? 1
    }
另外他有個 objectAtIndexPath的方法
可以用在cellForRowAtIndexPath
frc.objectAtIndexPath(indexPath) as XXX {
//load up
}


 iThome鐵人賽