我們用Plug來實作登入的檢驗。首先新增一個新的controller,lib/shop_web/controllers/auth.ex:
defmodule ShopWeb.Auth do
  import Plug.Conn

  def init(opts) do
    Keyword.fetch!(opts, :repo)
  end

  def call(conn, repo) do
    user_id = get_session(conn, :user_id)
    user = user_id && repo.get(Shop.User, user_id)
    assign(conn, :current_user, user)
  end

  def login(conn, user) do
    conn
    |> assign(:current_user, user)
    |> put_session(:user_id, user.id)
    |> configure_session(renew: true)
  end
end
接著把他加進router pipeline :browser內:
  pipeline :browser do
    plug :accepts, ["html"]
    plug :fetch_session
    plug :fetch_flash
    plug :protect_from_forgery
    plug :put_secure_browser_headers
    plug ShopWeb.Auth, repo: Shop.Repo
  end
這樣我們就可以取得:current_user了,我們在user_controller新增一個方法來實作驗證功能:
  def authenticate(conn, _params) do
    if conn.assigns.current_user do
      conn
    else
      conn
      |> put_flash(:error, "You must log in to access that page.")
      |> redirect(to: page_path(conn, :index))
      |> halt
    end
  end
接下來我們還需要登入登出的controller,首先先新增router
resources "/sessions", SessionController, only: [:new, :create, :delete]
會產生三個路由
session_path  GET     /sessions/new             ShopWeb.SessionController :new
session_path  POST    /sessions                 ShopWeb.SessionController :create
session_path  DELETE  /sessions/:id             ShopWeb.SessionController :delete
接著我們手動新增SessionController
defmodule ShopWeb.SessionController do
  use ShopWeb,  :controller
  alias Shop.Repo

  def new(conn, _params) do
    render conn, "new.html"
  end

  def create(conn, %{"session" => %{"username" => user, "password" => pass}}) do
    case ShopWeb.Auth.login_by_username_and_pass(conn, user, pass, repo: Repo) do
      {:ok, conn} ->
        conn
        |> put_flash(:info, "Welcone back!")
        |> redirect(to: page_path(conn, :index))
      {:error, _reason, conn} ->
        conn
        |> put_flash(:error, "Invalid username/password")
        |> render("new.html")
    end
  end
end
然後在Auth裡面實作登入的方法
  import Comeonin.Bcrypt, only: [checkpw: 2, dummy_checkpw: 0]
  ...
  def login_by_username_and_pass(conn, username, given_pass, opts) do
    repo = Keyword.fetch!(opts, :repo)
    user = repo.get_by(Shop.User, username: username)

    cond do
      user && checkpw(given_pass, user.encrypted_password) ->
        {:ok, login(conn, user)}
      user ->
        {:error, :unauthorized, conn}
      true ->
        dummy_checkpw
        {:error, :not_found, conn}
    end
  end
後端的部分完成,接下來把前端補上,首先建立view
defmodule ShopWeb.SessionView do
  use ShopWeb,  :view
end
以及template
<h1>Login</h1>

<!-- fetch session from conn -->
<%= form_for @conn, session_path(@conn, :create), [as: :session] , fn f -> %>
  <div class="form-group">
    <%= text_input f, :username, placeholder: "Username", class: "form-control" %>
  </div>
  <div class="form-group">
    <%= password_input f, :password, placeholder: "Password", class: "form-control" %>
  </div>
  <%= submit "Log In", class: "btn btn-primary" %>
<% end %>
再改一下layout顯示登入的使用者 lib/shop_web/templates/layout/app.html.eex,在header下第一行貼上:
<header class="header">
    <ol class="breadcrumb text-right">
      <%= if @current_user do %>
        <li><%= @current_user.username %></li>
        <li><%= link "Log out", to: session_path(@conn, :delete, @current_user), method: "delete" %></li>
      <% else %>
        <li><%= link "Register" , to: user_path(@conn, :new) %></li>
        <li><%= link "Login" , to:  session_path(@conn, :new) %></li>
      <% end %>
    </ol>
...
我們重新打開首頁,就可以看到上方的登入導覽列
嘗試用昨天的會員登入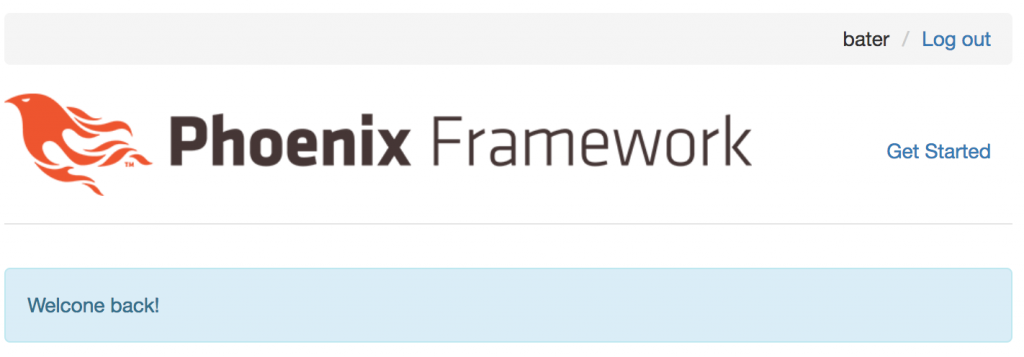
補上註冊會員後直接登入的功能,在user_controller加上|> ShopWeb.Auth.login(user):
  def create(conn, %{"user" => user_params}) do
    changeset = User.registration_changeset(%User{}, user_params)

    case Repo.insert(changeset) do
      {:ok, user} ->
        conn
        |> ShopWeb.Auth.login(user)
        |> put_flash(:info, "#{user.username} created")
        |> redirect(to: page_path(conn, :index))

      {:error, changeset} ->
        render conn, "new.html", changeset: changeset
    end
  end
補上登出的功能,先在auth新增登出:
def logout(conn) do
    configure_session(conn, drop: true)
end
在session_controller
def delete(conn, _params) do
    conn
    |> ShopWeb.Auth.logout
    |> redirect(to: page_path(conn, :index))
end
到這邊為止,登入、登出與註冊會員都已經完成,最後一個步驟我們把後台的功能加上需要事先登入的驗證,在product_controller的最上方:
  import ShopWeb.UserController, only: [authenticate: 2]
  plug :authenticate
這樣如果你想嘗試訪問 http://localhost:4000/admin/products ,就會跳轉到首頁並出現錯誤訊息: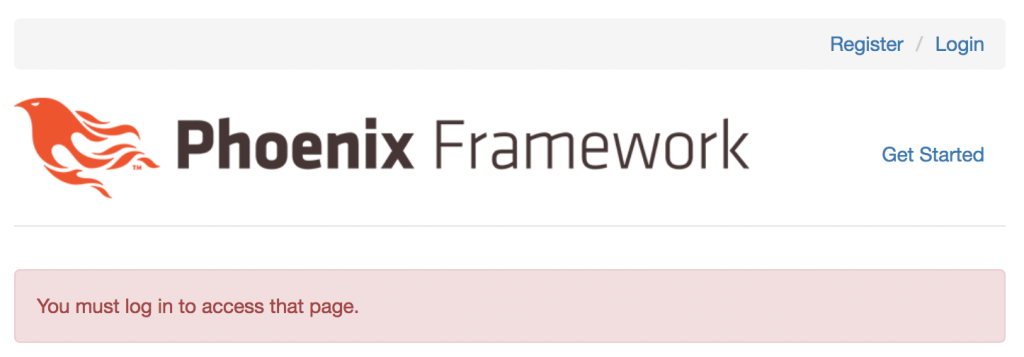


 iThome鐵人賽