拜讀Alex前輩的scss教學,做個筆記。
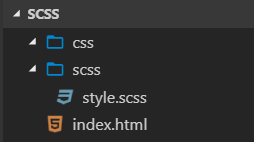
css資料夾是空的,scss資料夾裡面有個style.scss,也是空的。
index.html,body內的程式碼。
<div class="tabList">
    <header>
      <ul>
        <li><a href="javascript:void(0)">A</a></li>
        <li><a href="javascript:void(0)">B</a></li>
        <li><a href="javascript:void(0)">C</a></li>
        <li><a href="javascript:void(0)">D</a></li>
        <li><a href="javascript:void(0)">E</a></li>
      </ul>
    </header>
    <div>
      <ul>
        <li>
          <h3>Microsoft 微軟Surface Pro</h3>
          <p>原價$41888★狂降一萬二!</p>
          <p>29888</p>
        </li>
        <li>
          <h3>Microsoft 微軟Surface Pro</h3>
          <p>原價$41888★狂降一萬二!</p>
          <p>29888</p>
        </li>
        <li>
          <h3>Microsoft 微軟Surface Pro</h3>
          <p>原價$41888★狂降一萬二!</p>
          <p>29888</p>
        </li>
      </ul>
    </div>
  </div>
Prepros 這套工具可以幫助我們將SCSS轉成CSS。
Prepros下載安裝完成後,打開軟體。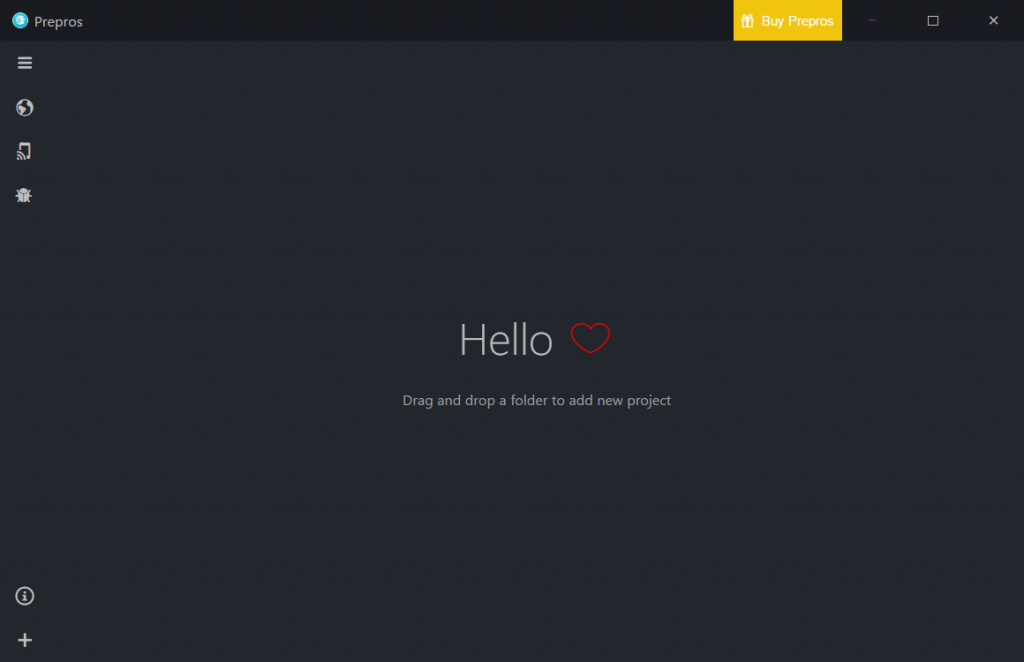
將專案拖曳至Prepros內。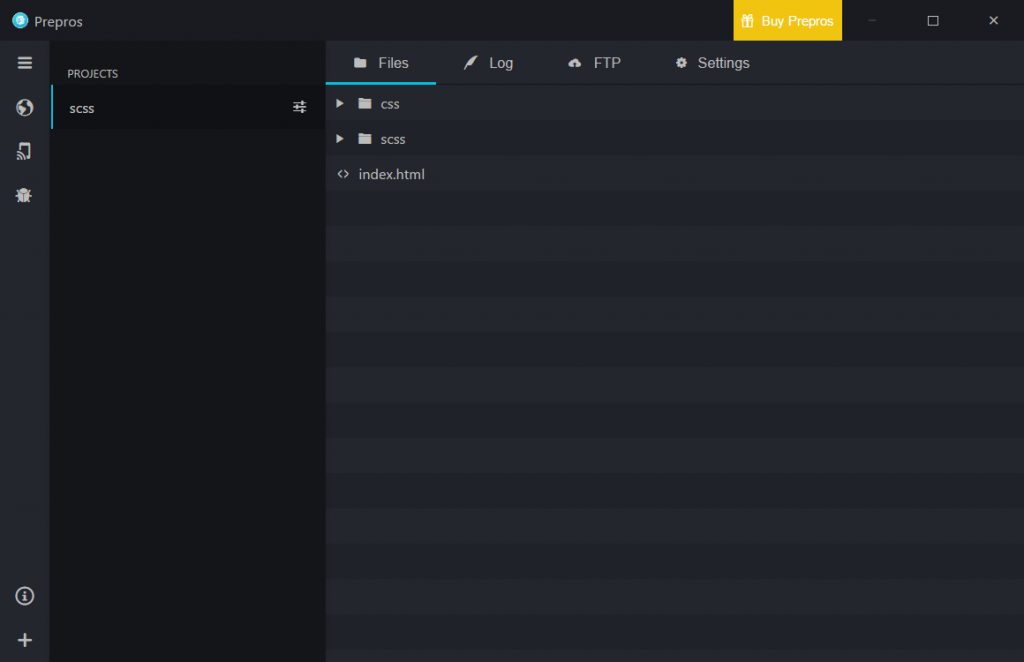
此時,Prepros會持續監控專案的scss狀態。
在開發過程中,Prepros不能關閉,不然會無法及時將scss轉譯成css。
回到專案,開始撰寫scss。
巢狀(Nesting)可說是新手接觸scss的第一個功能,也是最容易理解的。
style.scss
.tabList {
  > header {
    color: red;
  }
  > div {
    color: green;
  }
}
.tabList代表選取tabList class,在.tabList大括號裡面的>(大於)代表子代選取器。
所以
> header {
    color: red;
  }
表示選取.tabList子代中的header元素,並將其color屬性設定為紅色。
以此類推,上一段的程式碼,表示選取.tabList子代中的header和div元素,並將其color屬性設定為紅色和綠色。
完成之後,存檔。
這時在視窗的右下角會出現這個圖示。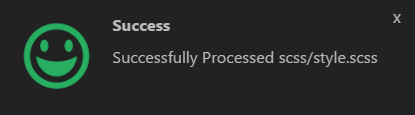
表示,成功將scss轉譯成css。
這時會發現css資料夾多了一個style.css,檔名同原本的style.scss。
在開發過程,基本上我們可以專注於style.scss就好,至於style.css,Prepros會自動幫我們產生。
之後要做任何修改,請在style.scss,不要在style.css。
Why? 你都用scss了,幹嘛還回頭用css。
雖然說瀏覽器只認css,在css修改沒有問題,但既然都用scss,就不用再回css了吧。
注意,請記得在index.html引入style.css。
再往下一層修改其他樣式。
.tabList {
  > header {
    > ul {
      list-style: none;
      font-size: 0;
    }
    li {
      display: inline-block;
      width: calc(100% / 6);
      font-size: 16px;
    }
  }
  div {
    color: red;
  }
}
使用>選取header子代中的ul,以及後代中的li。
至於這段程式碼的功能請看參考影片,這篇會著重於scss的開發技巧。
scss的註解有兩種方式:/ /跟/* */。
那這兩種的差別是,/ /(雙斜線)不會被編譯成css,換言之,使用/ /(雙斜線)的註解,只會scss看到,css看不到。
相反地,/* */會被編譯成css,所以css會看到。
//你看不到我!你看不到我!

/*多行註解會顯示*/
上一段程式碼中,li的width是使用calc方式算出來的,這是css的語法,所以會直接顯示於css,不會轉譯。
那有沒有辦法直接在scss算出來結果,再轉css。
有,使用變數(Variable)可以做到這點。
既然講到變數,就表示已經開始涉略到寫程式思維了。
簡單講,變數就像一個容器,可以為這個容器取名,裡面放的,是我們要運算的值,通常會是數值。
scss宣告變數的方式
$width: 100%;
$buttonNumber: 6;
以$為開頭,再取變數名稱,之後,將值設定給這個變數。
變數$width,它的值為100%;變數$buttonNumber,它的值為6。
接下來就可以利用變數直接在scss中做計算,css所顯示的會是計算結果。
scss
width: $width / $buttonNumber;
css
width: 16.66667%;
對於寫後端程式的開發者而言,繼承(extend)是必備的基本觀念,但前端人員,尤其是設計師,這個就非常陌生了。
先實作,再解釋,會比較容易理解。
將a做成按鈕區塊。
li {
      display: inline-block;
      width: $width / $buttonNumber;
      font-size: 16px;
      > a {
        display: block;
        width: 100%;
        height: 20px;
        line-height: 20px;
        text-decoration: none;
      }
    }
a就會變成按鈕區塊。
那之後要是需要再次將其他的a變成按鈕區塊呢?
按照css的做法,肯定是要將所有的樣式再寫一次,有程式觀念的人一定知道,這是非常沒有效率的做法,尤其專案愈來愈複雜的情況,會很難維護。
css做不到的,scss可以做到,將重複使用的程式碼包起來,之後若有需要,再叫出來即可。
修改上面的程式碼。
我們將
display: block;
text-decoration: none;
抽出來,這是之後將a做成按鈕區塊必備的屬性設定。
設定一個class(aButton),將屬性包起來。
scss
$width: 100%;
$buttonNumber: 6;

.aButton {
  display: block;
  text-decoration: none;
}

.tabList {
  > header {
    > ul {
      list-style: none;
      font-size: 0;
    }
    li {
      display: inline-block;
      width: $width / $buttonNumber;
      font-size: 16px;
      > a {
        width: 100%;
        height: 20px;
        line-height: 20px;
      }
    }
  }
  div {
    color: red;
  }
}
好了,接下來,使用繼承,使a吃到.aButton的設定。
> a {
        @extend .aButton;
        width: 100%;
        height: 20px;
        line-height: 20px;
      }
使用@extend,繼承的關鍵字,後面接上要繼承的class,如此一來,a就會繼承.aButton,並吃到.aButton所有樣式設定。
css
.aButton, .tabList > header li > a {
  display: block;
  text-decoration: none; }

.tabList > header > ul {
  list-style: none;
  font-size: 0; }

.tabList > header li {
  display: inline-block;
  width: 16.66667%;
  font-size: 16px; }
.tabList > header li > a {
  width: 100%;
  height: 20px;
  line-height: 20px; }

.tabList div {
  color: red; }
請看第一段,不只.aButton有吃到設定,a確實也吃到設定。
往後,遇到相同的需求,只需將繼承.aButton即可。
但這種命名方式有個缺陷,.aButton的功能是用來被繼承的,它並不是html裡面的任何元素,卻被轉譯成css,是有點奇怪。
因此,我們可以將.aButton改成%aButton。
%aButton {
  display: block;
  text-decoration: none;
}
> a {
        @extend %aButton;
        width: 100%;
        height: 20px;
        line-height: 20px;
      }
%aButton就不會是class了,只是一個集合樣式設定的區塊,它的存在就是為了繼承。
a一樣可以繼承%aButton,%aButton也不會被轉譯成css。
轉譯後,會發現css已經沒有%aButton的蹤影了。
.tabList > header li > a {
  display: block;
  text-decoration: none; }
所以,只要有共用的樣式設定,就可以使用繼承來解決。
有時,遇到屬性的數值設定,像是font-size、padding、margin、line-height。
有經驗的設計師都會使用級數,或有規則的運算邏輯去設定數值大小,而不會隨便設一個數值。
專案小,每個數值可以手調,那萬一專案很大呢?動輒數十頁,不就改到瘋掉?
既然數值是可以用規則算出來,那我們可以設定一個函式(Function),計算出結果。
假設,我們希望某些特定的元素padding,是使用10px、20px、30px這種級距去設定的。
scss
$basePadding: 10px;

@function paddingLevel($count: 1) {
  @return $basePadding * $count;
}
首先在最上層,先設定基準padding:10px。
使用@function關鍵字,宣告一個名為paddingLevel的function。
名稱後面的小括號($count: 1),會放入級距等級,變數$count預設是1。
意思是,假使我們都沒放任何數值,$count就會以1計算,若放入2,就會以2去計算。
大括號裡面,@return關鍵字,表示會將運算結果回傳,講白話,會將結果給丟出來。
$basePadding * $count,是運算部分,我們放入2,結果就會是10*2,@return就會將20px,回傳。
scss
.a {
  padding: paddingLevel();
}
.b {
  padding: paddingLevel(2);
}
.c {
  padding: paddingLevel(3);
}
假設我們有不同的class,要套用不同級數的padding,可以輸入Function名稱(等級)。
css就會像這樣。
.a {
  padding: 10px; }

.b {
  padding: 20px; }

.c {
  padding: 30px; }
剛剛的Function,只能傳入一個數值,那如果想要把所有要算的值全部包含在Function裡,也是可以的。
@function paddingLevel($count: 1, $basePadding: 10px) {
  @return $basePadding * $count;
}
小括號( ),多了一個參數$basePadding,預設值為10px,並用逗號( , )跟$count做區隔。
scss
.a {
  padding: paddingLevel();
}
.b {
  padding: paddingLevel(2,20px);
}
.c {
  padding: paddingLevel(3,30px);
}
css
.a {
  padding: 10px; }

.b {
  padding: 40px; }

.c {
  padding: 90px; }
結果應該很容易理解吧。
以上講到的,巢狀(Nesting)、變數(Variable)、繼承(Extend)、函式(Function),算是最基礎的功能了。
接下來要講的mixin,算是整合這些的應用,也比較進階。
先看mixin跟extend的差異。
scss
%aButton {
  display: block;
  text-decoration: none;
}

@mixin aButton2 {
  display: block;
  text-decoration: none;
}

.a {
  @extend %aButton;
}
.b {
  @extend %aButton;
}
.c {
  @extend %aButton;
}

.d {
  @include aButton2();
}
.e {
  @include aButton2();
}
.f {
  @include aButton2();
}
使用@mixin關鍵字,將共用樣式給包起來。
看起來似乎跟extend有點像。
如若要套用mixin的話,要使用@include關鍵字。
css
.a, .b, .c {
  display: block;
  text-decoration: none; }

.d {
  display: block;
  text-decoration: none; }

.e {
  display: block;
  text-decoration: none; }

.f {
  display: block;
  text-decoration: none; }
很明顯的區別,雖然達到的目的都一樣。
extend是共用一份樣式。
但mixin會產生好幾份同樣的樣式。
由此可知,這顯然不是mixin該做的事。
那mixin的功能究竟是什麼?
可以把mixin想像成,由變數(Variable)、繼承(Extend)、函式(Function),所集合而成的大補帖。
恩,聽起來籠統,直接實作。
我們想要設定字體大小從12px開始,每個級距是4px。
意思就是字體從12px、16px、20px這樣加大的。
scss
$baseSize: 12px;
$sizeLevel: 4px;

@function font($level: 0) {
  @if $level < 0 {
    $level: 0;
  }
  @return $baseSize + $sizeLevel * round($level);
}
@if是判斷式關鍵字,意思是當$level小於0的時候,就把$level設為0,也就是預防輸入負數的情況發生。
回傳的是,基本字體大小(12px)+字體級距(4px)*四捨五入(輸入的等級)。
round()是四捨五入的函式,回傳整數。
scss
.a {
  font-size: font(5);//12+5*4
}
.b {
  font-size: font(6);//12+6*4
}
.c {
  font-size: font(7);//12+7*4
}
css
.a {
  font-size: 32px; }

.b {
  font-size: 36px; }

.c {
  font-size: 40px; }
字體大小的級距規則訂好了,那行高呢?
不同的字體大小也有相對應的行高,再次設定行高的計算規則。
scss
$baseLineSize: 10px;
$paddingLevel: 1.2;

@function rhythm($size) {
  @return ceil($size * $paddingLevel / $baseLineSize) * $baseLineSize;
}
$size是字體大小,ceil()會回傳大於或等於所給定數值的最小整數。
處理邏輯是這樣的:
ceil(字體大小 *1.2 / 10px)* 10px。
scss
.a {
  font-size: font(5);//12+5*4
  line-height: rhythm(font(5));//ceil(32*1.2/10)*10
}
.b {
  font-size: font(6);//12+6*4
  line-height: rhythm(font(6));//ceil(36*1.2/10)*10
}
.c {
  font-size: font(7);//12+7*4
  line-height: rhythm(font(7));//ceil(40*1.2/10)*10
}
css
.a {
  font-size: 32px;
  line-height: 40px; }

.b {
  font-size: 36px;
  line-height: 50px; }

.c {
  font-size: 40px;
  line-height: 50px; }
只要使用function,輸入數值,就可以得到相對應的結果。
不過,要得到字體大小與行高,得需要2個function,那有沒有更簡便的方式,只要輸入級距,就可以自動產字體大小與行高呢?
有,就是mixin。
@mixin font($level: 1, $line-height: auto) {
  $size: font($level);
  $line: rhythm($size);

  font-size: $size;

  @if $line-height == auto or $line-height < $line {
    line-height: $line;
  } @else {
    line-height: $line-height;
  }
}
一樣使用@mixin關鍵字,宣告mixin,取名font,有兩個參數。
$level預設為1,$line-height預設為auto。
$size: font($level),表示呼叫font() function,把計算結果設定給$size變數。
$line: rhythm($size),同理。
font-size: $size,設定字體大小的屬性值為$size變數的值。
@if這段表示,如果$line-height等於auto或者我們自行輸入的$line-height小於$line的值的話,就把$line的值設定給line-height屬性,不然line-height屬性值就使用我們自己輸入的值。
@if判斷式,對於沒有學過程式邏輯的人來說,確實是個門檻,不過scss的強大與效率,是值得投資的。
完整的scss程式碼
$baseSize: 12px;
$baseLineSize: 10px;
$sizeLevel: 4px;
$paddingLevel: 1.2;

@mixin aButton {
  display: block;
  text-decoration: none;
}

@function font($level: 0) {
  @if $level < 0 {
    $level: 0;
  }
  @return $baseSize + $sizeLevel * round($level);
}

@function rhythm($size) {
  @return ceil($size * $paddingLevel / $baseLineSize) * $baseLineSize;
}

@mixin font($level: 1, $line-height: auto) {
  $size: font($level);
  $line: rhythm($size);

  font-size: $size;

  @if $line-height == auto or $line-height < $line {
    line-height: $line;
  } @else {
    line-height: $line-height;
  }
}

.a {
  @include aButton();
  @include font(5);
}
.b {
  @include aButton();
  @include font(6);
}
.c {
  @include aButton();
  @include font(7);
}
所產生的css
.a {
  display: block;
  text-decoration: none;
  font-size: 32px;
  line-height: 40px; }

.b {
  display: block;
  text-decoration: none;
  font-size: 36px;
  line-height: 50px; }

.c {
  display: block;
  text-decoration: none;
  font-size: 40px;
  line-height: 50px; }
看到了嗎?只要一行mixin,就可以產生font-size與line-height。
這就是mixin真正的價值所在。
接下來,我們要將這些function與mixin獨立出來,讓專案的其他scss或其他專案也可以使用。
首先,在scss資料夾新增_function.scss。
加底線的原因是,這個檔案就不會被轉譯成css,_function.scss的功能只是做運算,不需要轉成css。
_function.scss
$baseSize: 12px;
$baseLineSize: 10px;
$sizeLevel: 4px;
$paddingLevel: 1.2;

@mixin aButton {
  display: block;
  text-decoration: none;
}

@function font($level: 0) {
  @if $level < 0 {
    $level: 0;
  }
  @return $baseSize + $sizeLevel * round($level);
}

@function rhythm($size) {
  @return ceil($size * $paddingLevel / $baseLineSize) * $baseLineSize;
}

@mixin font($level: 1, $line-height: auto) {
  $size: font($level);
  $line: rhythm($size);

  font-size: $size;

  @if $line-height == auto or $line-height < $line {
    line-height: $line;
  } @else {
    line-height: $line-height;
  }
}
裡面只有處理邏輯與設定屬性值,沒有指定任何元素。
只需要在需要計算出字體大小與行高的scss引入_function.scss即可。
test.scss
@import "function";

.a {
  @include aButton();
  @include font(5);
}
.b {
  @include aButton();
  @include font(6);
}
.c {
  @include aButton();
  @include font(7);
}
給初學者的建議,若覺得mixin太複雜,可以先使用變數(Variable)、繼承(Extend)、函式(Function)就好。
等到熟悉了,再將這些功能整合進mixin即可。
SCSS還有很多地方可以講,之後有機會再慢慢補充。
參考來源
[ Alex 宅幹嘛 ] ??從 CSS 到 SASS (SCSS) 超入門觀念引導
Demo
MyGitHub
 WM
WM
