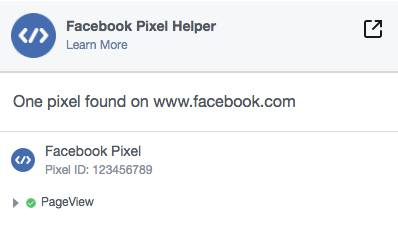
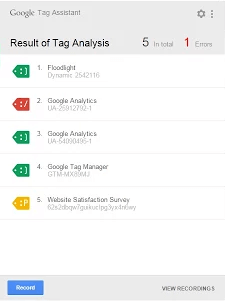
行銷常常會需要追蹤網頁的流量,這時候就會用到這些工具了,這次就是教學一下怎麼埋入程式碼
目前都有現成套件可使用,用法也非常簡單~~
$ npm install --save nuxt-facebook-pixel-module
// nuxt.config.js

module.exports = {
  modules: [
    'nuxt-facebook-pixel-module',
  ],
  facebook: {
    track: 'PageView',
    // 替換自己 FB Pixel 的 ID
    pixelId: 'FACEBOOK_PIXEL_ID',
    disabled: false
  },
}

官方有教學可參考
// plugins/ga.js

if (process.client && process.env.NODE_ENV === 'production') {

  (function(i,s,o,g,r,a,m){i['GoogleAnalyticsObject']=r;i[r]=i[r]||function(){
  (i[r].q=i[r].q||[]).push(arguments)},i[r].l=1*new Date();a=s.createElement(o),
  m=s.getElementsByTagName(o)[0];a.async=1;a.src=g;m.parentNode.insertBefore(a,m)
  })(window,document,'script','https://www.google-analytics.com/analytics.js','ga');

  // 替換自己 GA 的 ID
  ga('create', 'UA-XXXXXXXX-X', 'auto')
}

export default ({ app: { router }, store }) => {
  router.afterEach((to, from) => {
    ga('set', 'page', to.fullPath)
    ga('send', 'pageview')
  })
}
plugins 加入設定檔// nuxt.config.js
module.exports = {
plugins: [
{ src: '~plugins/ga.js', ssr: false }
]
}

$ npm install --save @nuxtjs/google-tag-manager
// nuxt.config.js

module.exports = {
  modules: [
    // 替換自己 GTM 的 ID
    ['@nuxtjs/google-tag-manager', { id: 'GTM-XXXXXXX' }]
  ]
}
以上就是在 Nuxt 中如何安裝與驗證這些工具的方法~~
