https://sourceforge.net/projects/mingw/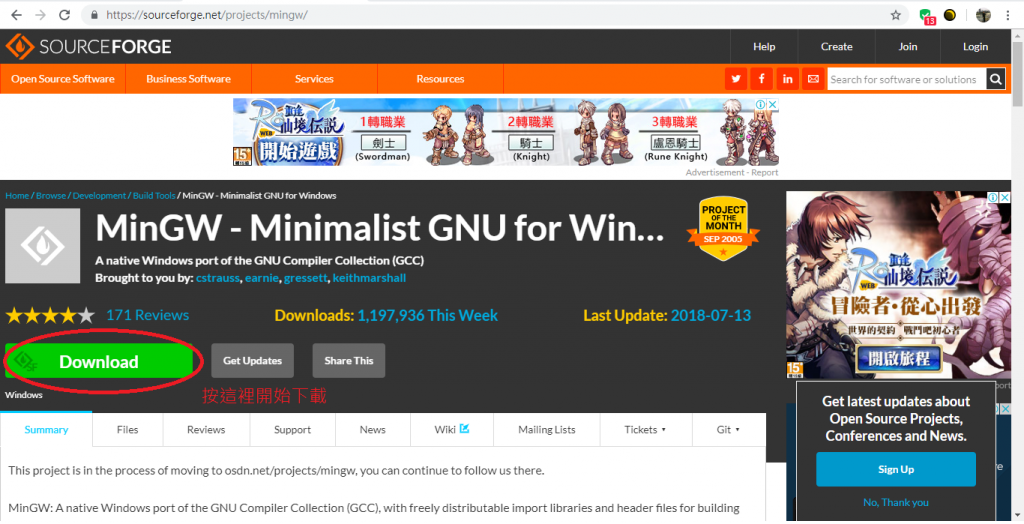
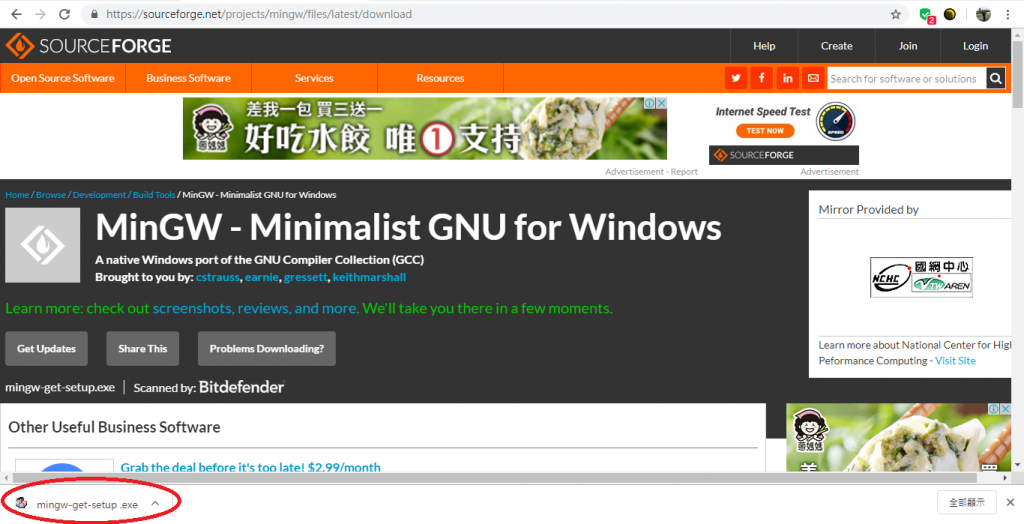


下載好後按continue
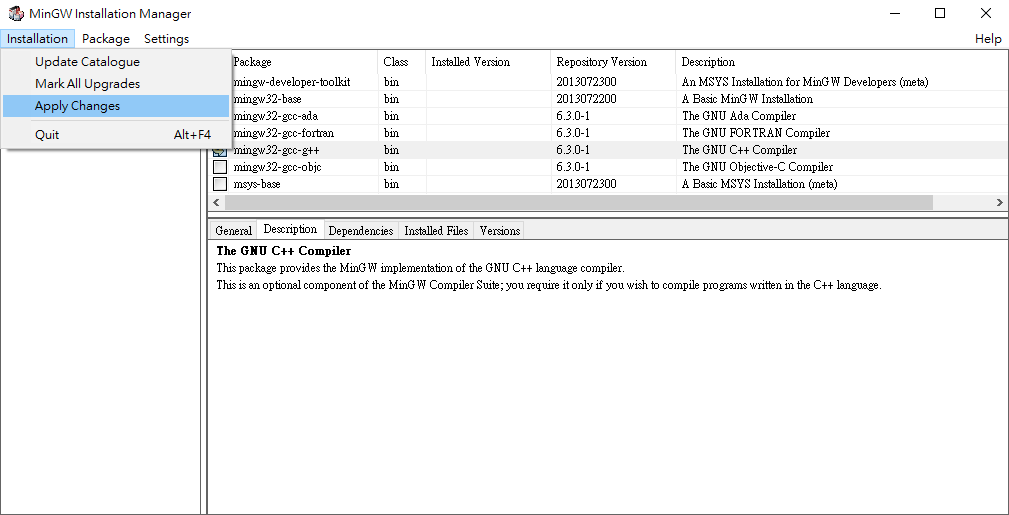
按Apply
裝完之後按Close
在電腦上按右鍵->內容->進階系統設定->環境變數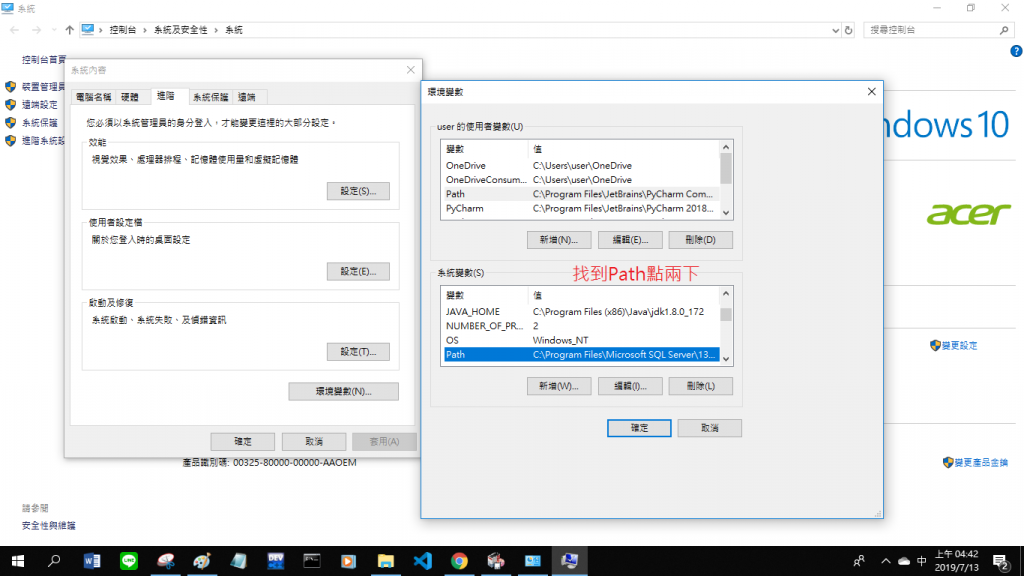
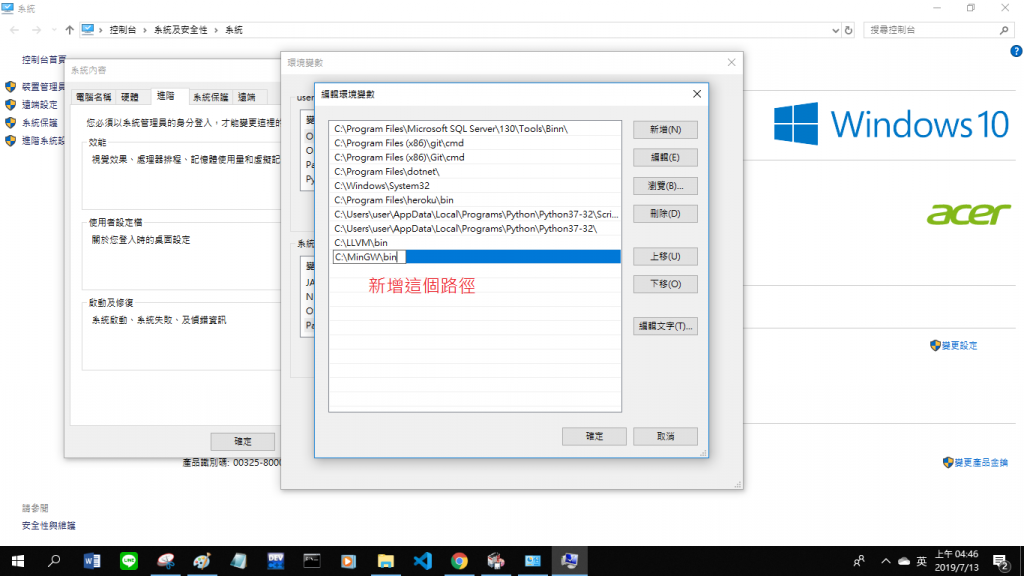
設好之後重新開啟VS code,更改才會生效
開啟VS code->檔案->開啟資料夾
接著安裝VS code的c/c++延伸模組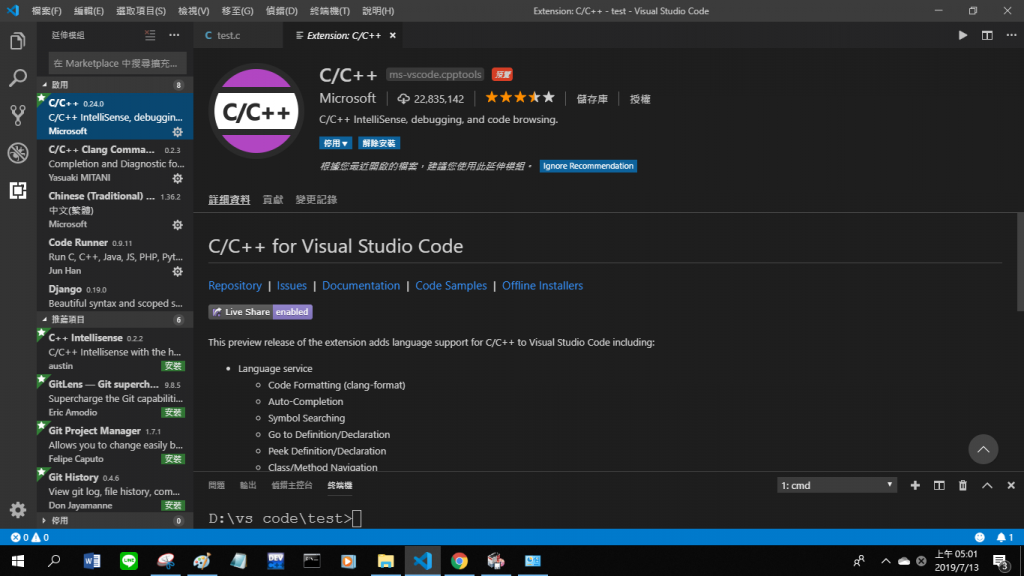
安裝C/C++ Clang Command Adapter讓VS code可以有語法錯誤提示和完整的程式碼自動完成功能
安裝code runner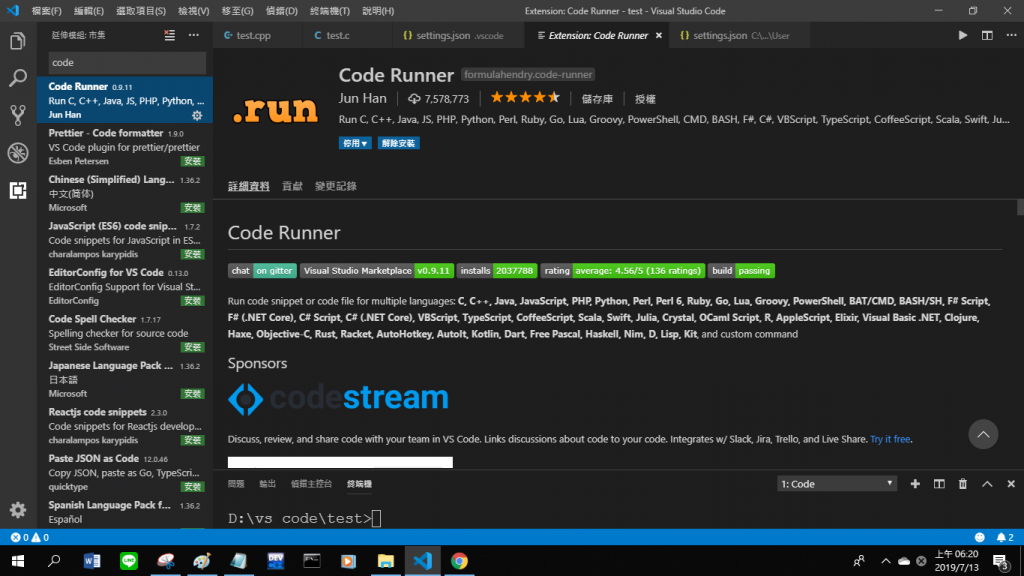
接著新增一個.c檔隨便打個C程式
結果右下角會出現錯誤叫你必須安裝Clang
到這個網站下載Clang
http://releases.llvm.org/download.html
選擇Download LLVM 8.0.0的Windows (64-bit)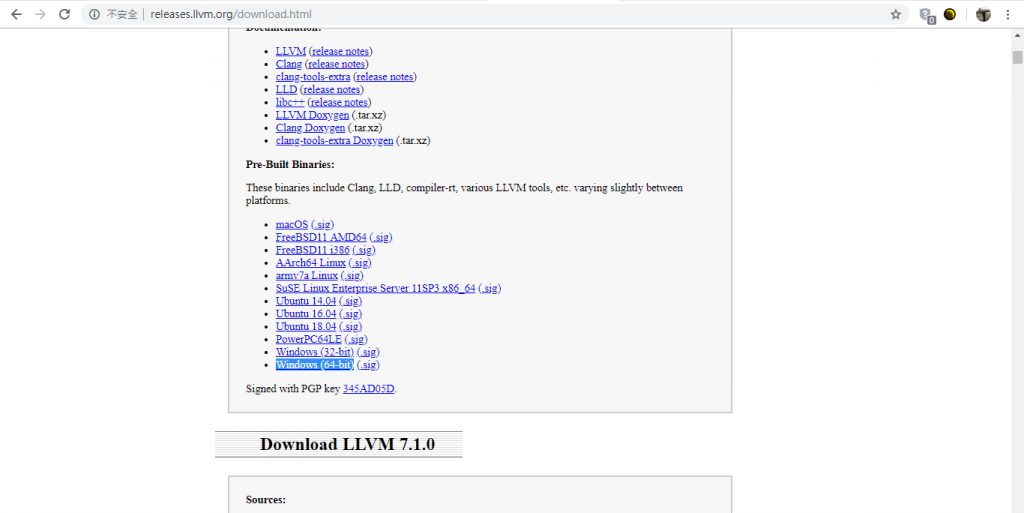
下載完畢後執行LLVM-8.0.0-win64.exe
等候一陣子後
下一步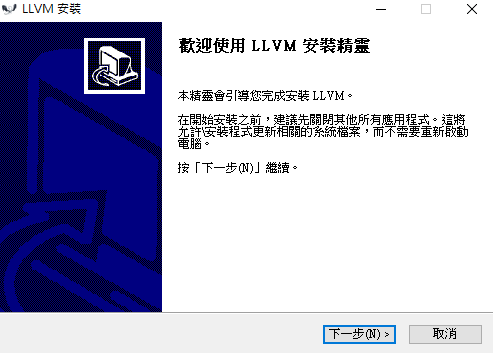
我同意
選這個把它加入環境變數,下一步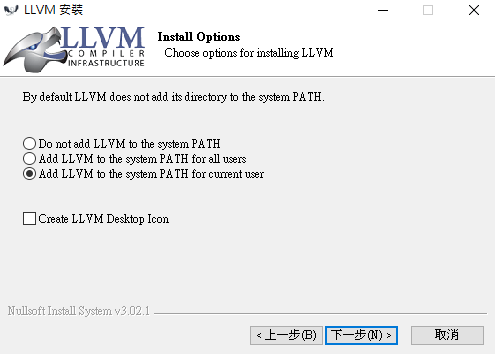
接著就一直下一步然後完成安裝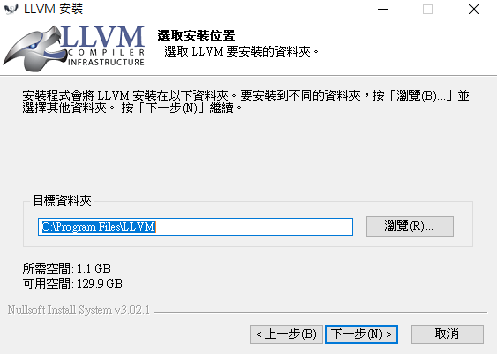
裝好後可以開一下進階系統設定看一下環境變數是否有加進去
我的路徑是C:\Program Files\LLVM\bin
重開VS code
新建.vscode資料夾
在裡頭新建settings.json
輸入程式碼
{
    "[cpp]": {
        "editor.formatOnType": true,
        "editor.formatOnSave": true,
        "editor.renderIndentGuides": true,
        "editor.insertSpaces": true,
        "editor.detectIndentation": true,
        "editor.tabSize": 4
    },
    "[c]":{
        "editor.formatOnType": true,
        "editor.formatOnSave": true,
        "editor.renderIndentGuides": true,
        "editor.insertSpaces": true,
        "editor.detectIndentation": true,
        "editor.tabSize": 4
    },
    "clang.executable" : "C:\\Program Files\\LLVM\\bin\\clang.exe",
    "clang.cxxflags": [
        "-std=c++17", // <-c++程式改這裡
        "-IC:\\MinGW\\include",
        "-IC:\\MinGW\\lib\\gcc\\mingw32\\6.3.0\\include",
        "-IC:\\MinGW\\lib\\gcc\\mingw32\\6.3.0\\include\\c++",
        "-I${workspaceRoot}\\include",
        "-I${cwd}"
    ],
    "clang.cflags":[
        "-std=c11", // <-c程式改這裡
        "-IC:\\MinGW\\include",
        "-IC:\\MinGW\\lib\\gcc\\mingw32\\6.3.0\\include",
        "-I${workspaceRoot}\\include",
        "-I${cwd}"
    ],
    "files.associations": {
        "iostream": "cpp",
        "stdio.h": "c"
    },
    "code-runner.runInTerminal": true,
    "code-runner.executorMap":{
        "c": "cd $dir && gcc $fileName -o $fileNameWithoutExt -std=c11 && $dir$fileNameWithoutExt", // <-c程式改這裡
        "cpp": "cd $dir && g++ $fileName -o $fileNameWithoutExt -std=c++17 && $dir$fileNameWithoutExt", // <-c++程式改這裡
    }
}
大功告成,可以新增檔案開始寫程式了
右鍵->run code或按右上角的三角形即可
如果要更改c或c++程式的版本,更改我註解的地方
譬如c程式要使用c99,就改為-std=c99
c++程式要使用c++11,就改為-std=c++11
執行程式時如果要link另外一個.c或.cpp檔
就把要link的檔案加在-o前面
譬如main.cpp要跟test.cpp做link
"cpp": "cd $dir && g++ $fileName test.cpp -o $fileNameWithoutExt -std=c++17 && $dir$fileNameWithoutExt"
寫物件導向時這裡要注意一下~
喔對了這一行
"code-runner.runInTerminal": true
是讓程式在終端機中執行
你也可以改成false讓程式在"輸出"這一欄裡執行,可以看到return code方便除錯
不過缺點是不能scanf或cin輸入內容
建議如果要輸入內容就設成true在終端機中執行
如果沒有要輸入內容就設成false在輸出欄中執行
最後記得你的路徑中的所有資料夾跟檔案不要含有中文等非英文字串
這會使得程式碼的format失效,出現formatting failed的錯誤 !
為了不要每次新增一個.c或.cpp檔時就要重打程式碼
安裝template generator這個延伸模組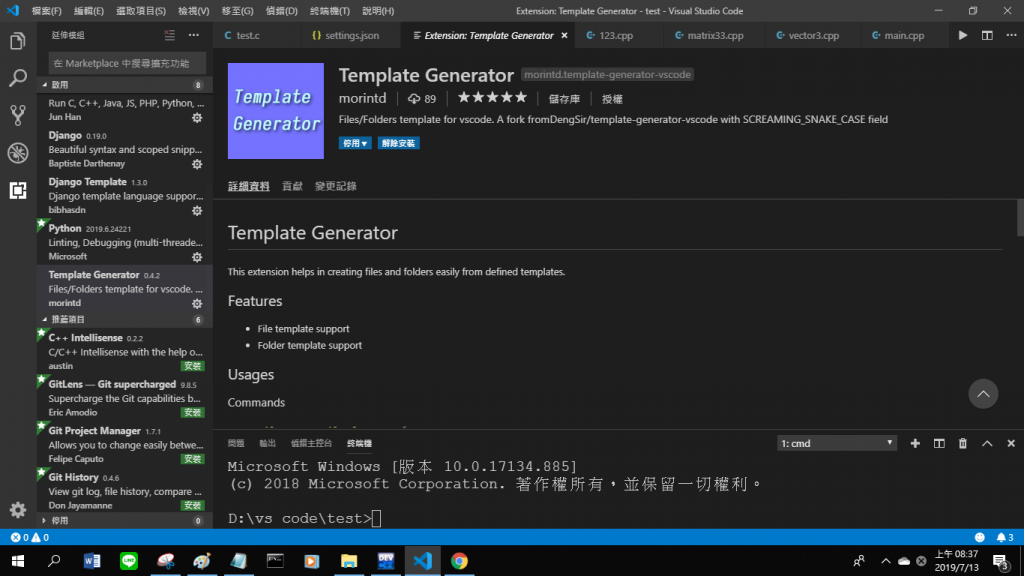
裝好後,進到這個資料夾
新增檔案{__name__.c}.c
#include <stdio.h>

int main()
{
    return 0;
}
以及{__name__.cpp}.cpp
#include <iostream>
using namespace std;

int main()
{
    return 0;
}
回到VS code,按快捷鍵Ctrl+Shift+P
選這個,按Enter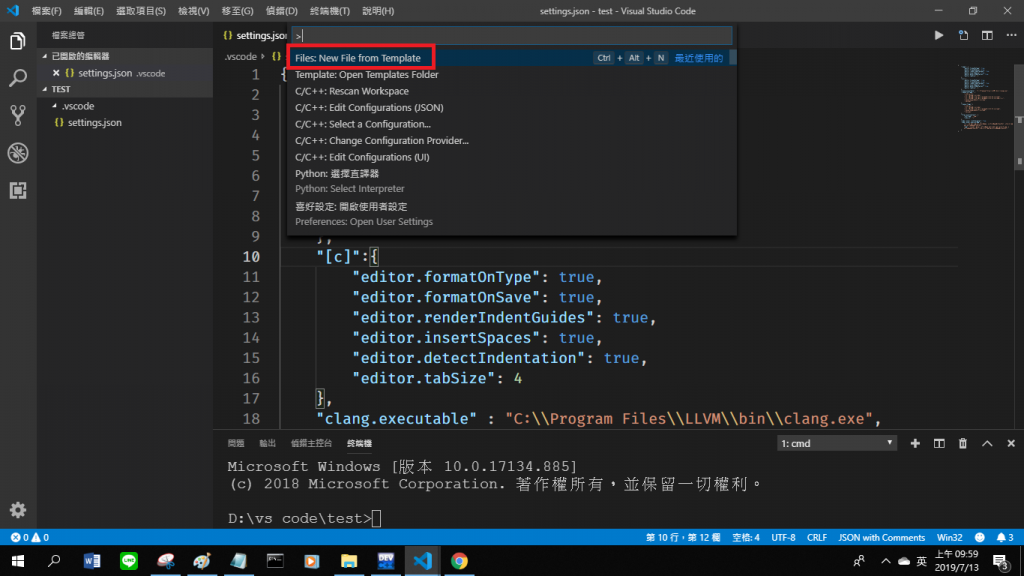
選擇c或cpp檔,按Enter
接著輸入檔名,按Enter
範本檔就會出現了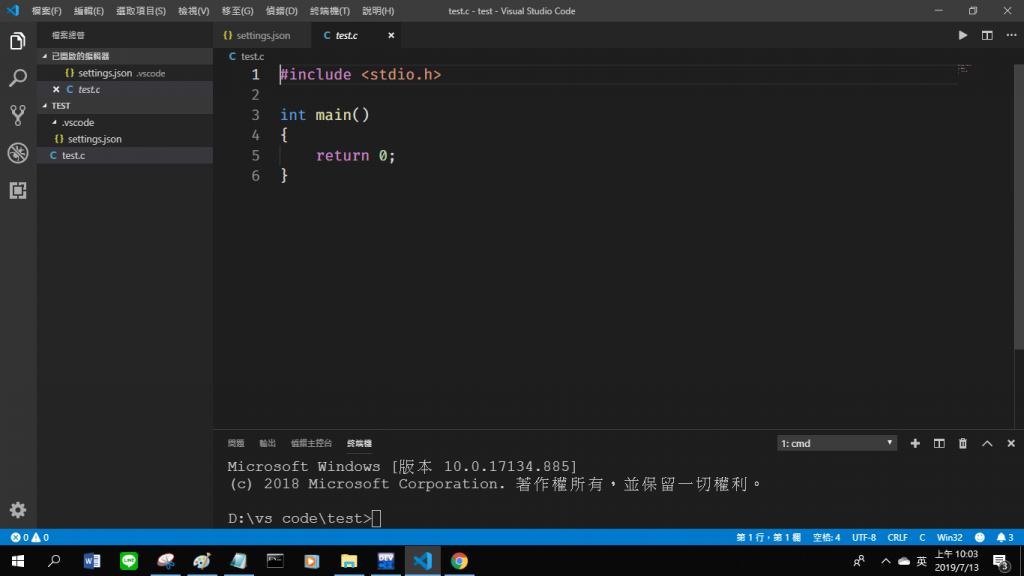
 Citrus
