我們接續之前的安裝步驟,然後希望今天可以啟動服務。
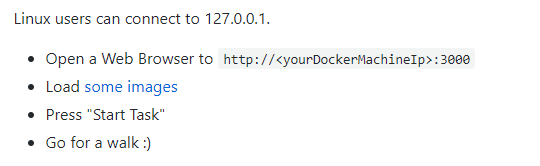
從文件裡面可以得知,Ubuntu的IP:127.0.0.1.,然後用瀏覽器連結
http://<yourDockerMachineIp>:3000
http://127.0.0.1:3000
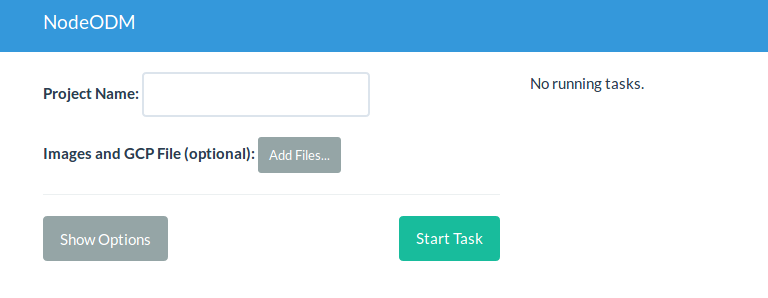
開啟成功畫面,灑花。
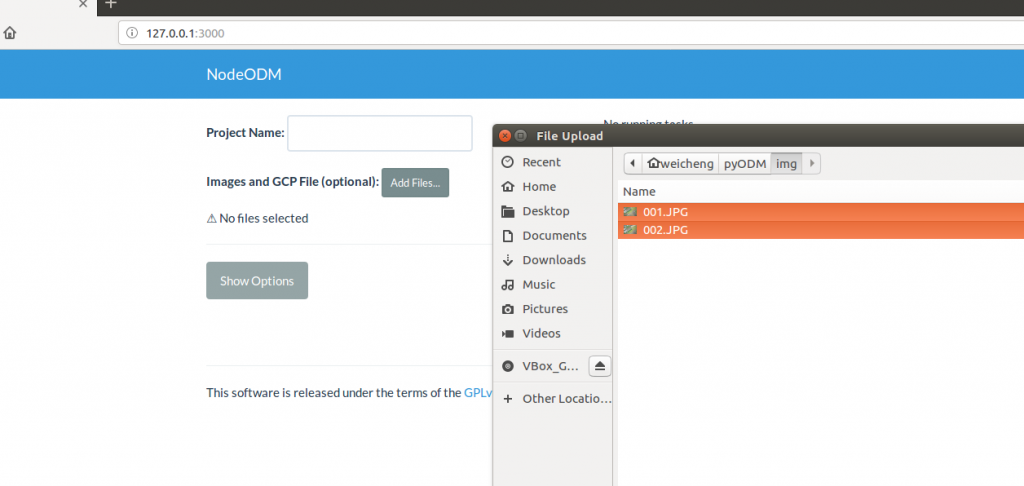
按下add files 可以增加照片
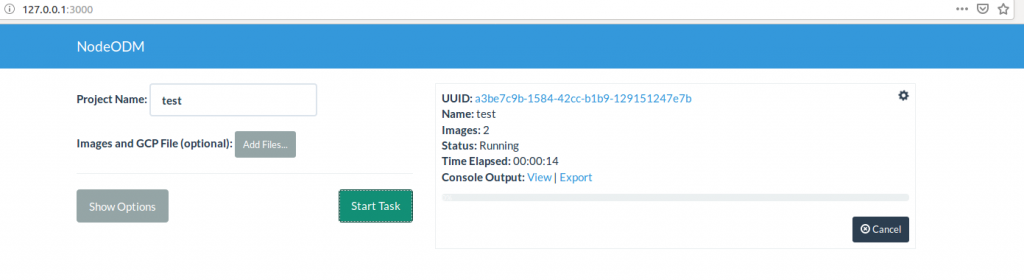
然後按下Start Task開始跑。
如果NodeODM可以成功使用,那麼之後就可以回到使用pyODM操作了,然後我們的目標是建立模型,並且取得三維模型。
我在加載完圖片點擊start task之後會出錯。出錯信息在File "/code/opendm/gsd.py", line 39, in image_max_size
isf = image_scale_factor(target_resolution, reconstruction_json, gsd_error_estimate)
File "/code/opendm/gsd.py", line 55, in image_scale_factor
gsd = opensfm_reconstruction_average_gsd(reconstruction_json)