我們已經連續學習了多個元件的使用方式,大家應該感覺到,大部分元件的使用方式都是雷同的,即:
<nz-xxx [nzProperty]="property" (nzPropertyChange)="propertyChange($event)"></nz-xxx>
<html-tag nz-xxx [nzProperty]="property" />
這種方式對於使用者來說,使用某個元件只需要關心各個元件相應的屬性,即使忘記,在使用時也只需要去官網文件的 API 部分檢視即可快速定位。
當然對於有些元件來說,直接寫在 html 檔案裡會導致頁面程式碼耦合度過高,維護難度很大,所以提供了通過 service 建立的 API,比如我們之前使用的 Modal 彈窗元件、Message 全域性提示元件、Dropdown 下拉元件 以及今天要介紹的 Drawer 抽屜元件。
今天的程式碼存放在 Github day-11-drawer 分支,可伴隨內容檢視或下載執行。
抽屜元件我們在很多地方都見到過,對於一些需要臨時預覽的內容展示有著不錯的使用者體驗,操作完成後,可以平滑地回到到原任務頁面。
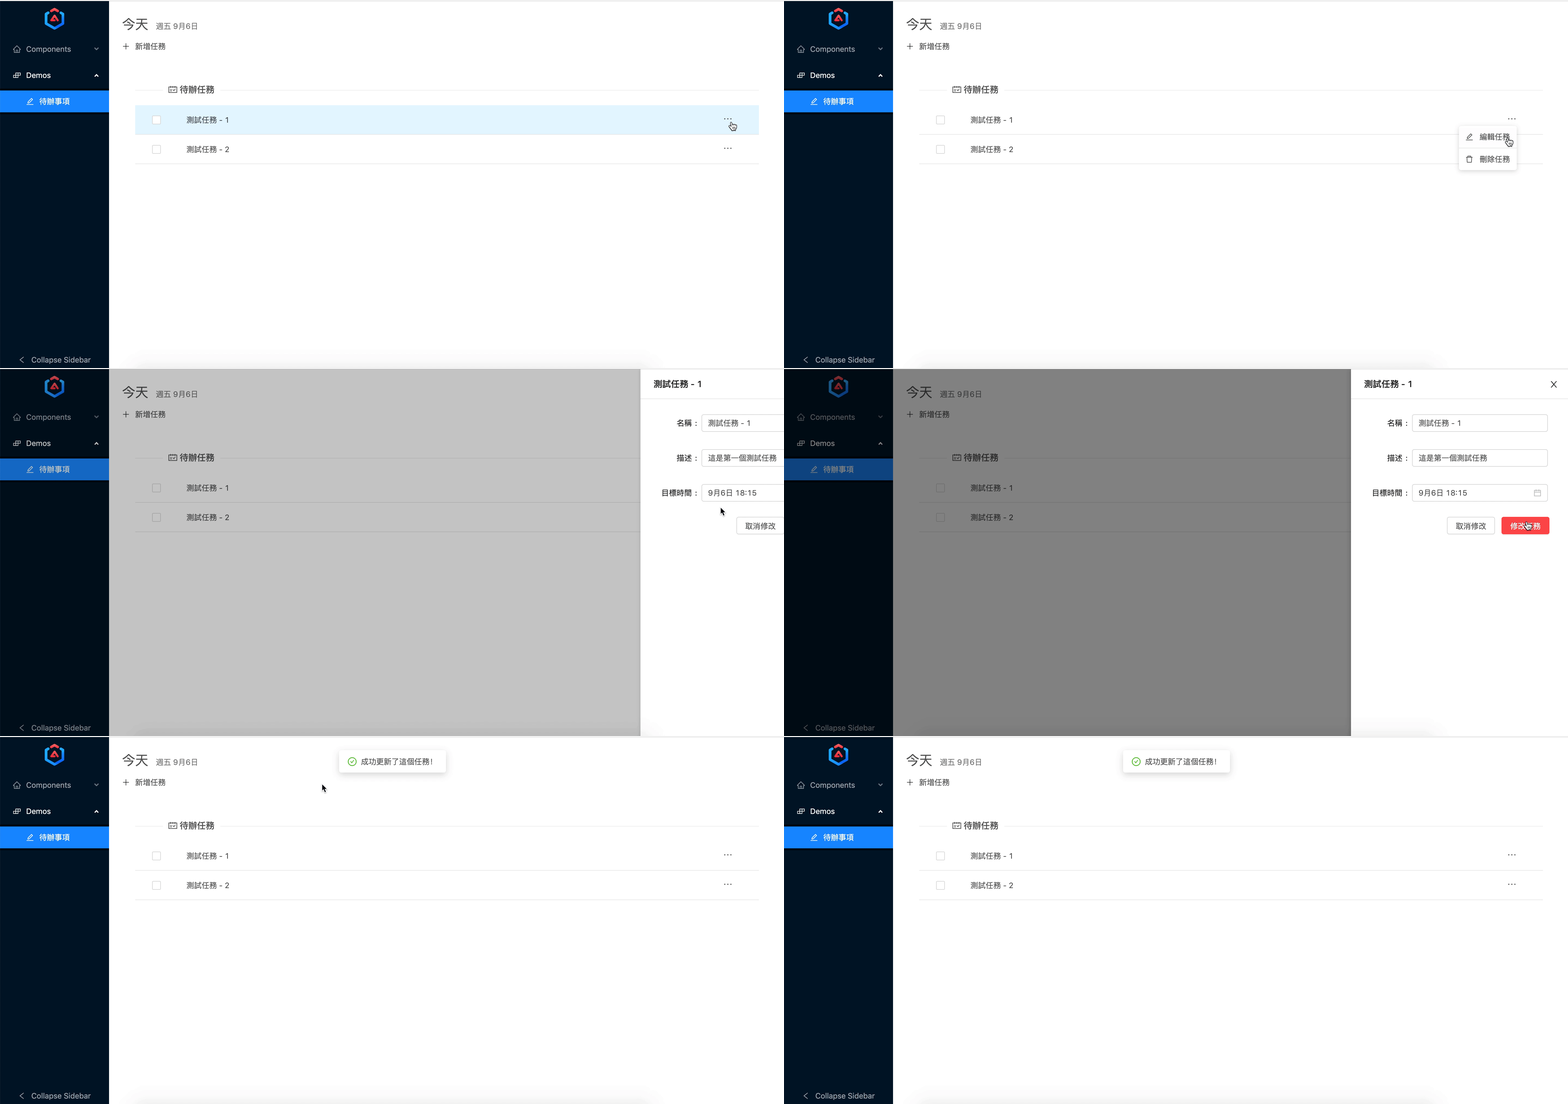
之前的文章中我們已經介紹了 drawer 元件的使用方式,包含 service 使用方式,大家可以回顧一下之前的文章 待辦事項修改 部分,我們今天的示例仍然會以 service 模式來建立。

同樣的,我們先在 components 資料夾下建立 drawer 元件,並建立一個 component 作為 drawer 元件的 nzContent 內容展示。
$ cd ng-zorro-ironman2020
$ ng g c components/drawer --skip-import
$ ng g c components/drawer/drawer-content --skip-import
修改 components.module.ts,將 DrawerComponent 元件加入到 declarations,DrawerContentComponent 加入到 entryComponents 中。
const COMPONENTS = [
  ...
  DrawerComponent
];

const MODAL_COMPONENTS = [
  ...
  DrawerContentComponent
];

@NgModule({
  declarations   : [
    ...COMPONENTS,
    ...MODAL_COMPONENTS
  ],
  entryComponents: [
    ...MODAL_COMPONENTS
  ]
})
export class ComponentsModule {}
這樣基本的檔案結構就完成了,我們接下來來完善這個示例。
drawer
├── drawer-content
│   ├── drawer-content.component.html
│   ├── drawer-content.component.less
│   └── drawer-content.component.ts
├── drawer.component.html
├── drawer.component.less
└── drawer.component.ts
還是和之前一樣的方式,我們建立一個 drawer 元件,然後將 DrawerContentComponent 作為 nzContent 屬性值傳遞進去,當然也可以通過 nzContentParams 屬性來傳遞變數。
this.drawerRef = this.nzDrawerService.create({
  nzTitle        : 'Drawer Title',
  nzContent      : DrawerContentComponent,
  nzWidth        : 400,
  nzContentParams: {
	name: 'This is a param from DrawerComponent'
  }
});

this.drawerRef.afterOpen.subscribe(() => {
  console.log('Drawer(Component) open');
});

this.drawerRef.afterClose.subscribe(data => {
  console.log(data);
});
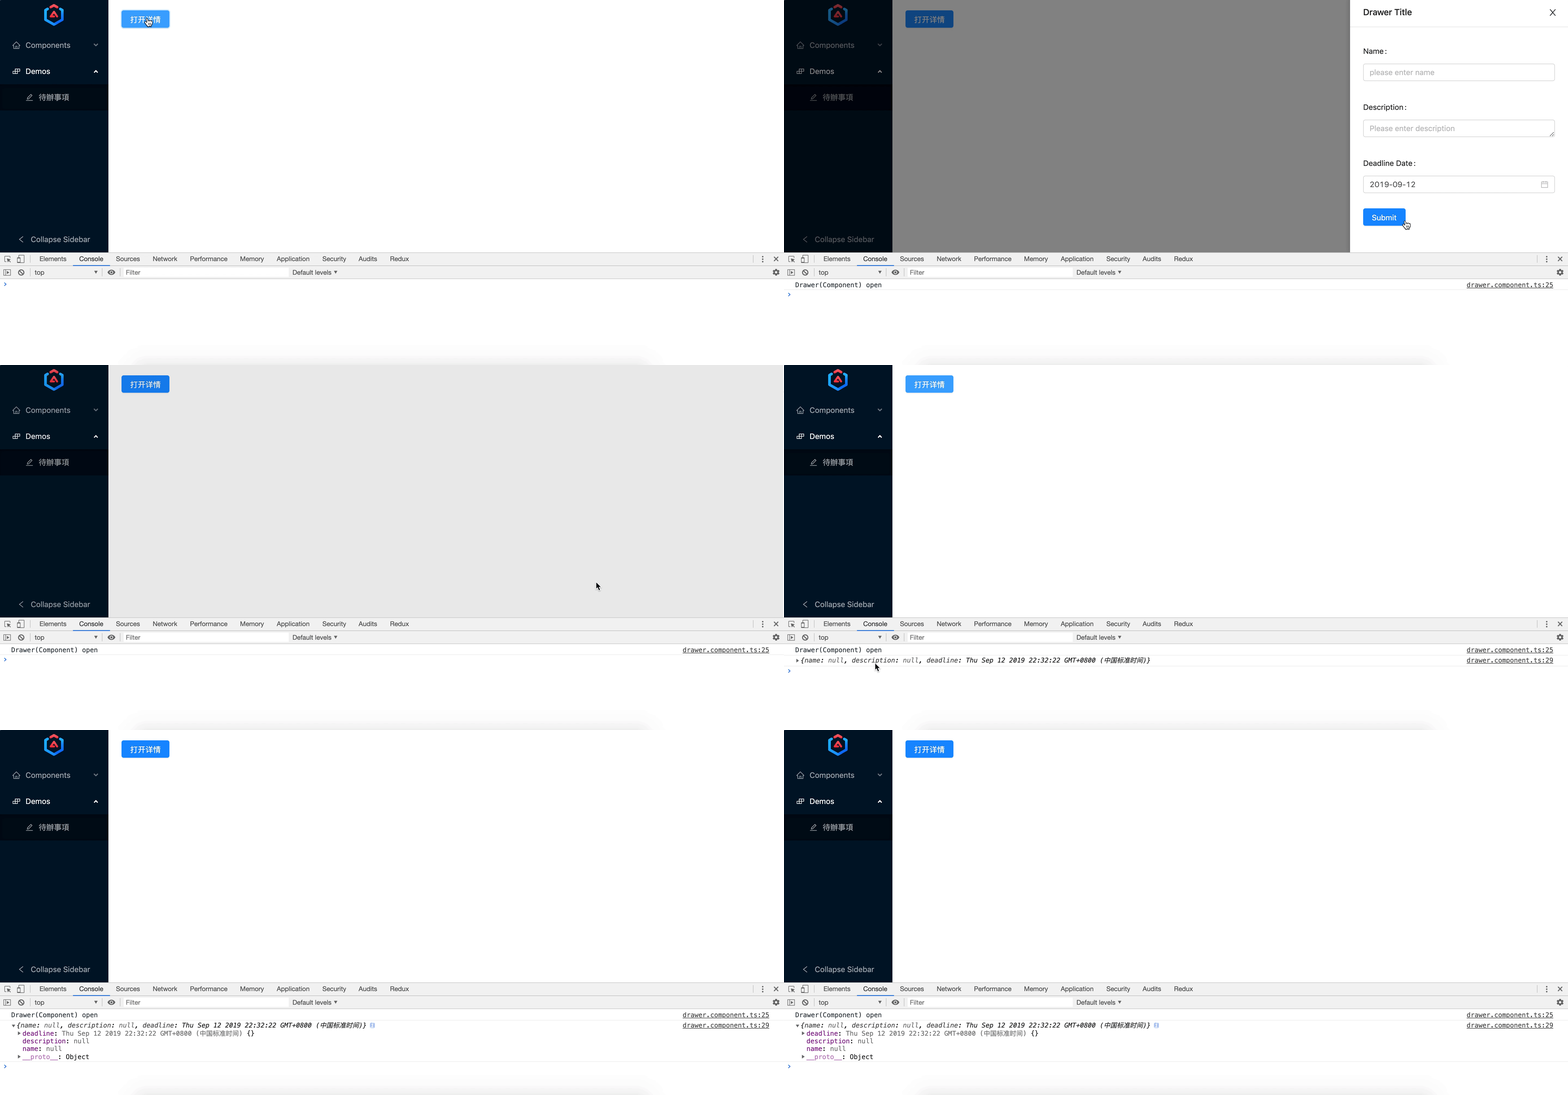
和之前的方法一樣,我們通過 service 建立了個簡單的抽屜元件。我們看一下在 drawer-content.component.html 裡使用 form,並反饋 form 結果看一下(線上程式碼):

事實上,你可以在此元件中做任何事情,甚至再建立一個抽屜元件也是沒問題的,建立程式碼和父元件建立程式碼一模一樣:
const drawerRef = this.nzDrawerService.create({
  nzTitle        : 'Child Drawer Title',
  nzContent      : DrawerContentComponent,
  nzWidth        : 400,
  nzContentParams: {
	name: 'This is a param from child'
  }
});

drawerRef.afterOpen.subscribe(() => {
  console.log('Drawer(child Component) open');
});

drawerRef.afterClose.subscribe(data => {
  console.log(data, 'child');
});

今天其實算是回顧了之前專案中使用 Drawer 抽屜元件的使用方式,搭配了幾個小例子。這樣,待辦事項 涉及的幾個主要元件我們也就介紹完畢了,下面會繼續進行第二個小專案的開發,仍然會以專案逐步開發模式來使用和介紹一些新的元件。
