這篇主要會紀錄,有哪些方式可以安裝Istio在你的Kubernetes Environment(K3d)
Cloud solution
Private
後面的示範會先以Helm為主,接著再用Operator
Required: Helm
這邊會稍微講解一下,如何在Mac install Helm Client
brew install kubernetes-helm
接下來確認K3d服務是否正常,如果都正常我們就要開始安裝Helm Server(Tiller)
#先在K3s創建Tiller ServiceAccount
cat <<EOF | kubectl create -f -
apiVersion: v1
kind: ServiceAccount
metadata:
  name: tiller
  namespace: kube-system
---
apiVersion: rbac.authorization.k8s.io/v1
kind: ClusterRoleBinding
metadata:
  name: tiller
roleRef:
  apiGroup: rbac.authorization.k8s.io
  kind: ClusterRole
  name: cluster-admin
subjects:
- kind: ServiceAccount
  name: tiller
  namespace: kube-system
EOF

#Install Tiller
helm init --service-account tiller --history-max 5
helm list

#如果沒有出現下面的錯誤訊息就是正常
#Error: configmaps is forbidden:
#User "system:serviceaccount:kube-system:default" cannot list resource "configmaps" in API group "" in the namespace "kube-system"
在安裝Istio之前必須先安裝Istio-init
curl -L https://git.io/getLatestIstio | ISTIO_VERSION=1.3.0 sh -

cd istio-1.3.0

helm install install/kubernetes/helm/istio-init --name istio-init --namespace istio-system

kubectl get crds | grep 'istio.io' | wc -l
#如果出現數字23 代表Istio-init 安裝成功
安裝Istio有許多的選項跟規格詳細可以參考,目前這邊採用的是最容易上手demo
helm install install/kubernetes/helm/istio --name istio --namespace istio-system \
    --values install/kubernetes/helm/istio/values-istio-demo.yaml
kubectl get pods -n istio-system

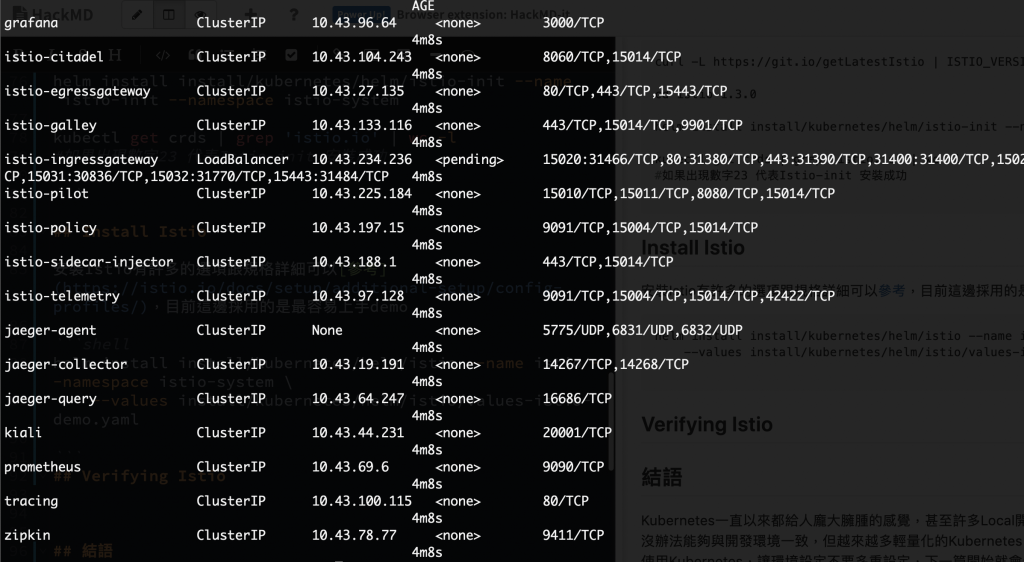
kubectl get svc -n istio-system

K3d在Expose Service有點麻煩,可以參考如果還有疑問下一篇會補上K3d的Service Expose
Kubernetes上的Istio安裝已經非常簡易了,基本上沒有什麼特別需要注意,目前Istio還是要保留許多彈性給大家客製化安裝,下一篇會是採用Operator安裝Istio,並且會將K3d沒有完善的部分也補上,謝謝大家
