Install CentOS Linux 8.0.1905

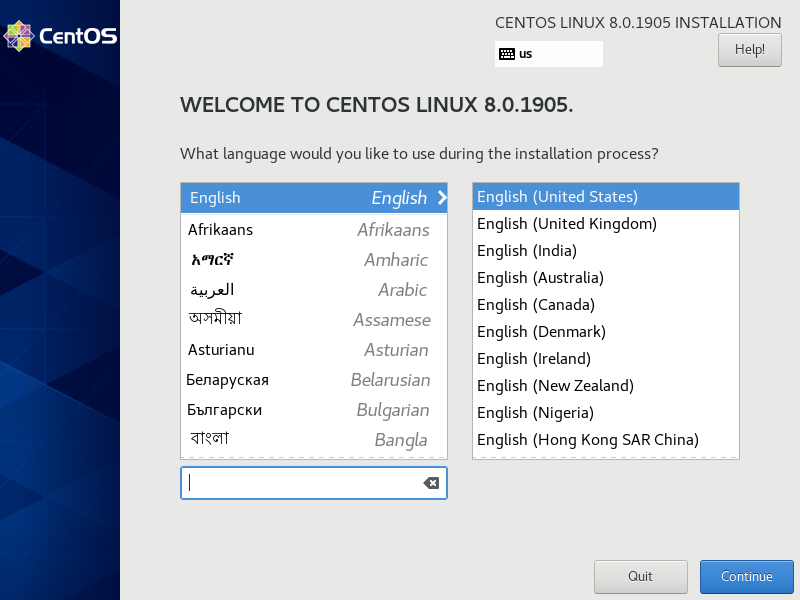
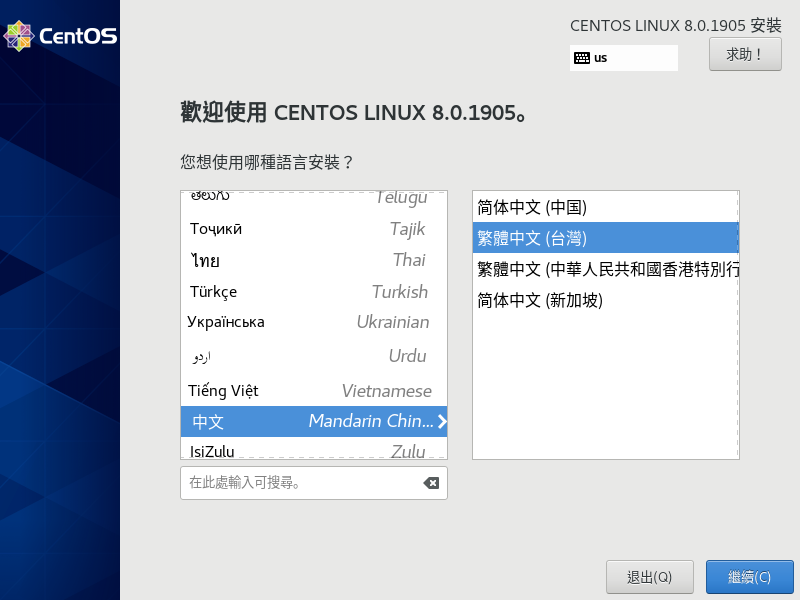
選擇安裝過程中顯示的語言,先前示範安裝選 English,這次改選繁體中文
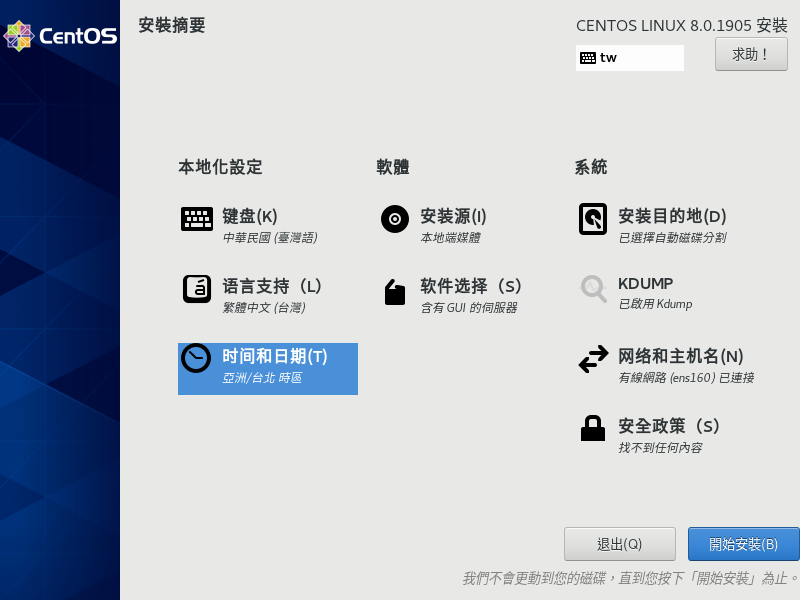
安裝摘要,需要逐項進行設定
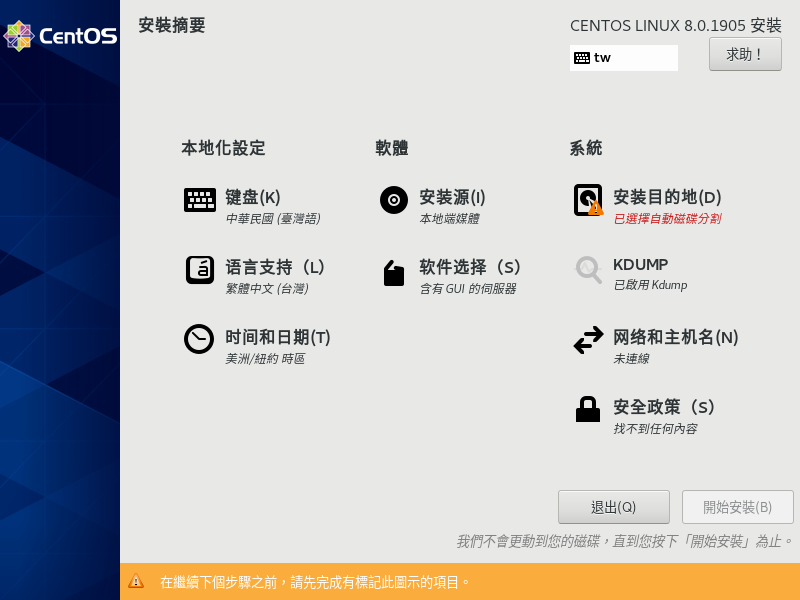
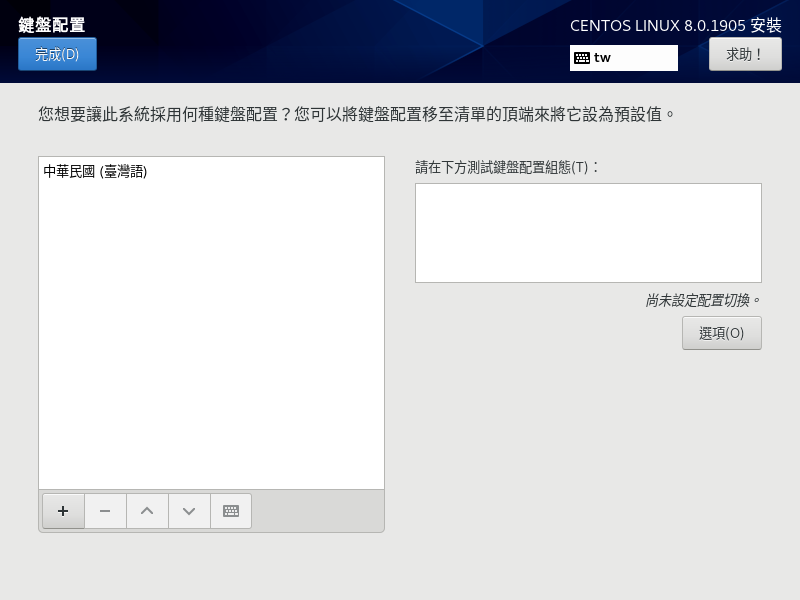
本地化設定—鍵盤
本地化設定—語言支持

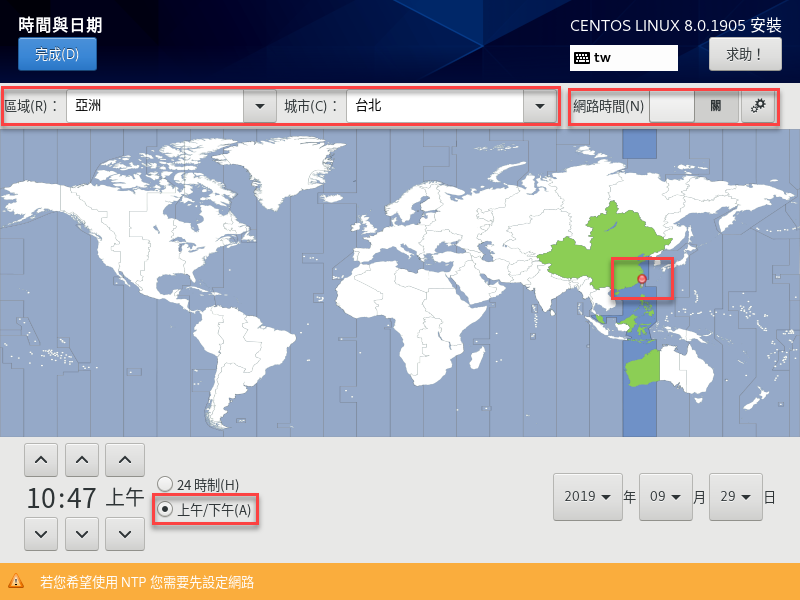
本地化設定—時間與日期:因為網路未通,所以網路時間是無法選擇的。
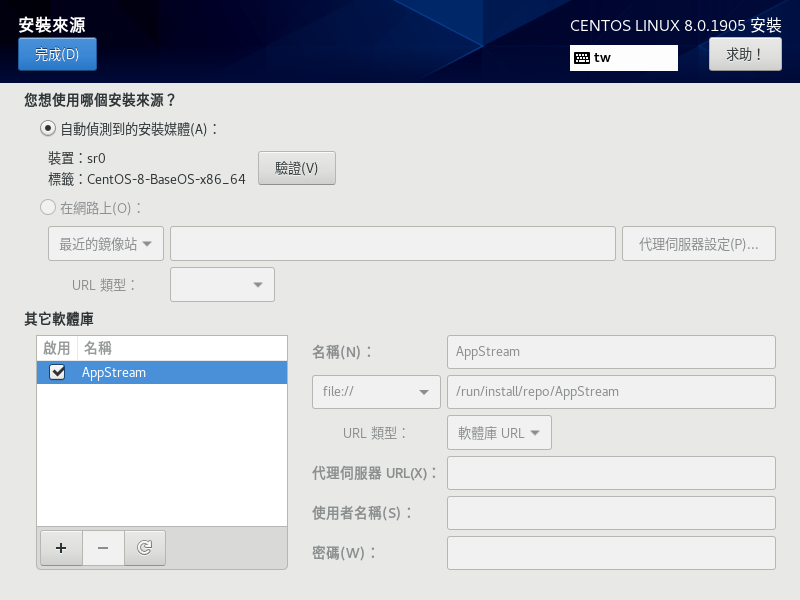
軟體—安裝來源
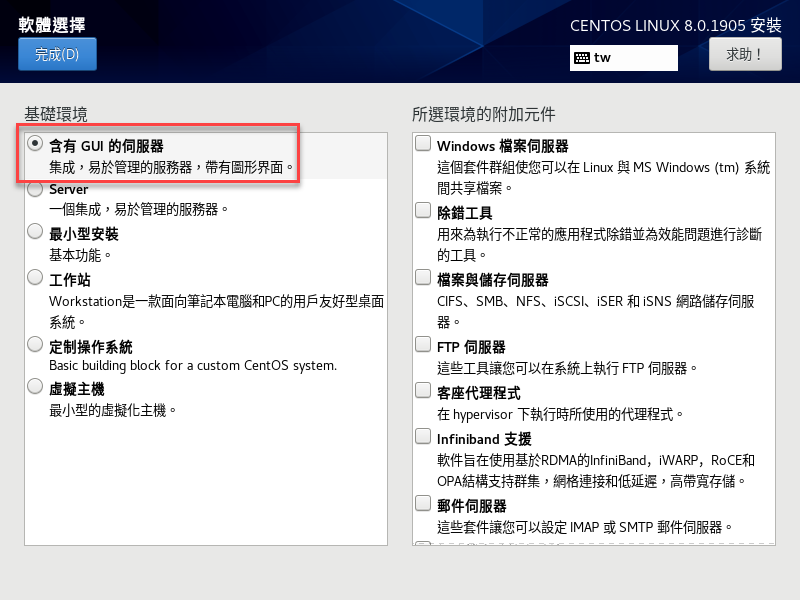
軟體—軟體選擇:基礎環境,雖然先前安裝 RHEL 8 時有提到先不要選擇 Server with GUI,否則會開不進桌面,但 ... 這次我們依舊大膽給它選下去吧!
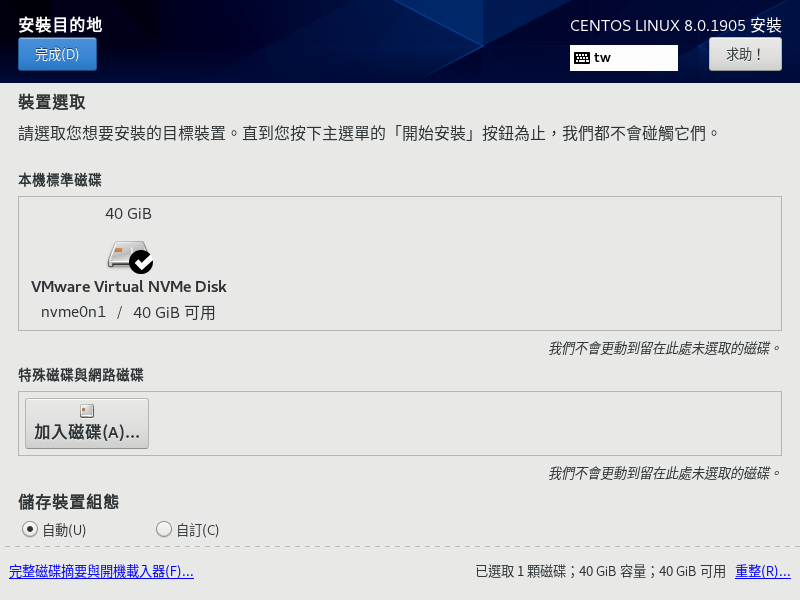
系統—安裝目的地
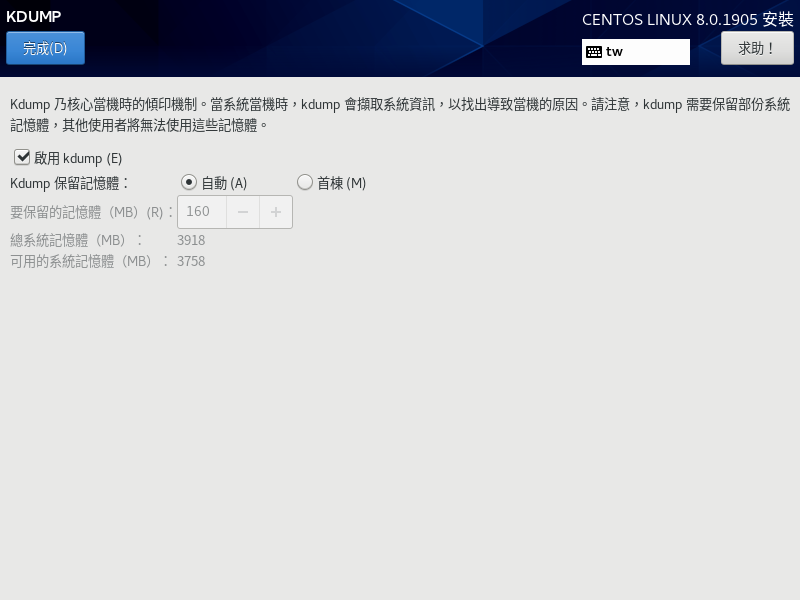
系統—KDUMP:先前選停用,這次選啟用
系統—網路和主機名:原先乙太網路 (ens160) 關閉
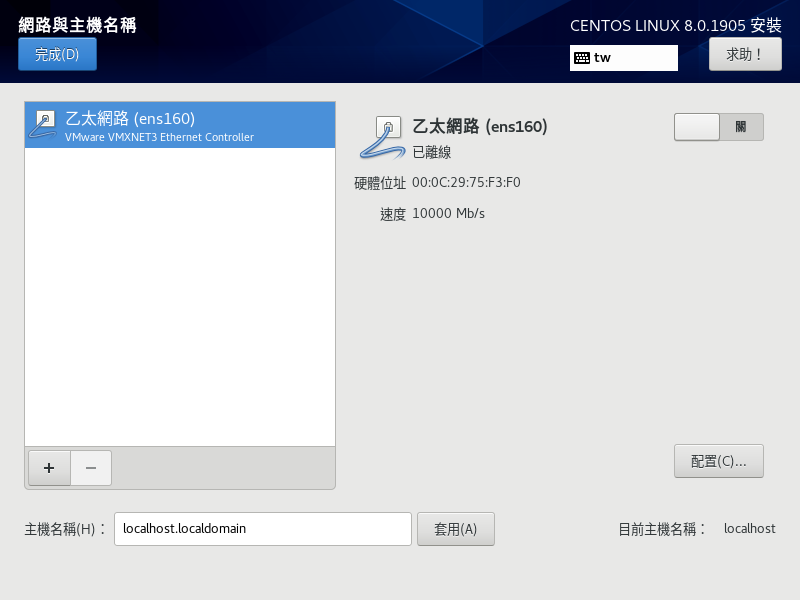
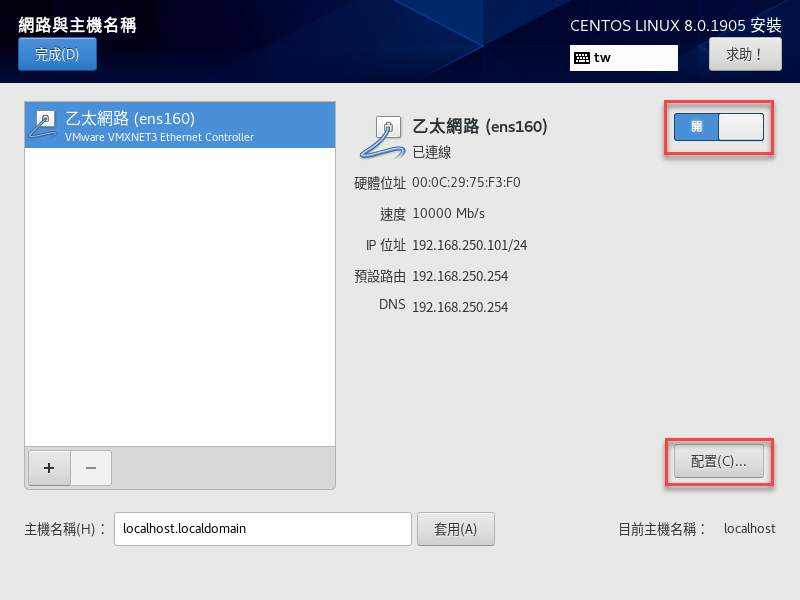
先打開,讓乙太網路變成已連線,再按下配置。
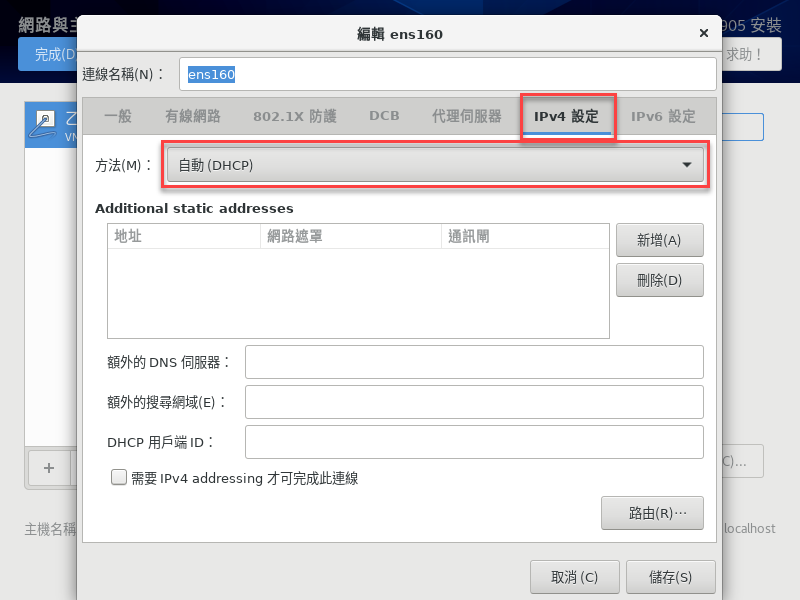
先切換到 IPv4 頁籤,方法原為自動 (DHCP)
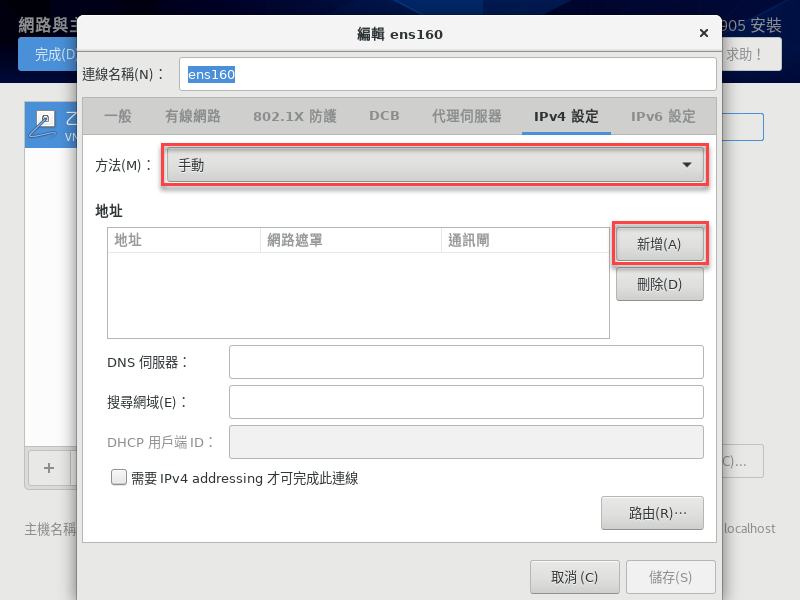
方法改為手動,按下新增
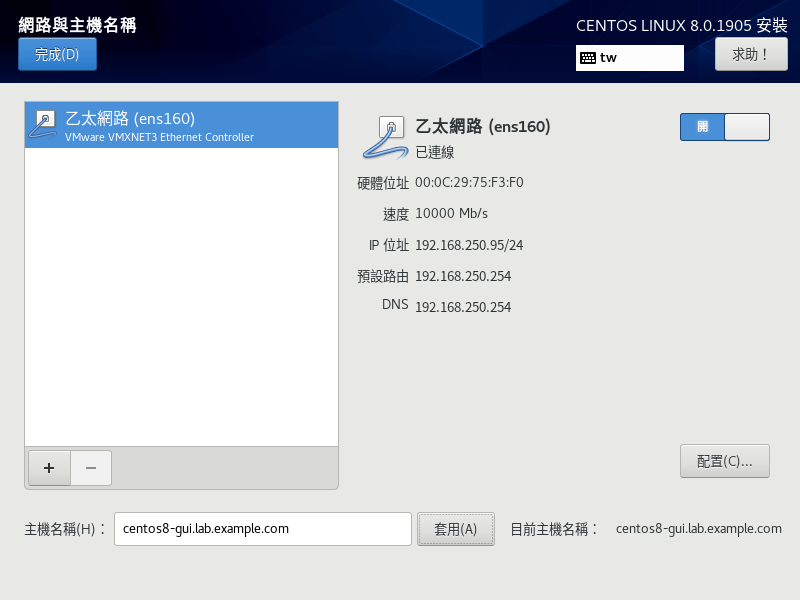
地址 192.168.250.95,網路遮罩 24,通訊閘 192.168.250.254
DNS 伺服器 192.168.250.254
搜尋網域 lab.example.com
輸入完成後按儲存。

輸入主機名稱 centos8-gui.lab.example.com 後按套用,再按完成。
系統—安全政策

再度回來「本地化設定—時間與日期」,網路時間自動變成「開」
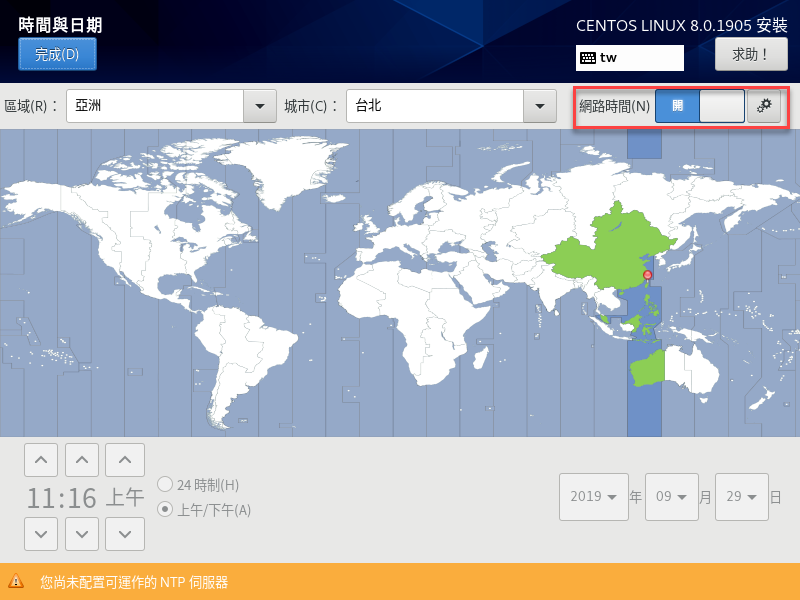
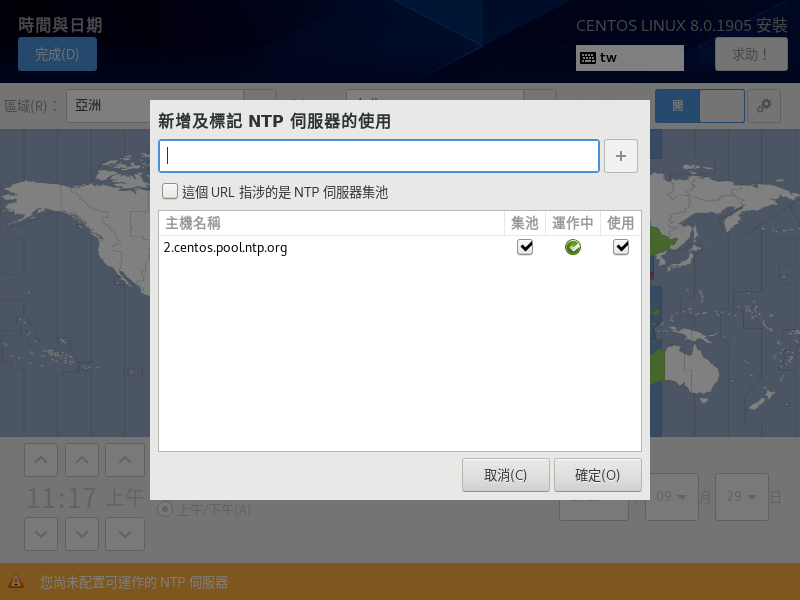
還可以檢視或設定 NTP 伺服器
安裝摘要完成,開始安裝
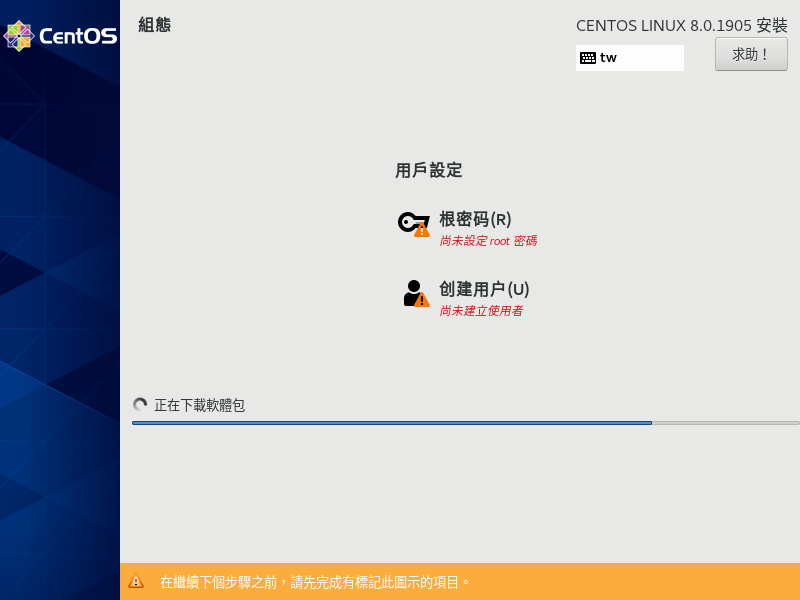
用戶設定,需要安裝根密碼與創建用戶
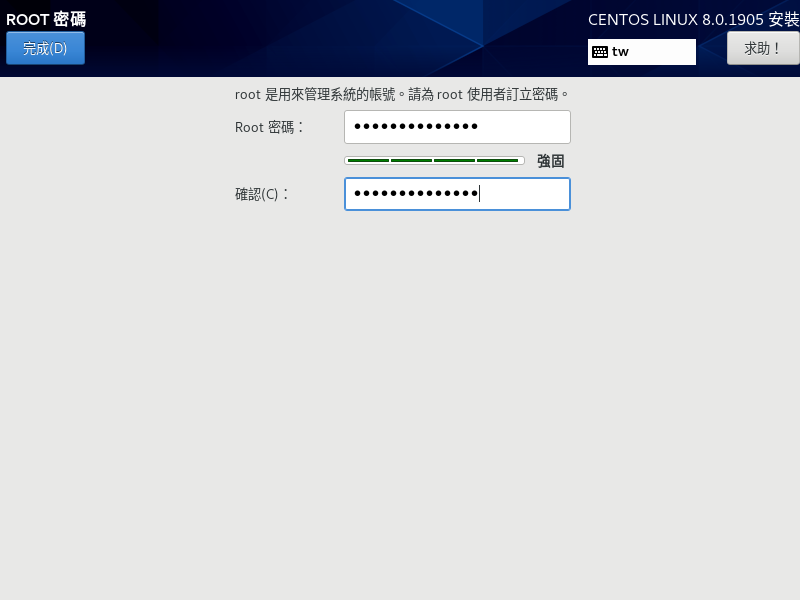
root 密碼:mis_PASS#25095,輸入兩次後按完成
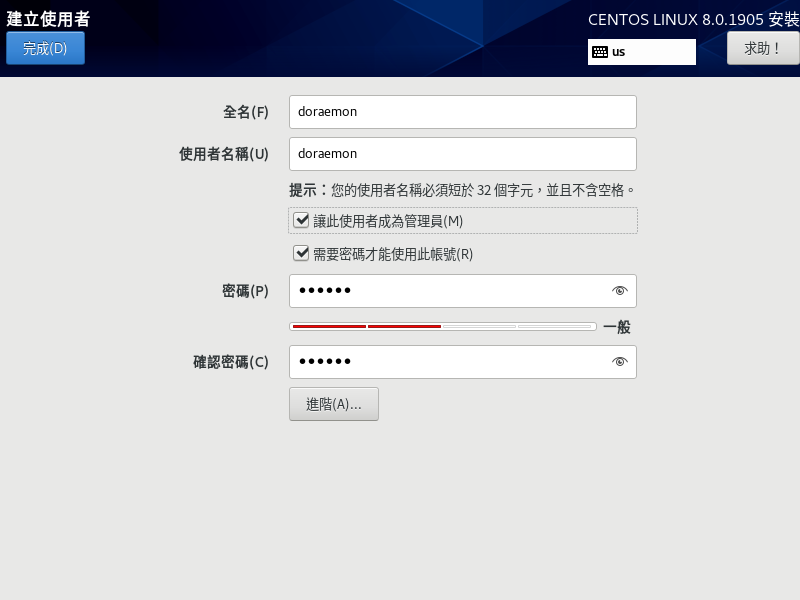
輸入一般使用者帳號,並且指定密碼,勾選「讓此使用者成為管理員」後按完成
安裝完成,重新開機

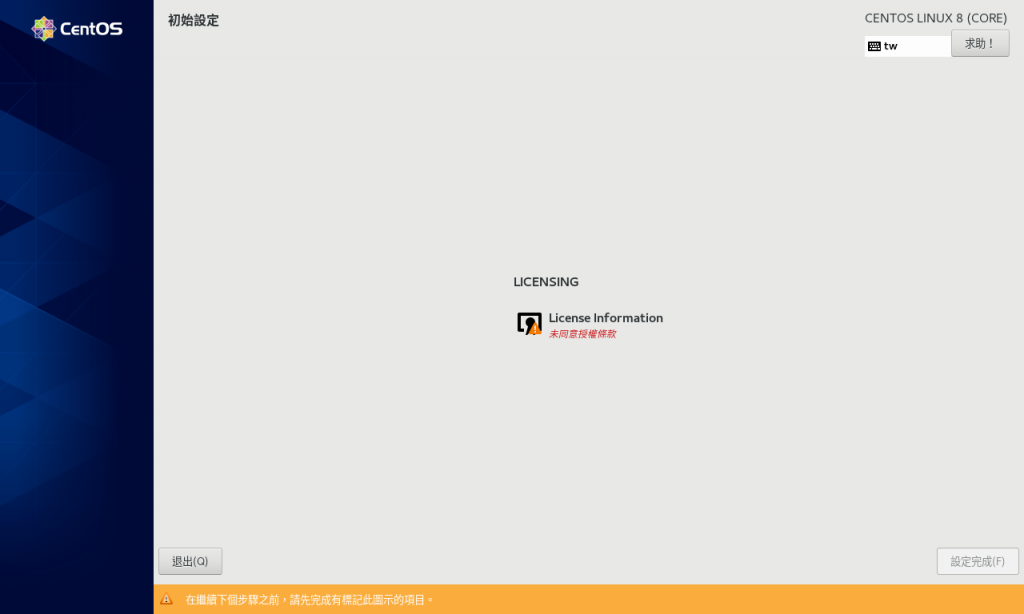
點選 License Information
勾選「我同意授權條款」後按完成
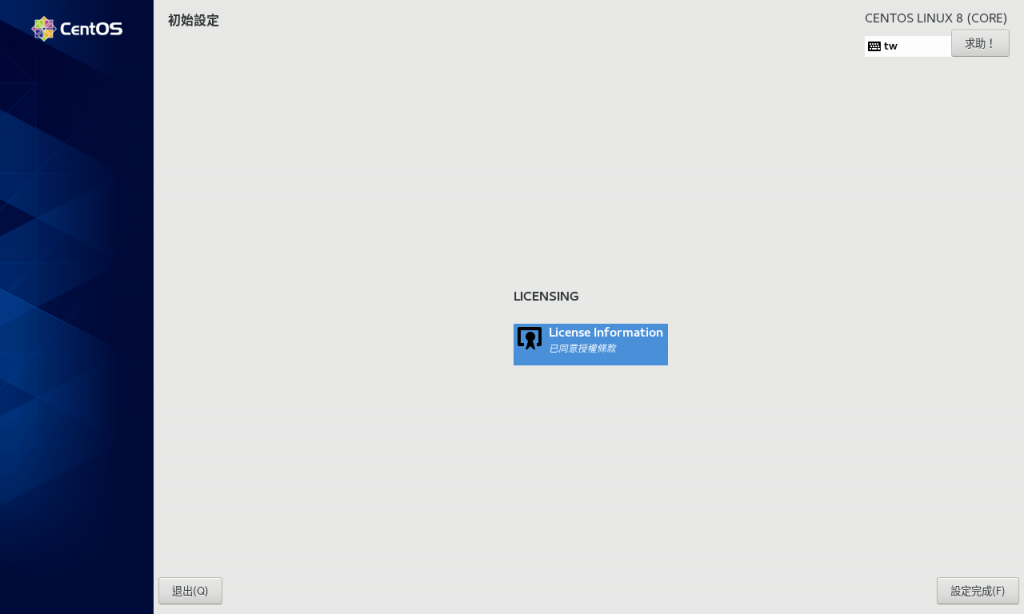
按下設定完成

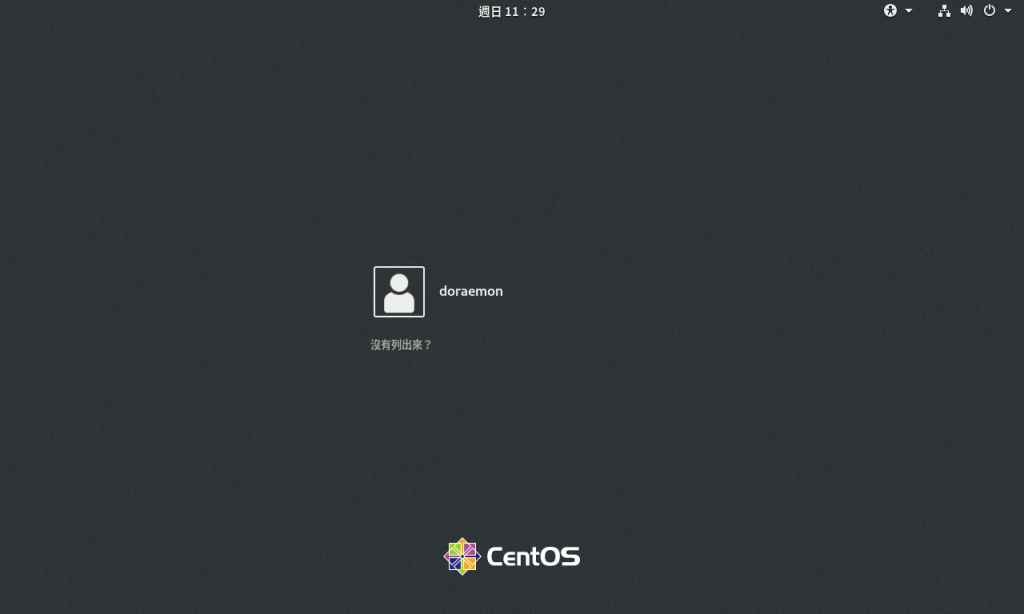
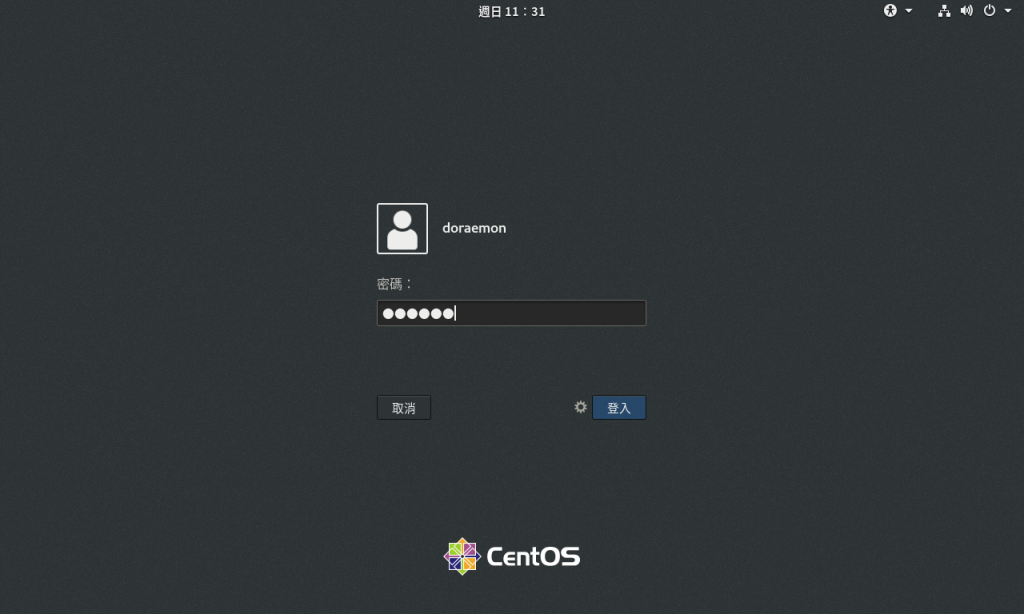
預設顯示是一般使用者帳號,點它按登入
輸入密碼後按登入
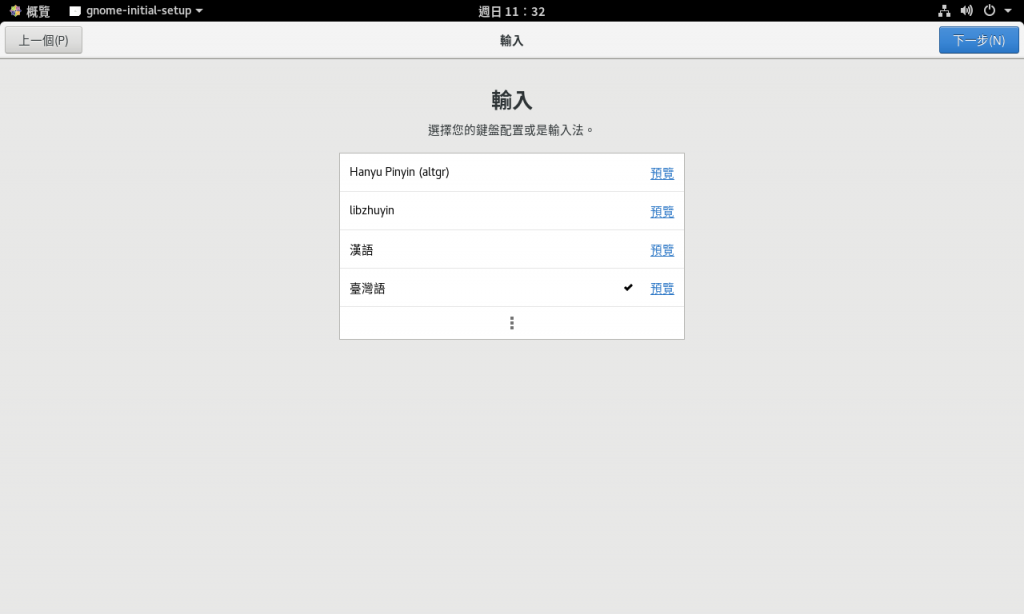
接下來連續幾個步驟皆為按右上角的「下一步」。

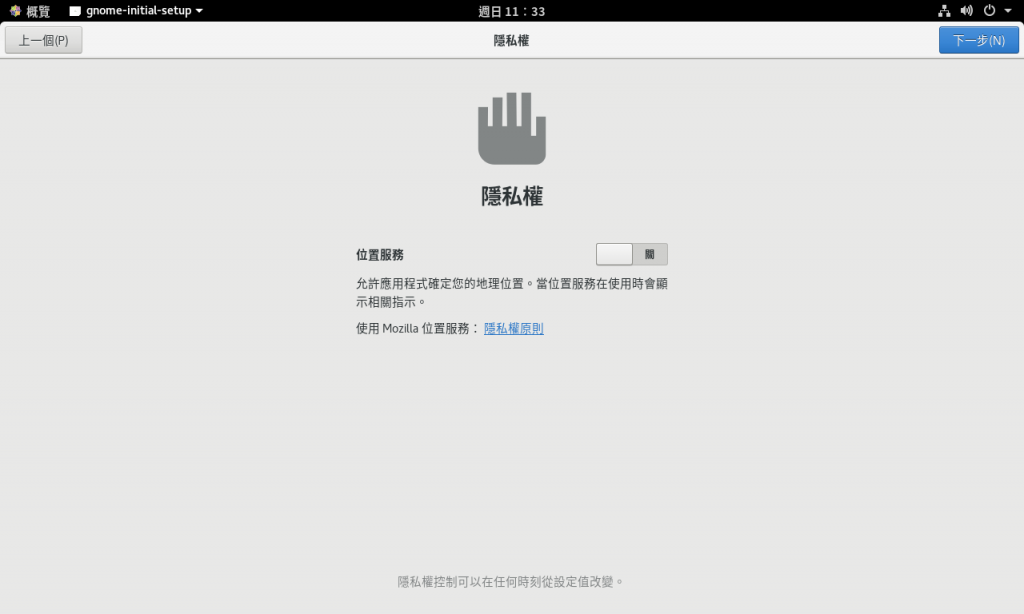
隱私權我選擇關閉
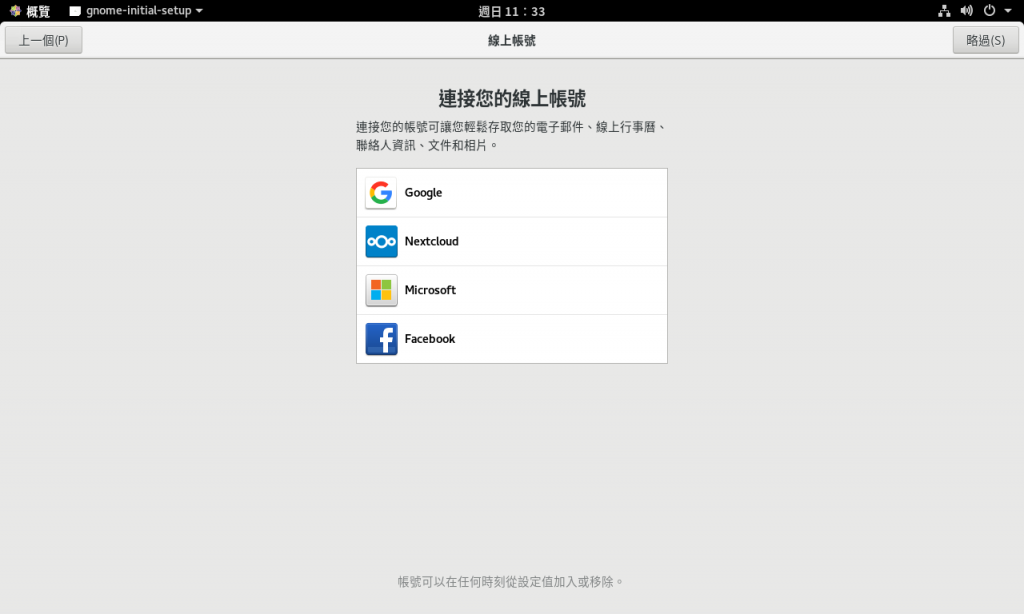
按下「略過」
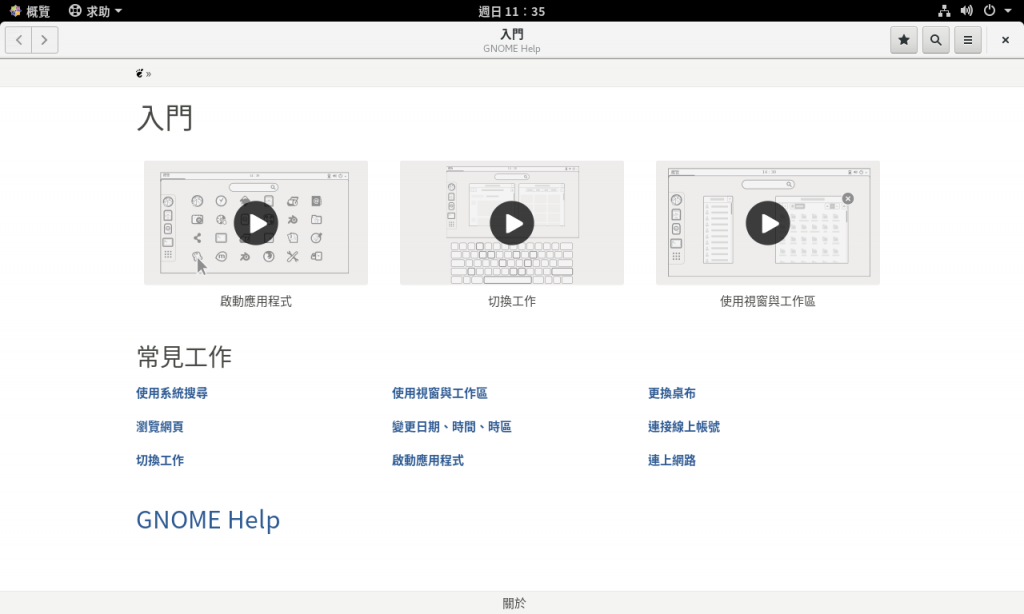
開始使用 CentOS Linux

按下右上角的 X。
桌面非常的乾淨
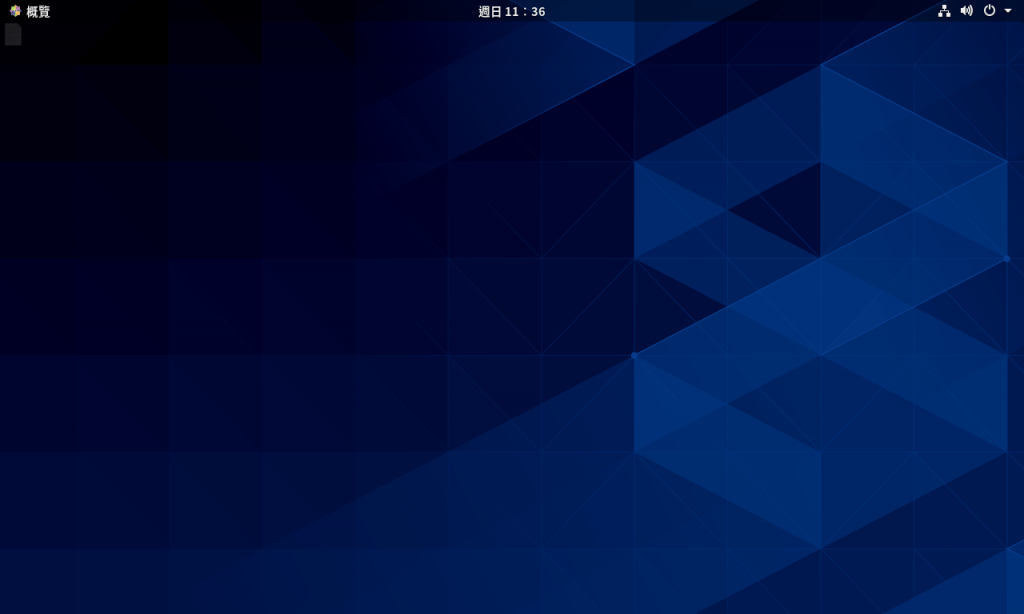
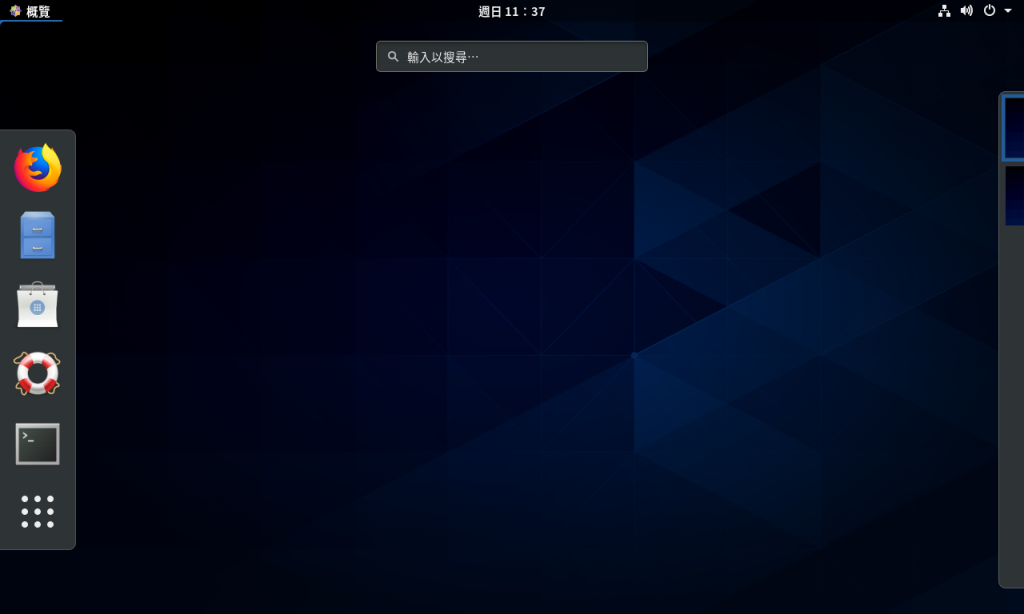
若要叫出程式,先點左上角的概覽
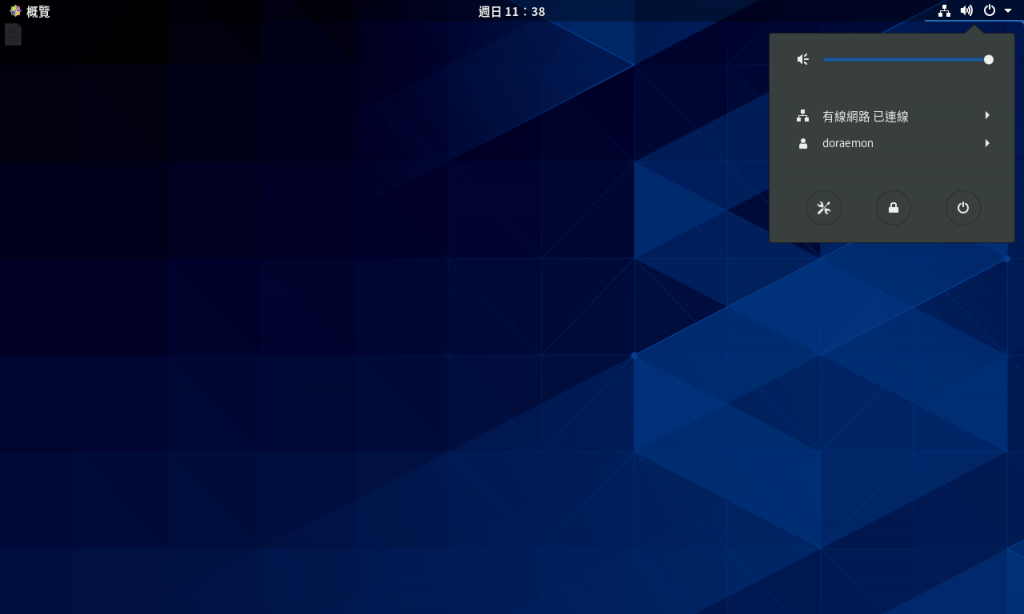
要調整網路設定、重開機或關機,請先點右上角。
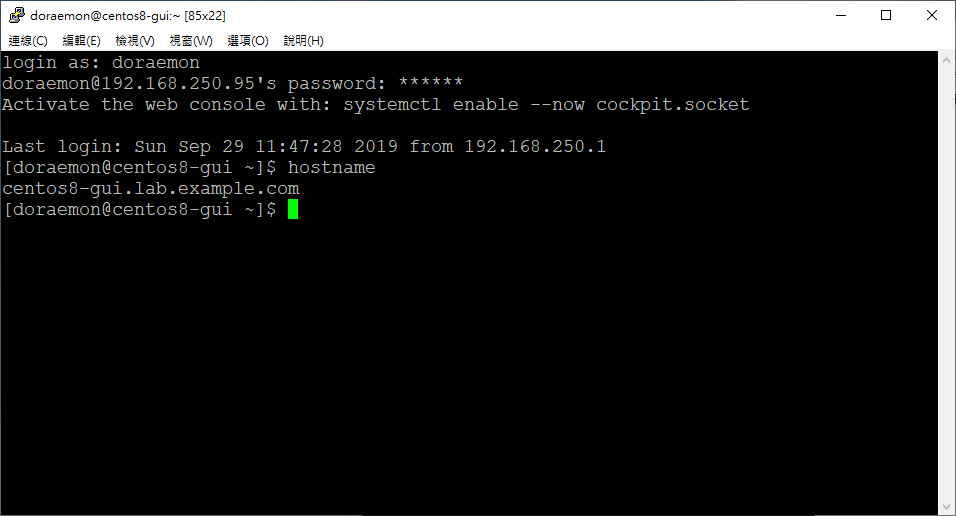
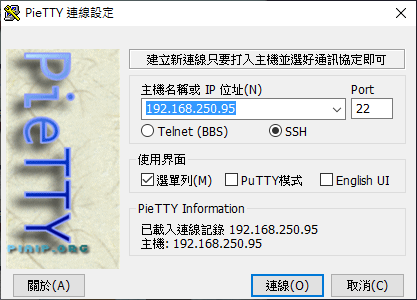
不過接下來,我們還是以指令列設定為主,使用 Pietty SSH 連線 192.168.250.95 登入。
按下「是」
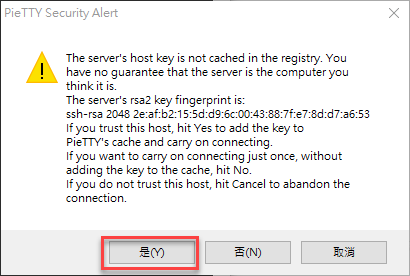
登入成功