介面的設計在app中是一個很重要的環節,除了直接使用圖示作為外觀之外,有時候也可以考慮自己使用android內建的方法來達成。
通過onDraw在自定義視圖時可以讓我們調整畫布中的內容從而繪製出符合我們需求的圖示,從基本的矩形、圓形到漸層、波型等等都能通過來達成,但相較其他方法來說onDraw在使用上會相對麻煩,在設計圖形中有畫面的預覽是相當方便的一件事,能通過預覽了解到自己畫出了什麼東西,但onDraw在畫面預覽上不夠直接,有時在微調往往會花費許多時間,雖說如此但onDraw在畫面的呈現上仍然相當重要。
在繪製圖形的部分,會先從xml的部分來下手,在一些基本圖形可以通過xml格式來達成,下面會先分享一些基本圖形創建。
可以通過在 drawable-> new-> drawable resource file 來新增檔案,並使用shape來自訂圖形。
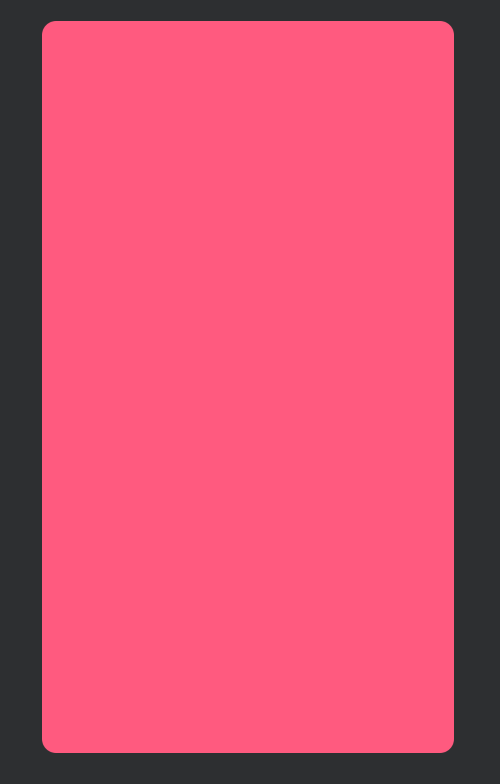
1.圓角矩形
<shape xmlns:android="http://schemas.android.com/apk/res/android">
<solid android:color="#ff5a7f" />
<corners android:radius="14dp" />
</shape>
2.虛線
<shape xmlns:android="http://schemas.android.com/apk/res/android"
    android:shape="line">
    <stroke
        android:width="1dp"
        android:color="#b8c1cc"
        android:dashGap="15dp"
        android:dashWidth="15dp" />
    <size android:height="3dp" />
</shape>

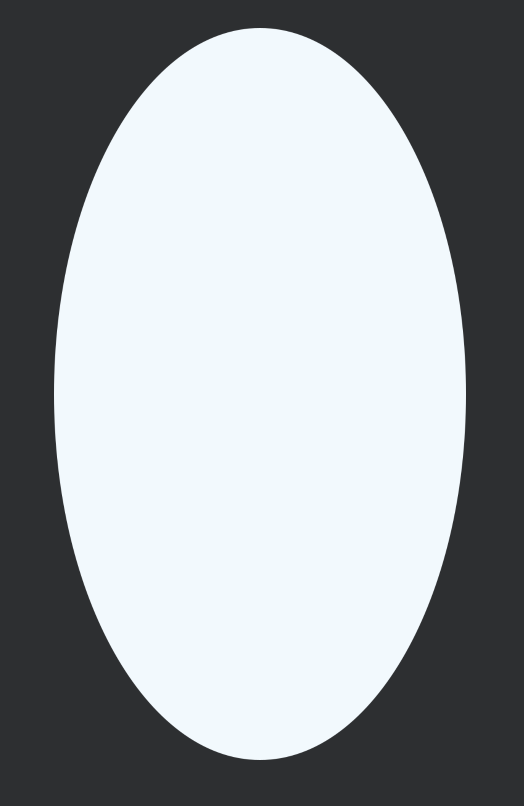
3.圓形、橢圓
<shape xmlns:android="http://schemas.android.com/apk/res/android"
    android:shape="oval">
    <solid android:color="#fff2f9fd" />
</shape>
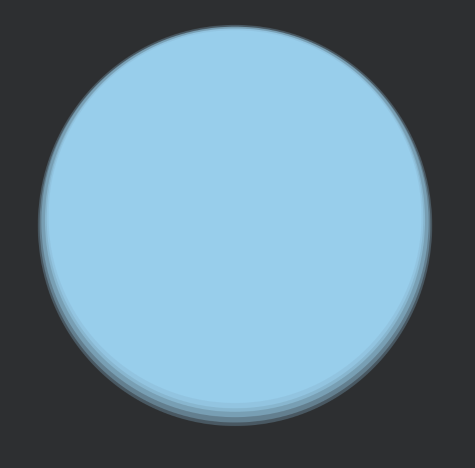
4.漸層效果
<selector xmlns:android="http://schemas.android.com/apk/res/android">
    <item>
        <layer-list>
            <item android:bottom="2dp" android:left="2dp" android:right="2dp" android:top="0.6dp">
                <shape android:shape="oval">
                    <solid android:color="#409CD4F2" />
                </shape>
            </item>
            <item android:bottom="3dp" android:left="2.5dp" android:right="2.5dp" android:top="0.8dp">
                <shape android:shape="oval">
                    <solid android:color="#509CD4F2" />
                </shape>
            </item>
            <item android:bottom="4dp" android:left="3dp" android:right="3dp" android:top="1dp">
                <shape android:shape="oval">
                    <solid android:color="#609CD4F2" />
                </shape>
            </item>
            <item android:bottom="5dp" android:left="3.5dp" android:right="3.5dp" android:top="1.2dp">
                <shape android:shape="oval">
                    <solid android:color="#709CD4F2" />
                </shape>
            </item>
            <item android:bottom="6dp" android:left="4dp" android:right="4dp" android:top="1.4dp">
                <shape android:shape="oval">
                    <solid android:color="#809CD4F2" />
                </shape>
            </item>
            <item android:bottom="7dp" android:left="4.5dp" android:right="4.5dp" android:top="1.6dp">
                <shape android:shape="oval">
                    <size android:width="80dp" android:height="80dp" />
                    <solid android:color="#909CD4F2" />
                </shape>
            </item>
        </layer-list>
    </item>
</selector>