
哈囉,我們又見面了,前面經歷了三天 DevOps 的訓練,今天回歸後端重要的一個環節,也就是資料庫操作,今天來瞭解一下 MySQL 這個老派卻還很常見的關聯式資料庫(Relational Database)吧,構構。
MySQL 和 Django 預設使用的 SQLite 差在哪裡 ?可以參考 (2019) SQLite 與 MySQL 的差別 | Medium,我覺得這篇解釋得不錯 ~
簡單來說,兩者之間的差異可以比喻成 MySQL 是 大卡車、SQLite 是 機車,大卡車可以同時載很多貨物,可是開著大卡車很不方便,要臨時停下來上個廁所、買東西都很麻煩,也不是人人都會開大卡車;雖然也不是人人都會騎機車,但相對多數,機車的載貨量小,可是很方便,想做什麼就路邊停著,雖然這樣違法 XD,我知道你 get 到我想講的點了,哈哈。
同理,MySQL 處理資料的吞吐量大,可 同時 處理多請求時的資料 (可以想成多人同時在瀏覽你的網頁),可透過 TCP/IP 要資料,缺點是需要開著 Server,適合用在大型專案上;SQLite 則是處理資料的吞吐量小、不能同時 處理多請求的資料,但好處是輕量(檔案小、安裝快),不用開 Server (Serverless),適合用在行動裝置上,Android 就是用 SQLite。
我們之後講 MongoDB 時,再來比較 關聯式(Relational) 和 非關聯式(NoSQL) 的差別吧,現在先來感受一下關聯式的用法。
MySQL在 Windows 的安裝過程可以參考 (2016) Windows 上的 MySQL 安裝教學 (使用 MySQL Installer),安裝過程中有一個簡單的原則,如果你不知道那是什麼,就都安裝就對了,如果不知道是什麼,就選預設的。
我在安裝時,選擇的是 Developer Default 的方案,再來就是它建議要安裝的都安裝。安裝得選擇太多,作為一個資料庫新手,也無從講起每個選擇代表的意思,有興趣可以等入門了之後,再去慢慢瞭解。安裝的過程中,會覺得它非常囉嗦,但請耐住性子,稍微看過去每個步驟在做什麼,然後用預設的選項即可,唯一要注意的是 root 使用者的帳號密碼,不要設完就自己忘記了,作為學習用的,可以先設個簡單的帳號密碼,以免忘記。
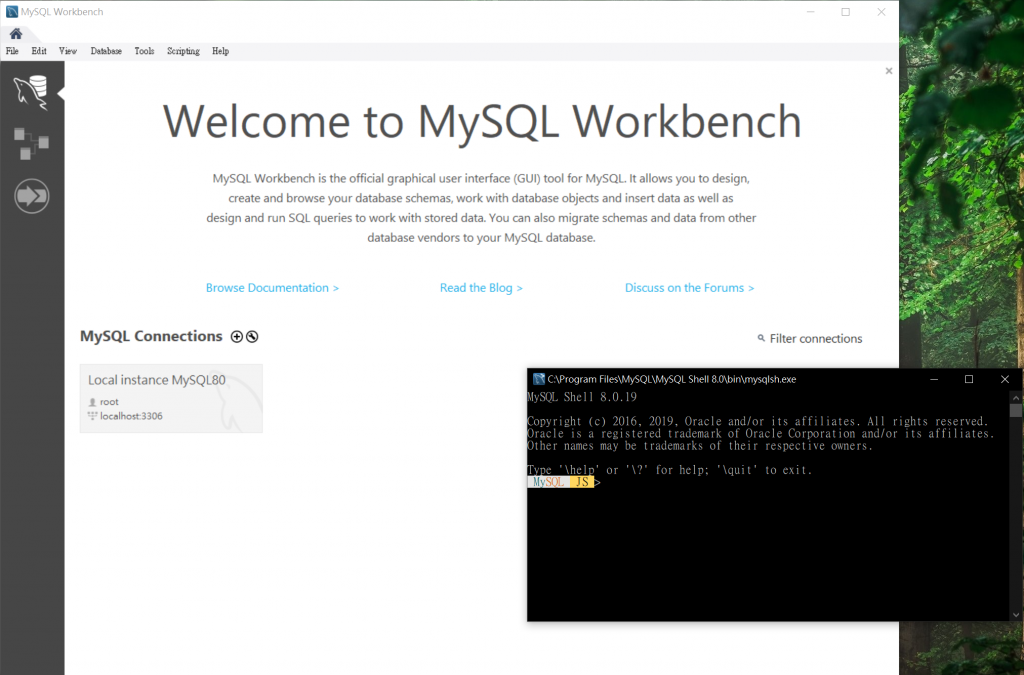
然後,我就面臨到一個問題,我不知道我還能做些什麼,因為我對 SQL 語法不熟,MySQL Workbench 的介面也很難上手,也無法確認 Django 要怎麼做,才算是真的有連動到 MySQL,直到我找到了這一篇 (2018) Django+MySQL 实例入门 | 掘金,超實用的文章,我整篇幾乎都是照著它做出來的,它的 django 語法是 1.x 版的 (本篇是 Django 3.0.3 版),大部分程式碼差不多,來一起跟著做吧。
一個是 MySQL Workbench、一個是 MySQL Shell,這兩個的作用很明顯,一個是圖形化介面、一個是指令介面,沒錯,淺顯易懂,可是我覺得圖形化介面並沒有我想像中的好用,所以我在這邊選擇用 shell 的方式來瞭解 MySQL。
MySQL Shell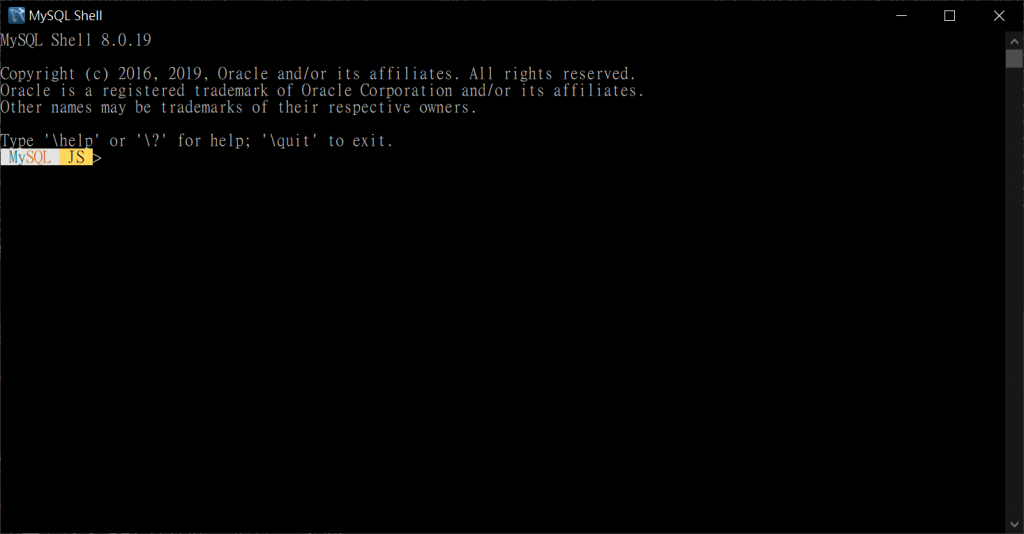
開啟 MySQL Shell 之後,預設會在 js mode,也就是可以用 javascript 來取用 MySQL,我猜應該是我安裝的時候有裝到 js connector,不過今天我們不用這個,我們用純 SQL 指令。
SQL modemysql> \sql
MySQL server,填入密碼mysql> \connect root@127.0.0.1:3306
Creating a session to 'root@127.0.0.1:3306'
Please provide the password for 'root@127.0.0.1:3306': *****
Save password for 'root@127.0.0.1:3306'? [Y]es/[N]o/Ne[v]er (default No):

Fetching schema names for autocompletion... Press ^C to stop.
Your MySQL connection id is 120
Server version: 8.0.19 MySQL Community Server - GPL
No default schema selected; type \use <schema> to set one.
mysql> show databases;
等同於 mysql> show schemas;
別忘了在輸入 SQL 語法時,要有 ; 分號作為一個指令的結束
django_mysql 的 databasemysql> create database django_mysql;
(注意 django_mysql 這個 database 的名字,就是等等要用在 django settings.py 設定 DB 的名字)
mysql> use django_mysql;
恩...,目前還沒有找到指令,可以先關掉整個 shell,再重新開一次 shell
Product model 轉成 MySQL tablesettings.py
...
DATABASES = {
    'default': {
        'ENGINE': 'django.db.backends.mysql',
		'''
		注意 `django_mysql` 這個名字,
		要跟你在 MySQL shell 裡
		創建的 database 名字,一模一樣
		不然等一下 makemigrations 會出錯
		'''
        'NAME': 'django_mysql',
        'USER': 'root',
        'PASSWORD': 'admin',
        'HOST': '127.0.0.1',
        'POST': 3306,
    }
}
...
先把舊的 sqlite migrations 刪掉,然後對 shop 這個 app 來 makemigrations
$ python manage.py makemigrations shop
結果:
Migrations for 'shop':
  shop\migrations\0001_initial.py
    - Create model Product
$ python manage.py migrate
Operations to perform:
  Apply all migrations: admin, auth, contenttypes, sessions, shop
Running migrations:
  Applying shop.0001_initial... OK
mysql> show tables;
+----------------------------+
| Tables_in_django_mysql     |
+----------------------------+
| auth_group                 |
| auth_group_permissions     |
| auth_permission            |
| auth_user                  |
| auth_user_groups           |
| auth_user_user_permissions |
| django_admin_log           |
| django_content_type        |
| django_migrations          |
| django_session             |
| product     <--            |
+----------------------------+
11 rows in set (0.0010 sec)
除了 product 之外的 table,都是 django 預設的。如果你看的到這邊的 tables,就代表 你已經成功將 django 和 MySQL 連動了 ! 恭喜夫人賀喜老爺 ~
接下來就是後端資料庫的「增、查、改、刪」的基礎步驟練習。
desc,describe)mysql> desc product;
+----------------+---------------+------+-----+---------+----------------+
| Field          | Type          | Null | Key | Default | Extra          |
+----------------+---------------+------+-----+---------+----------------+
| id             | int           | NO   | PRI | NULL    | auto_increment |
| name           | varchar(100)  | NO   |     | NULL    |                |
| price          | decimal(65,0) | NO   |     | NULL    |                |
| img            | varchar(100)  | NO   |     | NULL    |                |
| on_sale        | tinyint(1)    | YES  |     | NULL    |                |
| tag            | varchar(20)   | YES  |     | NULL    |                |
| percent_off    | decimal(30,1) | YES  |     | NULL    |                |
| sale_price     | decimal(30,0) | YES  |     | NULL    |                |
| bought_counter | decimal(30,0) | NO   |     | NULL    |                |
| created_date   | datetime(6)   | NO   |     | NULL    |                |
| published_date | datetime(6)   | YES  |     | NULL    |                |
+----------------+---------------+------+-----+---------+----------------+
11 rows in set (0.0016 sec)
product 的 tableviews.py
from django.http import HttpResponse
from .models import Product
import random

def insert_view(request):
    for i in range(5):
        product = Product()
        product.name = "測試" + str(random.randint(0, 5))
        product.price = random.randint(1, 500)
        product.save()

    return HttpResponse("批次新增資料完成")
urls.py
...
urlpatterns = [
	...,
	path('insert/', insert_view),
]
把 django 跑起來 !$ python manage.py runserver
再到瀏覽器訪問 127.0.0.1:8000/insert/
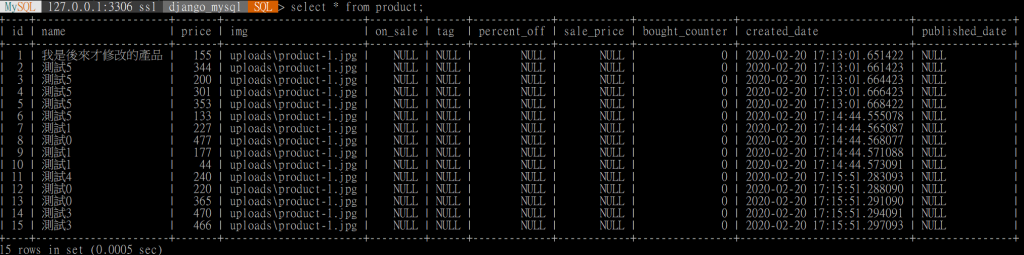
確認資料是不是真的有塞進去 product 的 table 裡
sql> select * from product;
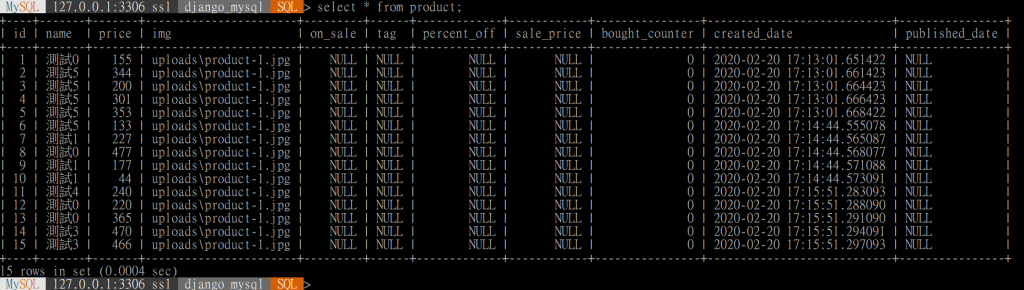
我這邊不小心執行了三次 XD
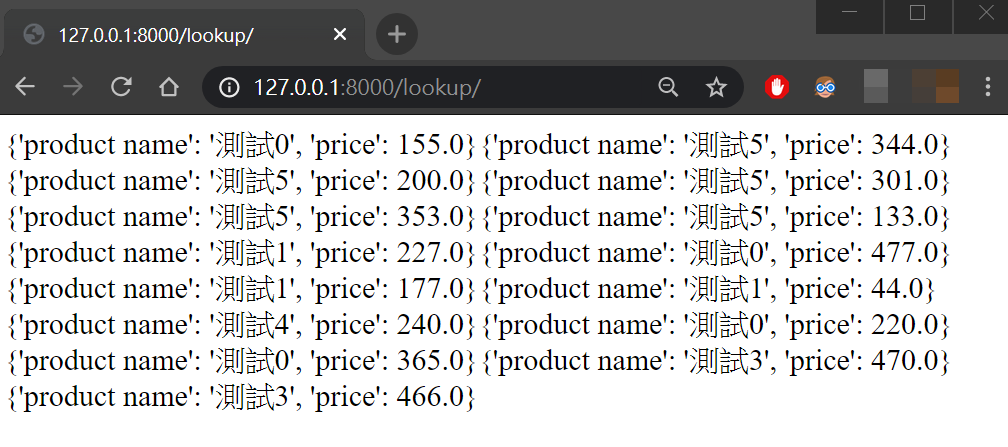
views.py 新增一個 lookup_view 的頁面
def lookup_view(request):
    result = Product.objects.all()
    mlist = []
    for item in result:
        content = {"product name": item.name, "price": float(item.price)}
        mlist.append(content)

    return HttpResponse(mlist)
urls.py
...
urlpatterns = [
	...,
	path('insert/', insert_view),
	path('lookup/', lookup_view),
]
結果:
views.py
def modify_view(request):
    product = Product.objects.get(id=1)
    product.name = "我是後來才修改的產品"
    product.save()
    return HttpResponse('修改完成,請到 SQL shell
      下指令\nsql> select * from product where id=1')
urls.py
...
urlpatterns = [
	...,
	path('insert/', insert_view),
	path('lookup/', lookup_view),
	path('modify/', modify_view),
]
結果:

只查詢其中一項 id=1 的資料
sql> select * from product where id=1;

查詢全部
sql> select * from product;
views.py
def delect_view(request):
    product = Product.objects.get(id=1)
    product.delete()
    return HttpResponse('刪除 id=1 的資料成功,請到
      SQL shell 下指令\nsql> select * from product')
urls.py
...
urlpatterns = [
	...,
	path('insert/', insert_view),
	path('lookup/', lookup_view),
	path('modify/', modify_view),
	path('delete/', delete_view)
]
結果:

檢查
sql> select * from product;
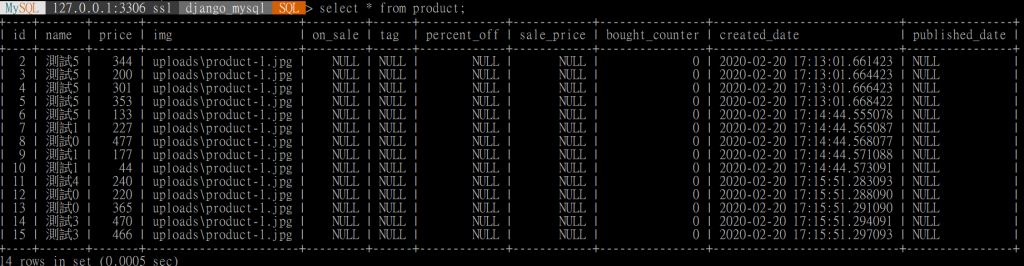
id=1 的那一項已經被我們刪掉了
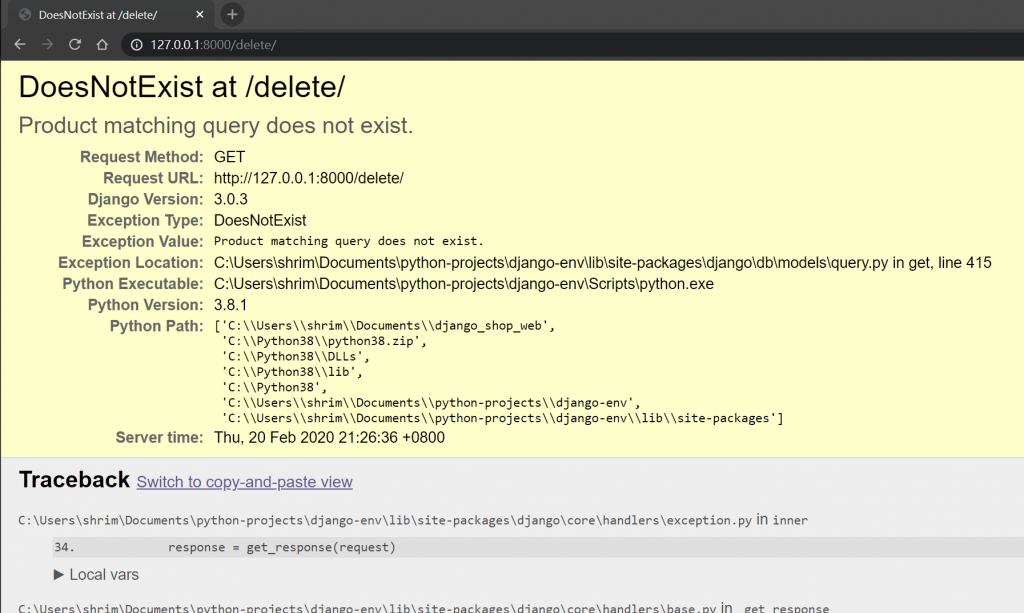
也就是再執行一次我們的 delete 頁面,因為裡面已經沒有 id=1 的資料了,所以會報 DoesNotExist 的 Error message
今天剛入門 MySQL 的時候,真的有點不知所措,MySQL Workbench 這個圖形化介面的工具,實在對新手很不友善,我一直想找我的預設 database 到底有哪些,我都已經用指令找出來了,可是在 workbench 就是看不到,結果到很久很久後,我才發現有個很小顆的 Schemas 的按鈕。
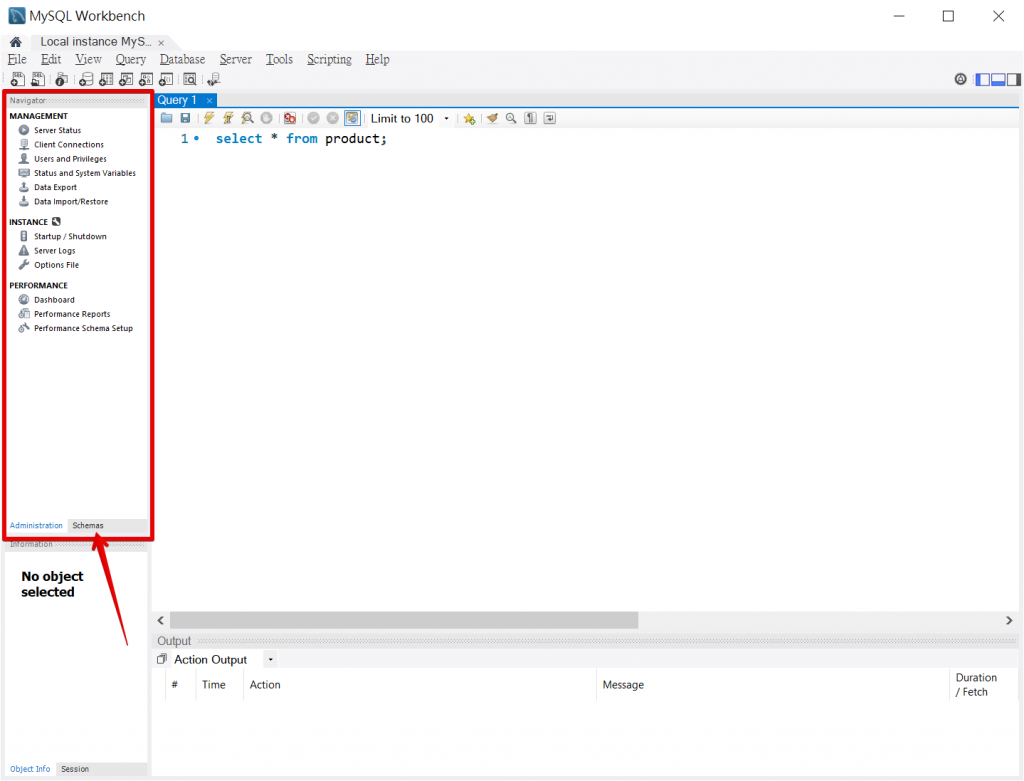
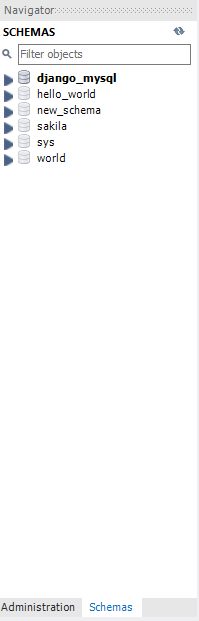
按下 Schemas 的按鈕,我才發現原來藏在這 ! 該死,浪費我時間 QQ
但工具這種東西就是這樣,當你不會用的時候,都會覺得它是爛東西,可是當你掌握它的操作邏輯時,就換成是你駕馭它了,隨時可以用它來達到你想要的功能,真的要用過才會覺得沒什麼。
我是 RS,這是我的 不做怎麼知道系列 文章,我們 明天見。
今天做了一個新的嘗試 !
 Sam
Sam

 iThome鐵人賽