使用JSON Server可以快速建立一個虛擬的數據庫,並且支援開發中最常用的 GET、POST、PUT、PATCH、DELETE、OPTIONS 等 request method。
{
    "posts": [
        {
            "id": 1,
            "title": "json-server",
            "author": "typicode"
        }
    ],
    "comments": [
        {
          "id": 1,
          "body": "some comment",
          "postId": 1
        }
    ],
    "profile": [
        {
            "name": "typicode"
        }
    ]
  }
npm install -g json-server
yarn add json-server
{
  "dependencies": {
    "json-server": "^0.16.1"
  }
}
{
  "dependencies": {
    "json-server": "^0.16.1"
  },
  "scripts":{
    "start": "json-server --watch db.json --port 3004"  //預設3000可以藉由 --port 來改變端口號
  },
  "license": "MIT"
}
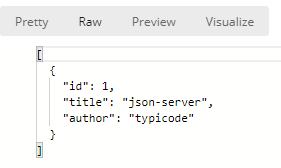
json-server --watch db.json預設端口是3000可以藉由 --port來改變自定義的端口號
結果 :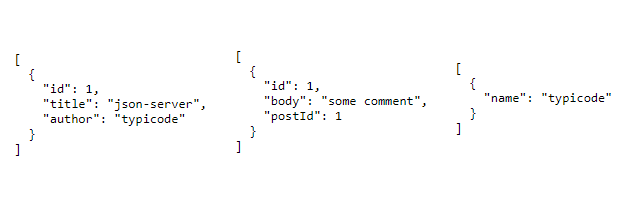
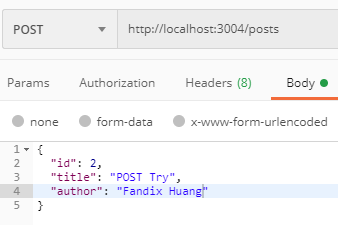
使用Postman 來確認JSON-Server的數據庫狀況。
使用GET來取得變化後的數據 :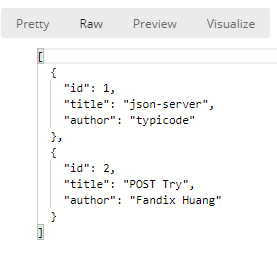
更改id:2的數據,將"title":Post Try更改為"title":PUT Try
使用GET來取得變化後的數據 :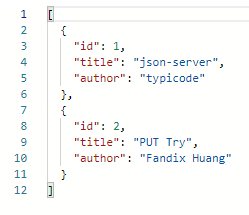
將id:2刪除 :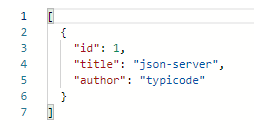
參考資料 :
GitHub-json-server
使用 JSON Server 快速模擬 Restful API
 Fandix
