這週很重要~要來寫旅館預約平台的 [預約功能]
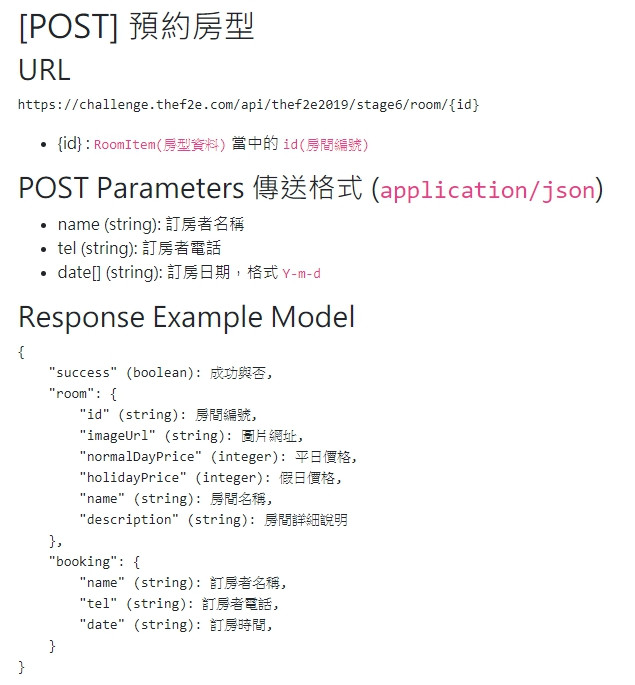
在F2E API中有提供一個 [POST] 預約房型 方法:
我們要利用它來做預約的功能
呼叫時使用 POST 方法,在URL要帶上要預約的房間編號
傳入資料:
API回傳結果包含
回傳後就可以將結果呈現在畫面上
事不宜遲實作看看吧~
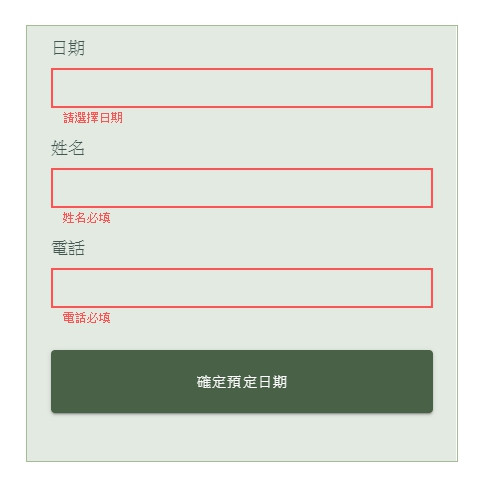
首先, 我們先幫預約的表單加上表單的前端驗證
設計師沒做這部分的圖, 但就我所知, 幾乎所有的表單都該有表單驗證, 例如必填欄位卻沒填, 或是格式不對等等
驗證的部分參考 Vuetify-Forms 表單組件
第一步,要在需要驗證的組件加上驗證規則(rules):
<v-text-field
  outlined
  dense
  color="#a5bb94"
  v-model="name"
  required
  :rules="[(v) => !!v || '姓名必填']"
></v-text-field>
這裡放上姓名的驗證規則,日期跟電話的規則也是一樣的寫法
只要欄位空的沒資料就會跳提示出來囉!!
表單外層使用 v-form 包覆,並加上 ref 屬性協助取得組件:
<v-form ref="form">
  //表單內容
</v-form>
下方的 [確定預定日期] 按鈕加上點擊事件:
<v-btn
  color="#496146"
  dark
  block
  height="63"
  class="mt-4"
  @click="submit"
  >確定預定日期
</v-btn>
事件中可以先加上表單驗證方法 this.$refs.form.validate(),當點擊按鈕就會觸發表單驗證囉~
methods: {
  submit() {
    this.$refs.form.validate();
  },
},
在觸發表單驗證時,可以加上一個 if 判斷:
submit() {
  if (this.$refs.form.validate()) {
    //表單驗證通過之後要做的事
  }
},
當驗證通過後就可以呼叫預約的API:
if (this.$refs.form.validate()) {
  this.$http({
    method: "POST",
    headers: {
      Accept: "application/json",
      /* 注意這裡要用你的token */
      Authorization: "Bearer 你的token",
      "Content-Type": "application/json",
    },
    /* 注意這裡要加上要預約的房間編號 */
    url: `https://challenge.thef2e.com/api/thef2e2019/stage6/room/${this.roomid}`,
    data: JSON.stringify({
      name: this.name,
      tel: this.phone,
      date: this.dates,
    }),
  })
    .then((res) => {
      //成功後要做的事
    })
    .catch((err) => {
      //錯誤時要做的事
    });
}
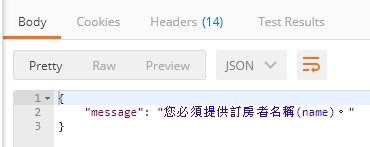
當API回傳錯誤時會被 catch 到
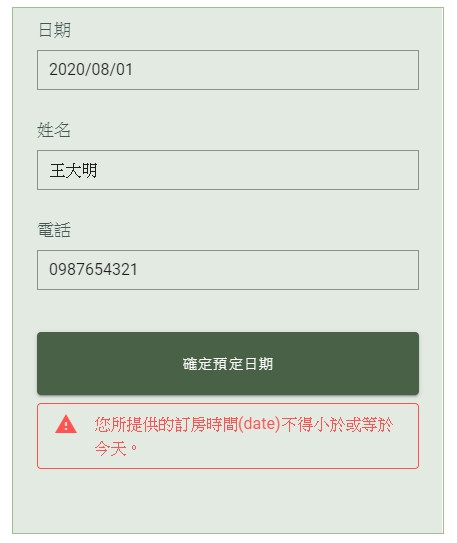
這時候可以使用一些方法來回饋使用者,這裡我使用 Vuetify-Alerts 組件來呈現:
<v-alert v-if="alertmsg" class="mt-2" dense outlined type="error">
  {{ alertmsg }}
</v-alert>
data 的部分也要加上:
data: () => ({
  ...,
  alertmsg: ""
}),
在 catch() 方法中把接收到的錯誤訊息放進 alertmsg:
.catch((err) => {
  this.alertmsg = err.response.data.message;
});

預約成功 時的事件先保留起來xD
附上這次進度的雲端壓縮檔, 執行前記得先npm install
有需要改進或是任何意見建議歡迎下面留言~
