有了Consul server, 接下來今天會介紹安裝Consul client.
與設定Consul server差異不大,在我們要建立Consul client的node上,執行下列的動作:
datacenter = "ithome"
data_dir = "/home/ec2-user/consul/data"
disable_update_check = true

node_name = "consul-client-1"
client_addr = "0.0.0.0"
bind_addr = "10.168.1.189"

connect {
  enabled = true
}

retry_join  = ["10.168.1.175","10.168.1.189"]
retry_interval = "20s"

log_level = "DEBUG"
log_file = "/home/ec2-user/consul/logs/"
log_rotate_duration = "24h"
log_rotate_max_files = 0

performance {
  raft_multiplier = 1
}
這裡可以跟Consul server設定檔比對一下,
少了
server = true
bootstrap_expect = 1
ui = true
多了
retry_join  = ["10.168.1.175","10.168.1.189"]
retry_interval = "20s"
因為Consul client, 沒有要作為server使用,預設下server 是 false 可以不用寫, 所以也不必設定bootstrap_expect與ui.
retry_join: 是要讓Consul client加入Consul server的集群裡。這個參數在有多個Consul server HA的環境下,也是透過retry_join,加入集群中。
retry_interval: 重試的間格是每20秒一次。
$ consul agent -config-dir=./conf/
你會發現在log裡出現一堆錯誤,這是因為我們之前有啟用ACL, Consul client還尚未設定policy與token.
[WARN]  agent: Node info update blocked by ACLs:
[WARN]  agent: Coordinate update blocked by ACLs: accessorID=
[ERROR] agent.client: RPC failed to server: method=Catalog.Register server=10.168.1.175:8300 error="rpc error making call: Permission denied"
# client-policy.hcl

node_prefix "" {
   policy = "write"
}

agent_prefix "" {
  policy = "write"
}

service_prefix "" {
   policy = "read"
}
$ consul acl policy create -name "consul-client" -description="Consul client policy"  -rules @client-policy.hcl
ID:           993cf87e-3c8c-2d9c-f124-e8af11660e13
Name:         consul-client
Description:  Consul client policy
Datacenters:
Rules:
node_prefix "" {
   policy = "write"
}

agent_prefix "" {
  policy = "write"
}

service_prefix "" {
   policy = "read"
}
$ consul acl token create -description "Token for Consul Client" -policy-name consul-client
AccessorID:       17a22fb9-f504-a2d8-6eb4-ffd1acae5543
SecretID:         bed9f8f5-6471-a76f-f0f3-4ef3c75e085b
Description:      Token for Consul Client
Local:            false
Create Time:      2020-09-06 07:44:05.18871235 +0000 UTC
Policies:
   993cf87e-3c8c-2d9c-f124-e8af11660e13 - consul-client
acl {
  enabled = true
  default_policy = "deny"
  enable_token_persistence = true
  tokens {
    agent = "1d177b09-4528-bdb0-e5b0-e61ab7aa140a"
  }
}
agent: Synced node info表示成功了。[INFO] agent: Synced node info
[DEBUG] agent: Node info in sync
查看Web UI會發現Consul client連線上了。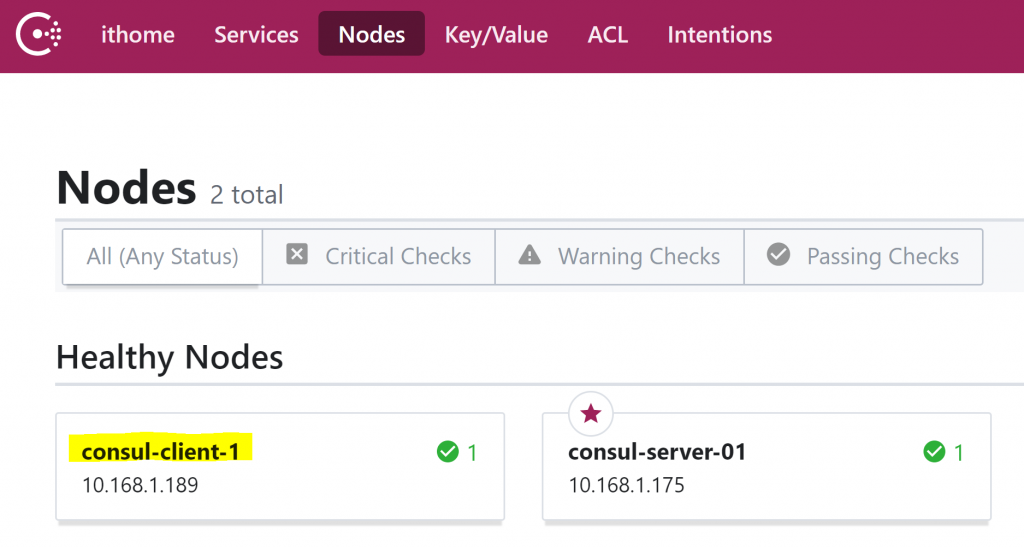
使用CLI查看也可以看到相同的結果。
$ consul members
Node              Address            Status  Type    Build  Protocol  DC      Segment
consul-server-01  10.168.1.175:8301  alive   server  1.8.3  2         ithome  <all>
consul-client-1   10.168.1.189:8301  alive   client  1.8.3  2         ithome  <default>