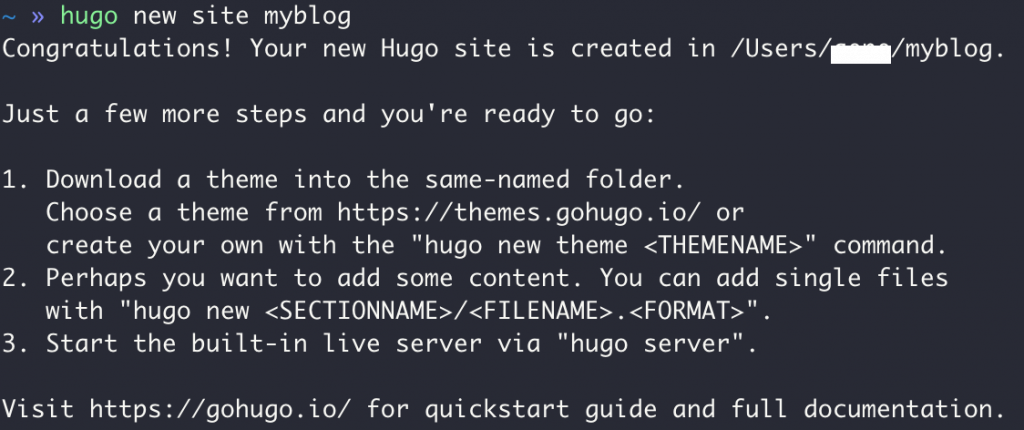
在你安裝完 Hugo 指令後,可透過以下指令建置新專案:
hugo new site myblog
結果如下:
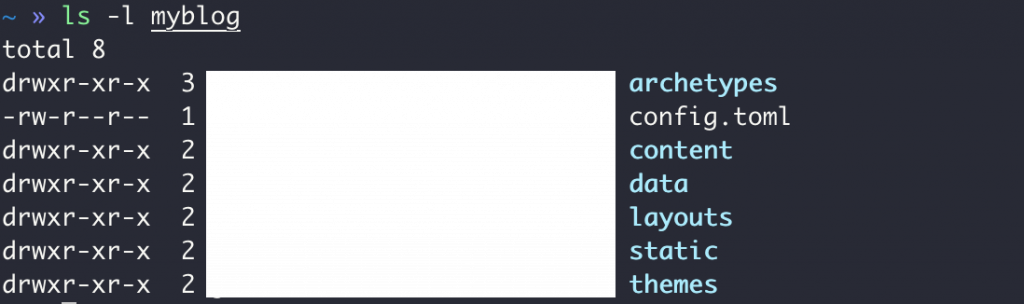
cd 進入到目錄中我們可以看到最初的專案資料夾有以下這幾個:
根據官網指引安裝佈景,在安裝前你必須先有 git,我的建議是若你還沒有 git cli,先安裝 git,之後我也會建議你把整個專案做版本控制,若是你打算部署到 GitHub Pages,那你就更需要先裝好他。
# 在專案目錄底下 ./myblog
git init
git submodule add https://github.com/budparr/gohugo-theme-ananke.git themes/ananke
編輯 config.toml 指定佈景名稱為 ananke
echo 'theme = "ananke"' >> config.toml
為了在本地跑起來時可以看到點內容,我們先新增一篇文章
hugo new posts/my-first-post.md
檔案會被建立在 ./content/posts/my-first-post.md 底下。請注意,省略 .md 的話,你的文件就不會被渲染到頁面上。
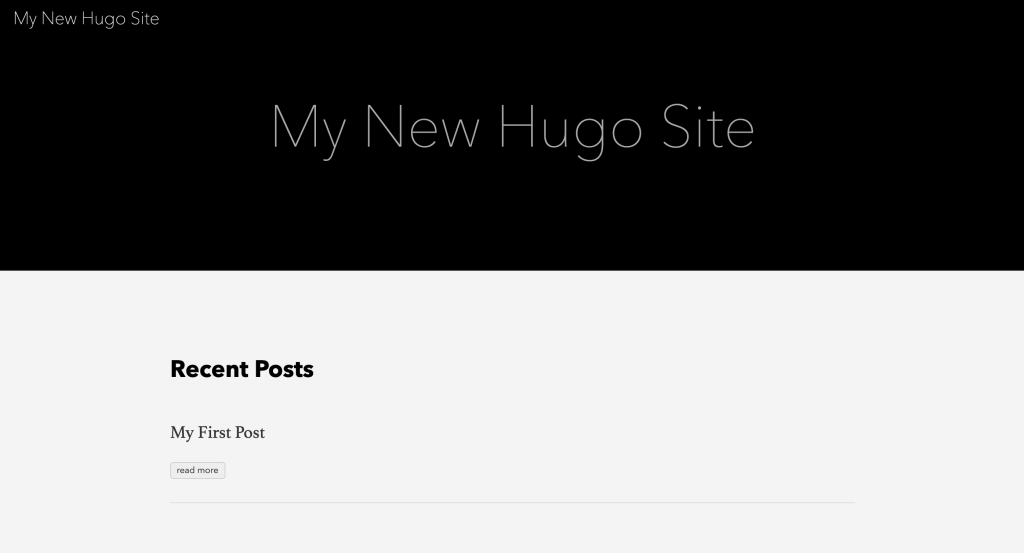
執行以下指令,在本地運行 hugo 專案:
hugo server -D
訪問 http://localhost:1313/,huuuuuuugo!網站已經在本地跑起來了
今天帶過官方提供的 Hugo - Quick Start 的部分,讓我們只要透過極簡的步驟,就可以在本地運行一個 hugo 專案,明天會講專案資料結構的部分。