
昨日我們已經學會資料庫設定與使用 JDBC 取得資料庫資料,而今天我們將 JDBC 這段程式改為使用 Spring Data JPA 進行資料庫資料操作,而 Spring Data JPA 是 Spring Boot 官方相當推薦使用的 ORM 框架,可以讓使用者利用極簡的程式碼實現資料操作處理,它內部已經提供了資料庫 CRUD(Create、Read、Update、Delete)等常用功能,可以讓我們大幅提高開發效率,我們直接進入實作體驗:
此文章有提供範例程式碼在 Github 供大家參考
在 build.gradle.kts 的 dependencies 加入 Spring DataJPA 套件
implementation("org.springframework.boot:spring-boot-starter-data-jpa")
設定 application.yml JPA 設定,這邊列出整個 application.yml 內容
server:
  port: 8080  # 設定 Spring Boot 啟動 port
spring:
  h2: # 設定 H2 資料庫
    console:
      enabled: true
      path: /h2-console
  jpa: # 設定 JPA 相關設定
    hibernate:
      ddl-auto: update # 設定update值,表示只有第一次載入時需要自動建立資料表,其餘載入則是更新資料表結構
    database-platform: H2 # 設定 JPA database 為 H2 資料庫
    show-sql: true # 顯示 JPA 運行的SQL語法
    generate-ddl: false
  datasource:
    url: jdbc:h2:file:./src/main/resources/data/ironman;AUTO_SERVER=true
    username: sa
    password: Ironman0924!
新增 Student.kt 檔案,我們利用data class屬性建立 Student Entity,如果有使用 Java 開發過 Spring Boot 的朋友,會發現Kotlin是可以利用data class取代 Java 的 lombok 套件,檔案內容如下:
@Entity
@Table
data class Student(
        @Id
        @GeneratedValue(strategy = GenerationType.SEQUENCE)
        val id: Int = 0,

        @Column
        val name: String = "",

        @Column
        val email: String = ""
)
新增 StudentDao.kt 檔案,建立 DAO 操作物件
interface StudentDao: JpaRepository<Student, Long>, JpaSpecificationExecutor<Student>
新增 StudentController.kt 檔案,建立兩個 API-取得所有學生資料API、新增學生資料API
@RestController
@RequestMapping("/api")
class StudentController(@Autowired val studentDao: StudentDao) {
    /**
     * 取得 Student 所有資料
     */
    @GetMapping("/students")
    fun getStudentData(): MutableList<Student> {
        return studentDao.findAll()
    }

    /**
     * 新增 Student 資料
     */
    @PostMapping("/students")
    fun addStudentData(@RequestBody student: Student): Student {
        return studentDao.save(student)
    }
}
新增 Student.http 檔案,利用 Http Client 工具進行 API 測試
### 取得所有學生資料 API
GET http://localhost:8080/api/students

### 新增學生資料 API
POST http://localhost:8080/api/students
Content-Type: application/json

{
  "name": "Devin",
  "email": "test@gmail.com"
}
在 API 測試這塊,可能有些朋友接觸過 Postman 測試工具,而這邊我們使用的工具是 Http Client ,這套工具也可以讓開發者模擬 Http Request 動作,利用建立 Http 檔案與撰寫測試案例進行 API測試與取得驗證結果,而目前在工作開發上也經常使用這套工具,此工具若相較於Postman,個人認為 Http Client 帶給我們更多的好處,像是可以利用版本控制維護測試檔案,也可以與團隊共享此份測試檔案,在靈活度上佔有很大優勢,Plugin 其餘介紹也可以從這邊查看 Document: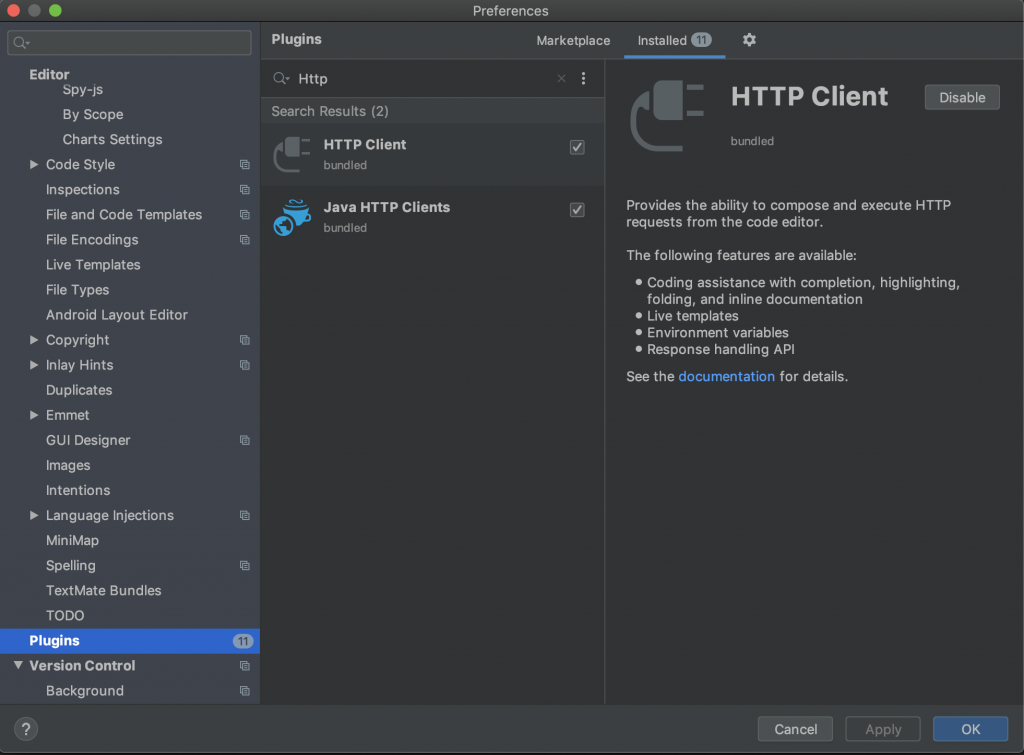
我們實際測試 新增學生資料API 與 取得所有學生資料API 來觀看實際運作:
(1) 新增兩筆學生資料,實際操作結果如下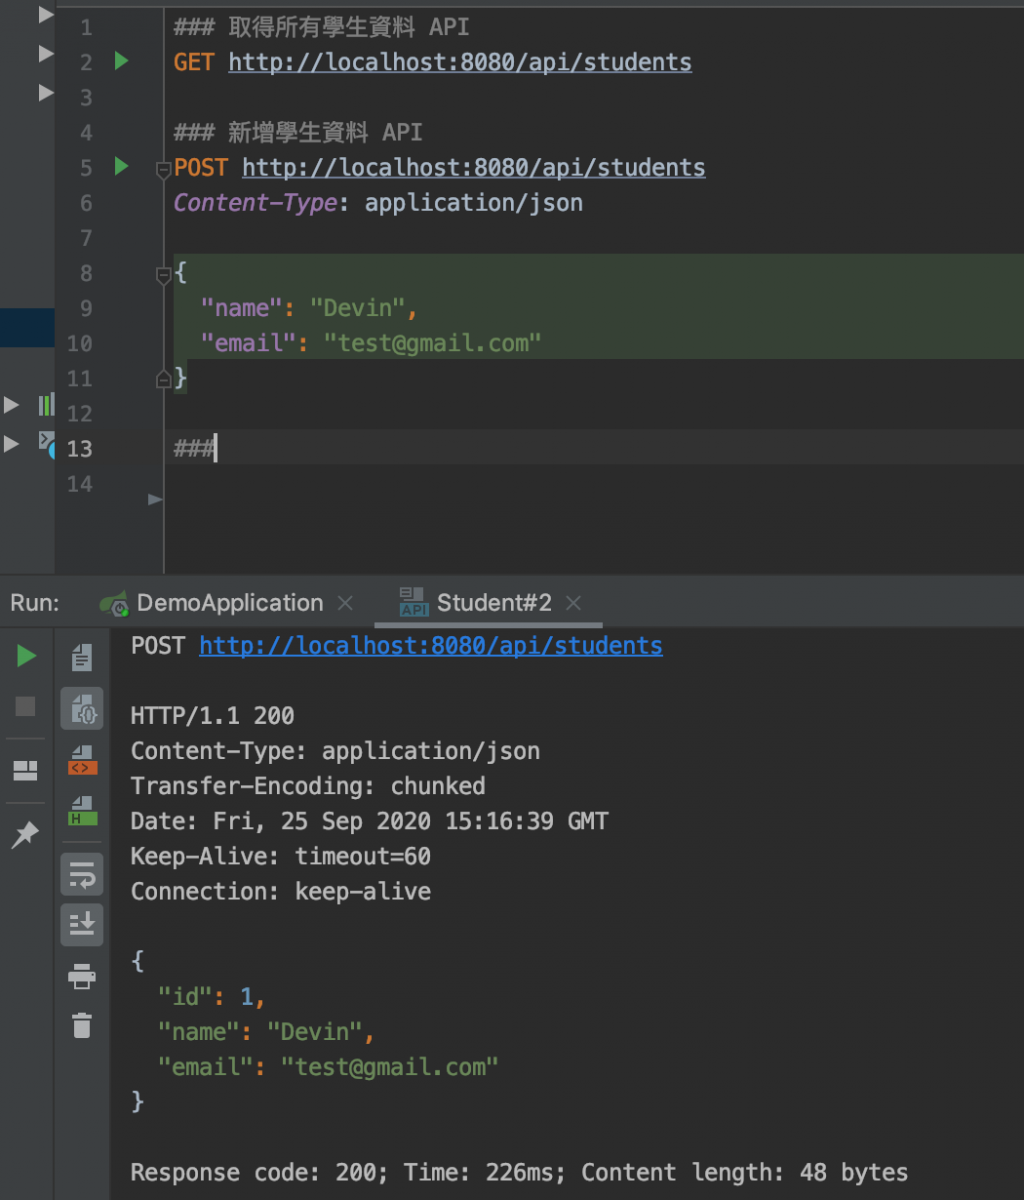
(2) 取得所有學生資料,實際操作結果如下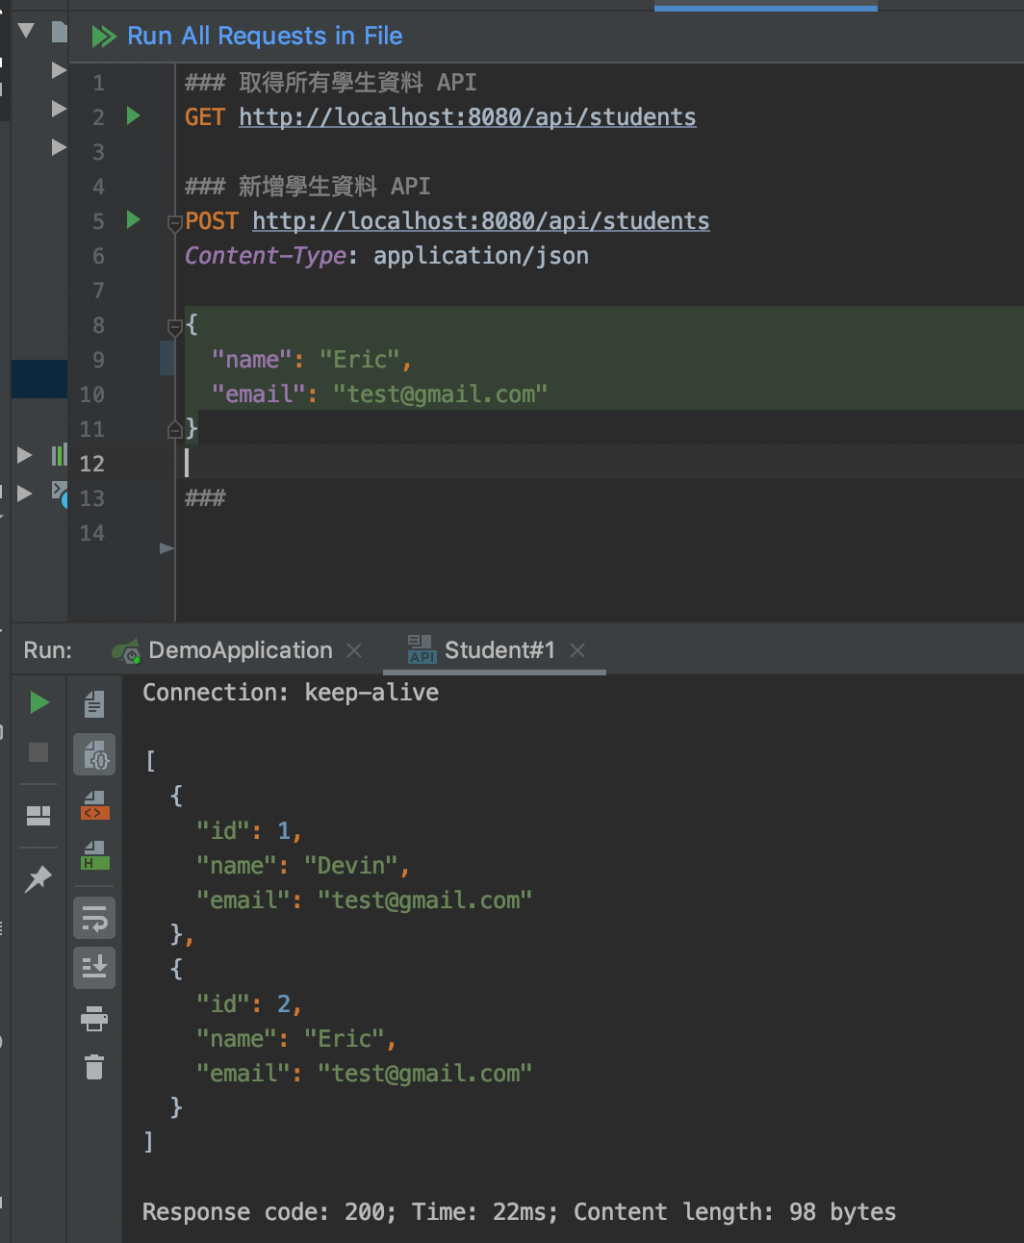
此文章有提供範例程式碼在 Github 供大家參考
今天我們直接帶入實作步驟來讓大家感受 Spring Data JPA 的效果,而後續我們再來細談 Spring Data JPA 的介紹與其餘使用方式的介紹,相信大家會對於 Spring Data JPA 更了解。

 iThome鐵人賽