今天是進階應用 Microsoft Bot Framework 的第一天,我們要來讓 Chatbot 記下與使用者的對話內容。
如果要記住使用者的對話中的重要資料,需要兩個東西。
Bot State: 用來記錄資料的邏輯容器,大致可分為 3 種 state。
Accessor: 用來針對每一次的問答後,存取資料並修改的邏輯工具。
這邊,我們參考 Microsoft 官方範例 python 程式碼45.state-management。
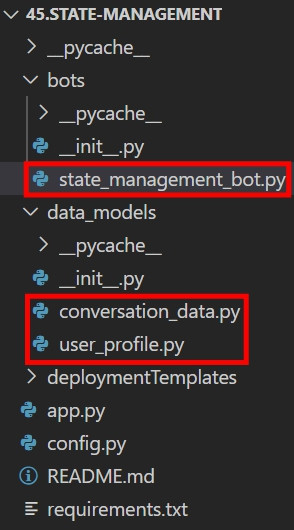
建議用 VS Code 以資料夾打開這個範例資料夾,打開的樣式如下。
紅色框框為下面會打開的程式檔,建議先雙擊打開
在 user_profile.py 裡的User state
class UserProfile:
    def __init__(self, name: str = None):
        self.name = name
在 conversation_data.py 裡的 Conversation state
class ConversationData:
    def __init__(
        self,
        timestamp: str = None,
        channel_id: str = None,
        prompted_for_user_name: bool = False,
    ):
        self.timestamp = timestamp
        self.channel_id = channel_id
        self.prompted_for_user_name = prompted_for_user_name
這邊就可以清楚看到 User state 及 Conversation state 之間的差異,但是我自己實測過,如果把 name 改儲存在 Conversation state 裡,程式仍可以正常運作。
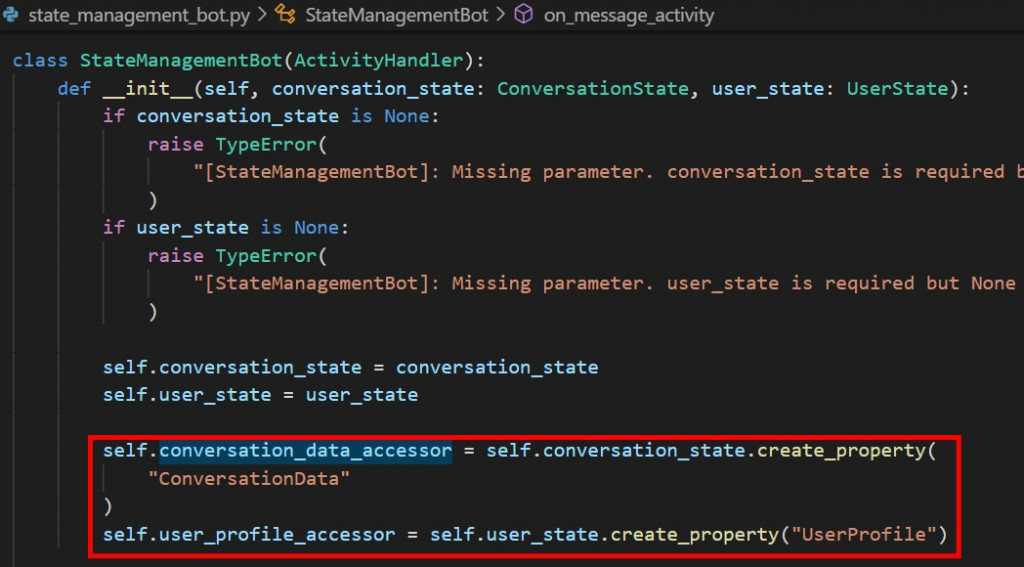
這邊要打開 bots/state_management_bot.py,我們可以看到針對User state 及 Conversation state 分別的 Accessor 物件。
在 on_message_activity() 的函式裡,我們可以看到對 Accessor 更加著墨,使用了 get() 方法。
在 on_turn 函式哩,會有儲存 User state 及 Conversation state 在每次來回訊息的 turn,紀錄每次變更的動作
async def on_turn(self, turn_context: TurnContext):
    await super().on_turn(turn_context)

    await self.conversation_state.save_changes(turn_context)
    await self.user_state.save_changes(turn_context)
以上是今天想要分享的內容,明天將會介紹 Blob Storage 與 chatbot 的結合。![]()
