前言:
哈囉~~此篇是我第一篇文,跟其他人一樣紀錄程式學習過程,而swift也是我最近在學習的新語言,在一開始以為會和JS類似(前一年多都在寫網頁),學到現在才發現,哭啊好不一樣還有人說swift很親民比韓國瑜還親民...我也是笑笑,好我抱怨完了開始吧,對了由於我不是資工、資管...的所以學習的方式偏非正統,雖然我不知道正統是怎樣?好真的要開始了,非常歡迎各大前輩留言指教!!
本次操作是使用 Table view Controller 加上 gavigation Controllery 作為UI的呈現
-
如往常一下興建一個 new app , 就回到最初的起點了...
-
點選storyboard後打開後,從UI元件庫打上UITable...就會出現
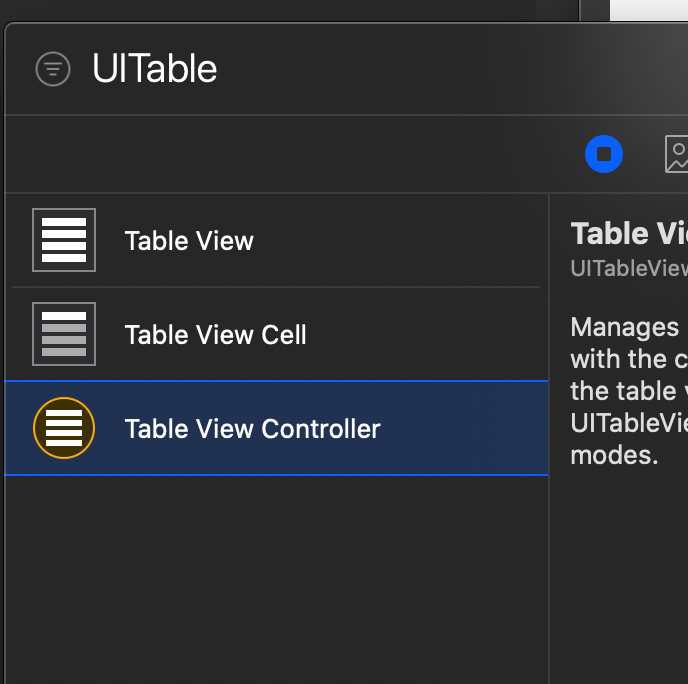
把Table view Controller放上去吧。

-
開始初始化吧。我們將原本的 View Controller取消掉只留下Table view Controller,記得也要把
ViewController.swift取消掉喔。
-
接下來我們要加入gavigation Controller。我們可以在 Edit - Embed in 就可以找到 gavigation Controller
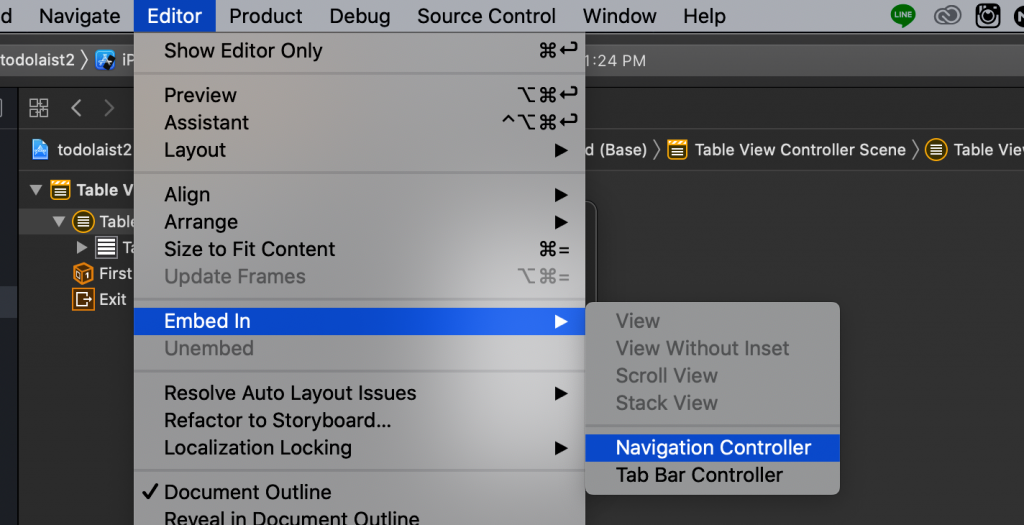
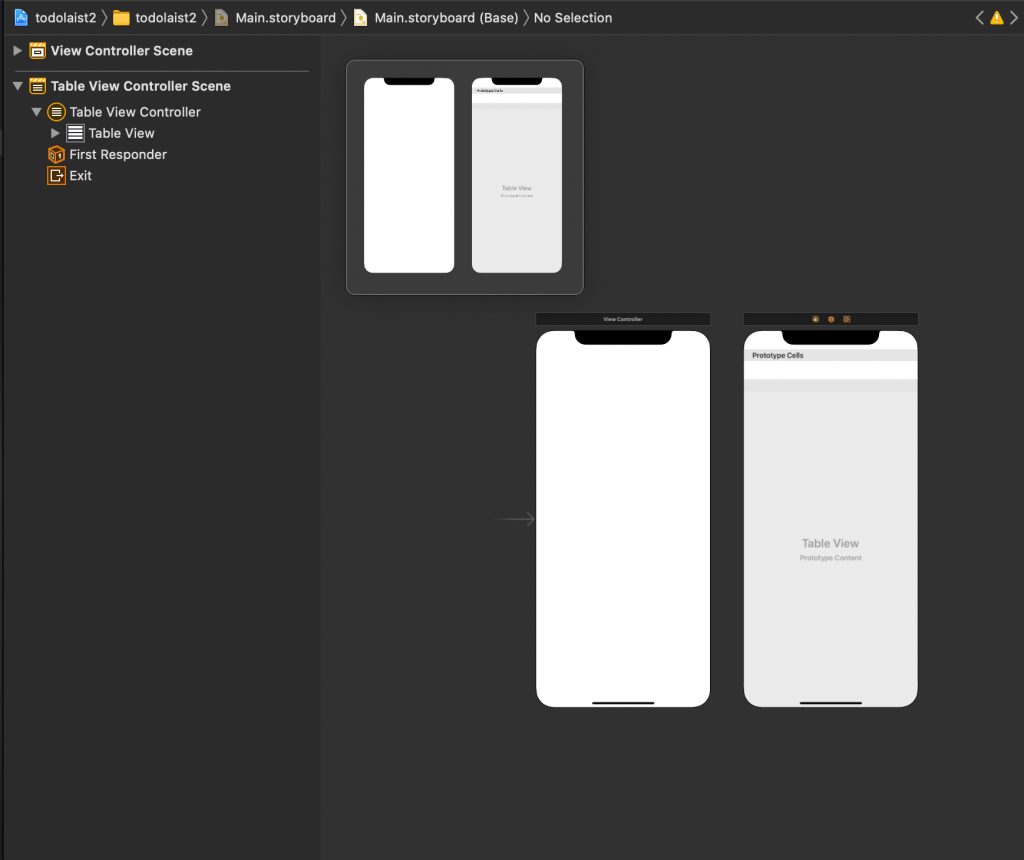
此時會發現到他們兩個接再一起了(OMG)
- 我們要新增一個.swift檔案,這樣才能操作我們一開始建立的 Table view Controller,我們把滑鼠放在檔案上面按下右鍵點選New file
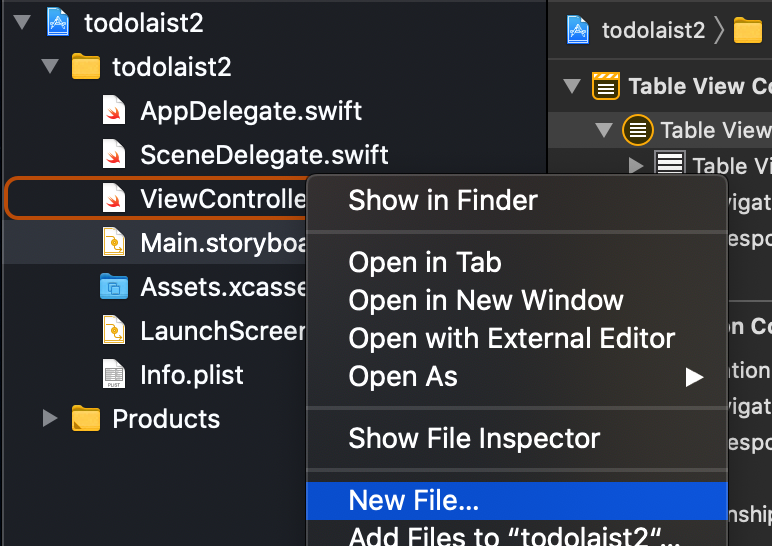
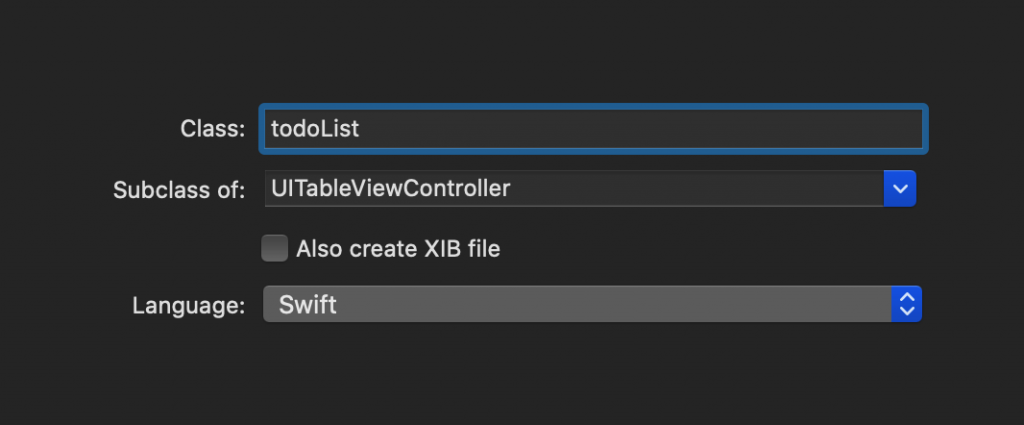
並選擇Cocoa Touch Class,在裡面可以自訂class,我是寫todoList
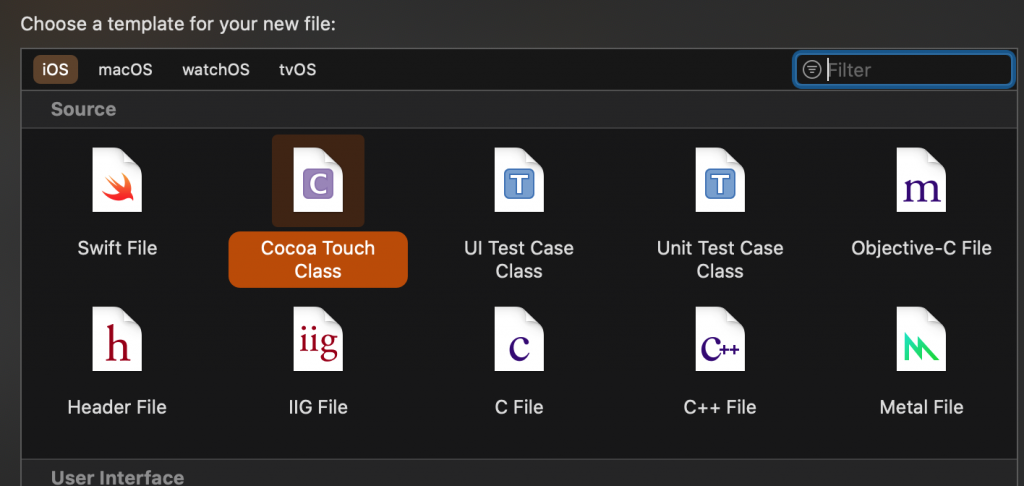
而這裡重要的是你的Subclass of 要換成 UITableViewController喔
完成後按下存儲就可以看到的剛剛建立的.swift檔案囉!!
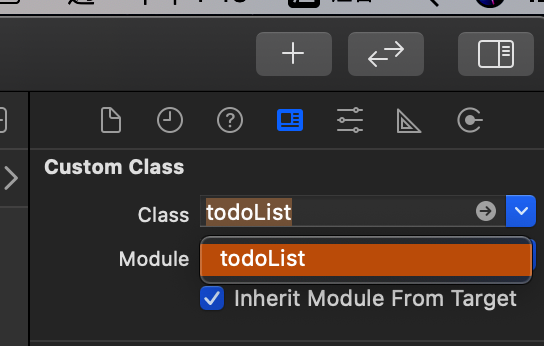
- 最後要打你剛剛新增的檔案與 Table view Controller 進行連結,你才能在檔案上操作它啊啊啊,點選
Table view Controller,並把他的class改成你剛剛自訂的class名稱
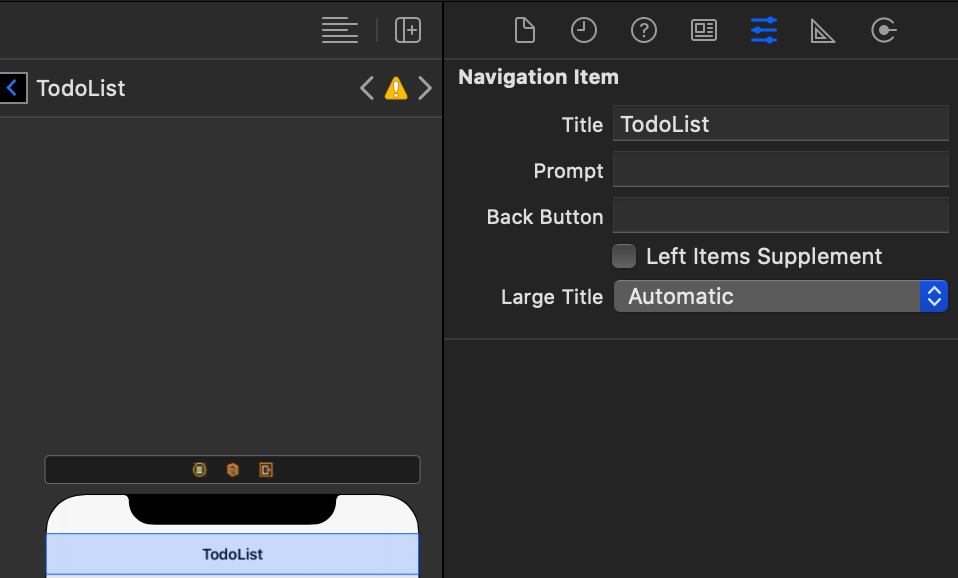
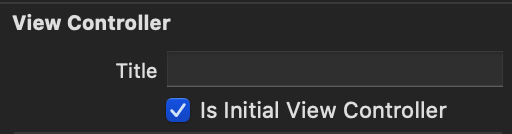
我們也可以在Tittle給予他名稱
- 最後最後,快結束了拉,也是做重要的喔,沒看東西為跑不出來喔,記得x3在gavigation Controllery內設
定成一開始出現的畫面。
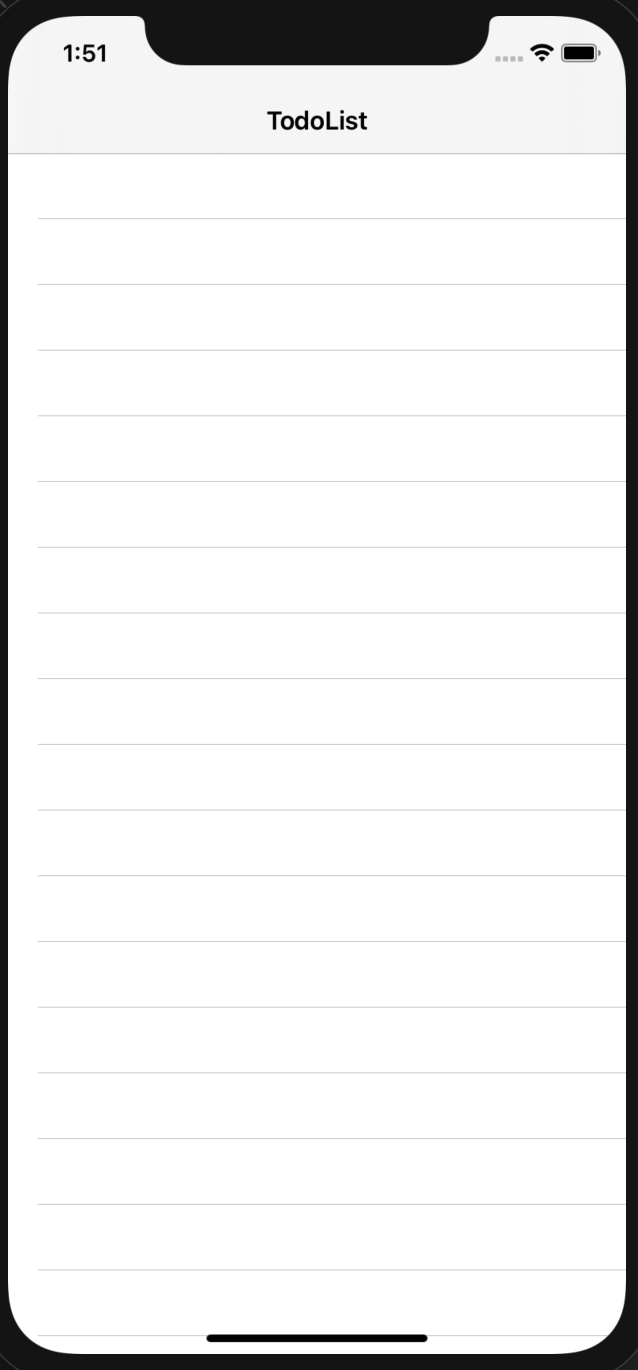
8.成品:
 jacky0326

 iThome鐵人賽