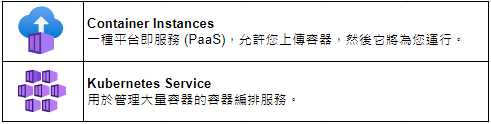
為一個 PaaS(平台即服務),提供部管理作業系統的虛擬化作業環境。
常用於在主機上同時運行多個應用程式實體。
優點:
所有服務 → 容器 → 容器執行個體
基本
資源群組:myRGContainer (隨便取)
容器名稱:mycontainer (隨便取)
映像來源:Docker Hub 或其他登錄
映像類型:公用
映像: "microsoft/aci-helloword"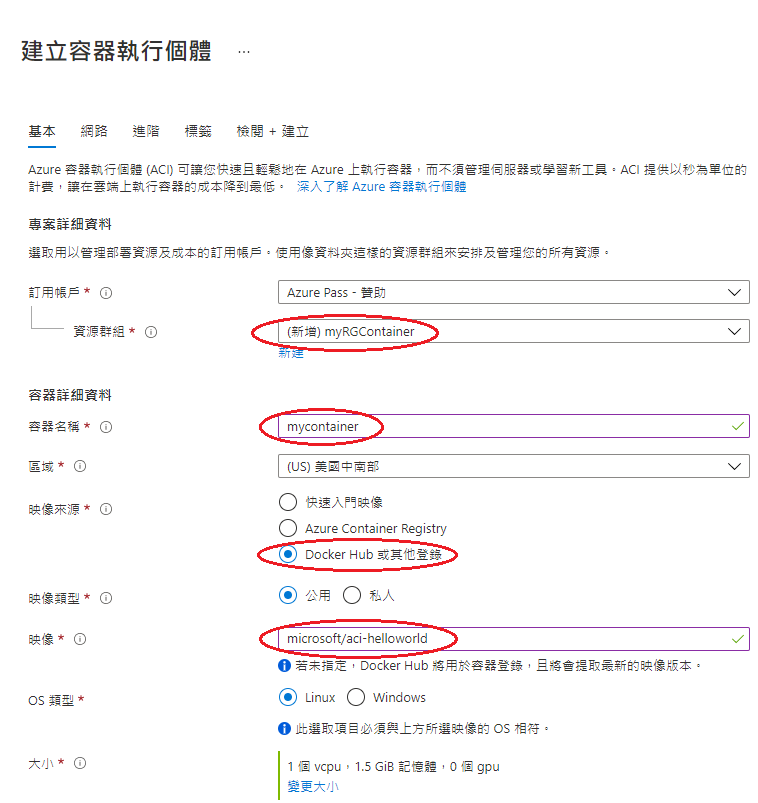
網路
DNS 名稱標籤:mycontainerdns790502 (隨便取)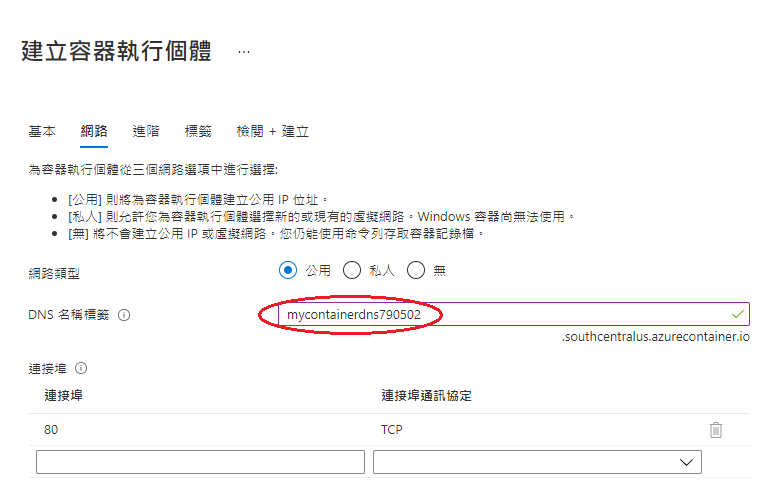
建立
容器執行個體 → mycontainer
複製公用IP位置:20.189.20.93
開啟網頁,鍵入:http://20.189.20.93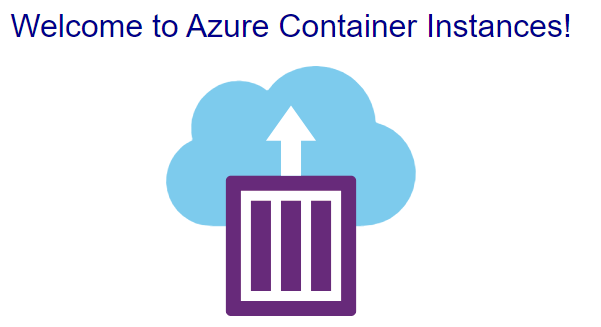
所有服務 → 儲存體 → 儲存體帳戶
基本
資源群組:myRGStorage (隨便取)
名稱:mystorage0502 (隨便取)
備援:本地備援儲存體 (LRS)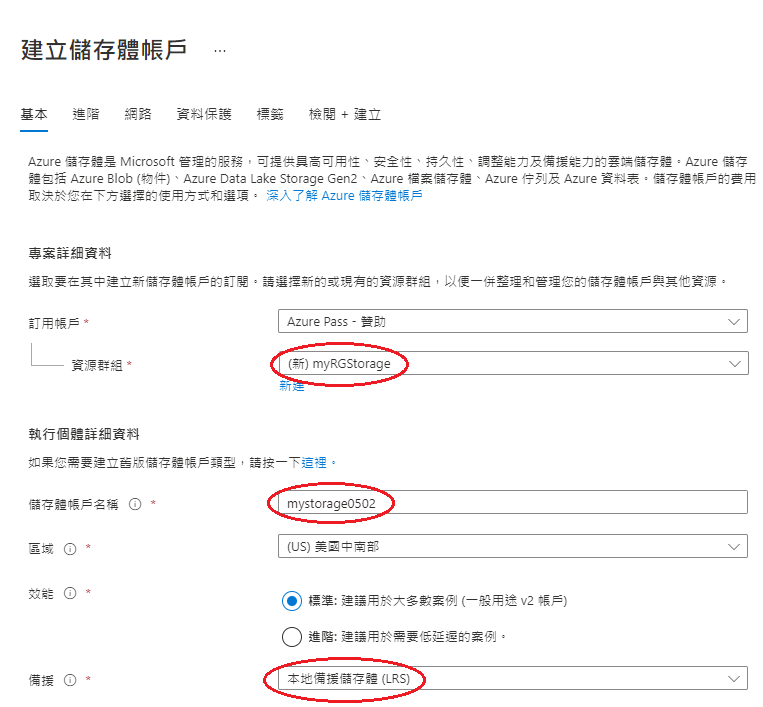
新增容器
上傳檔案 (可以是任意圖片檔)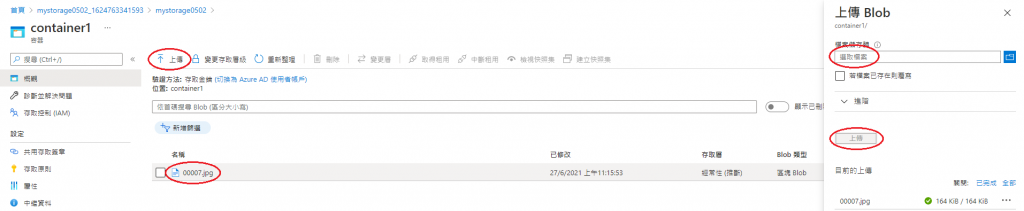
所有服務 → 網路 → 虛擬網路
基本
資源群組:myRGVNet (隨便取)
名稱:myVNet (隨便取)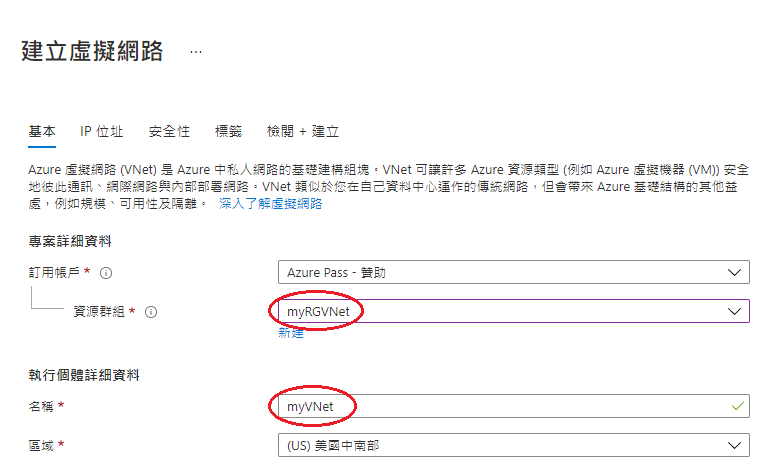
IP位址
IPv4 位址空間
新增:"10.1.0.0/16"
並在下方 default 處編輯子網路
子網路範圍:"10.1.0.0/24"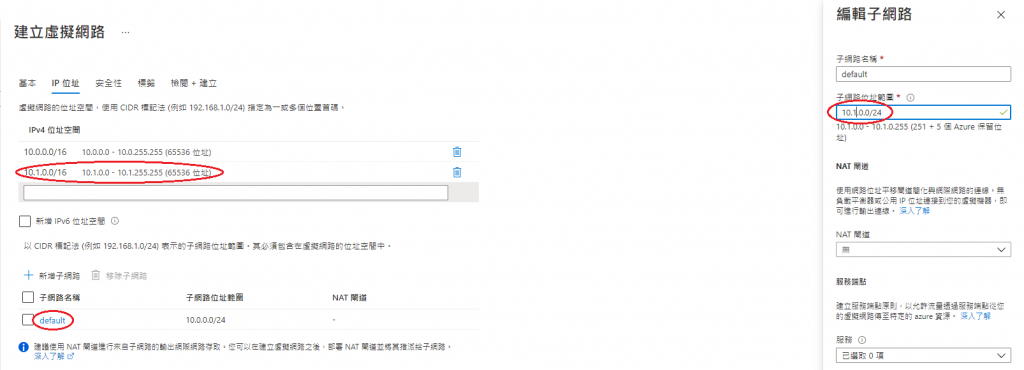
基本
資源群組:myRGVNet (選擇剛才建立的)
容器名稱:vm1
選取輸入連接:只要有 "RDP (3389)" 即可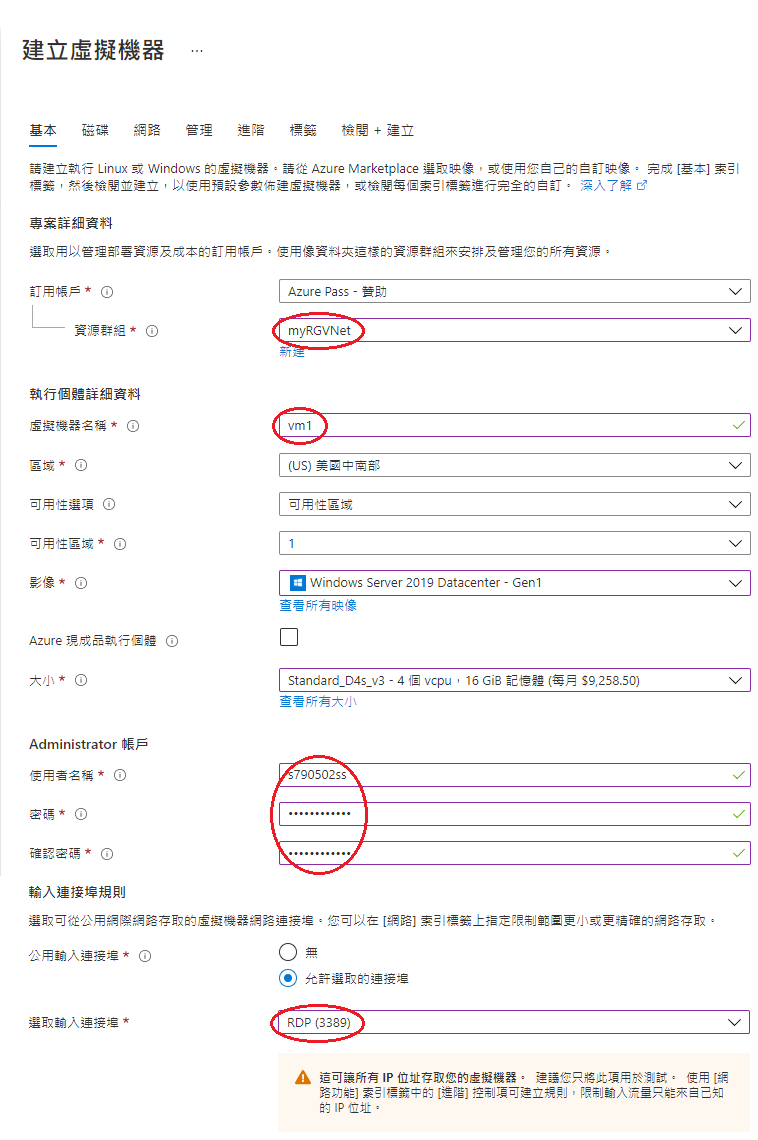
網路
虛擬網路:myVNet
子網路:default (10.1.0.0/24)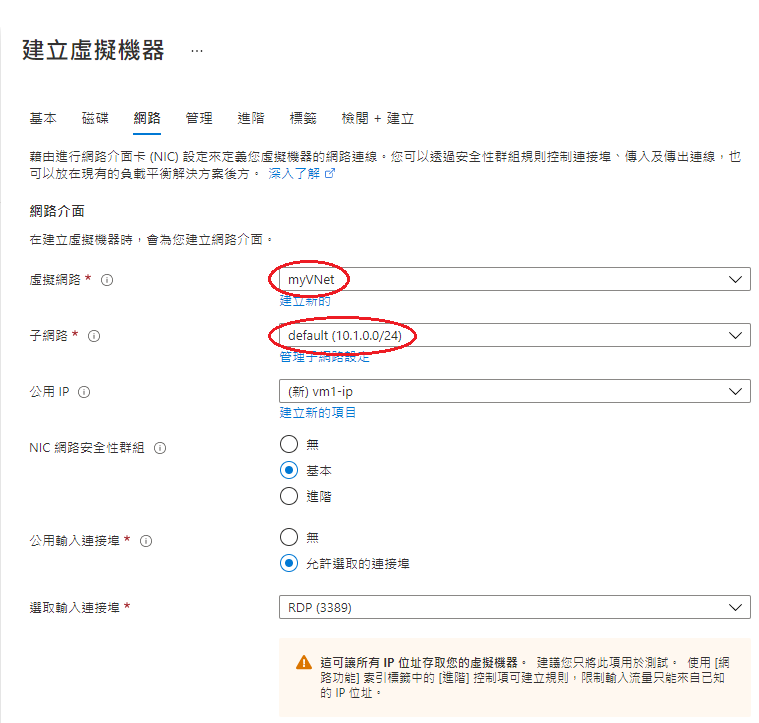
建立
同理,同樣建立第二個虛擬主機 vm2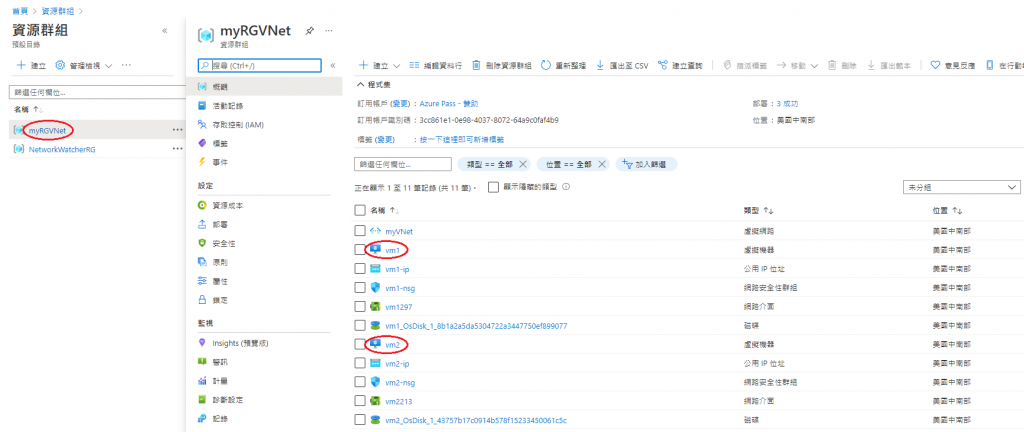
完成後請將RDP連線下載下來
遠端登入 vm1
開始 → Windows PowerShell (右鍵) → More → Run as administrator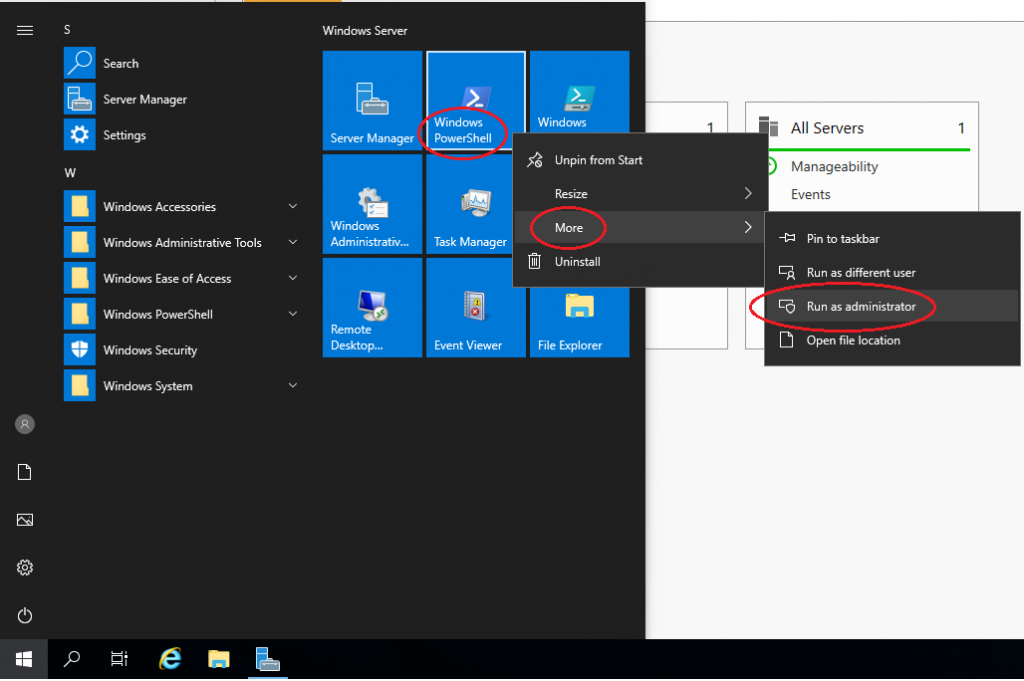
鍵入:"ping vm2" (呼叫 vm2)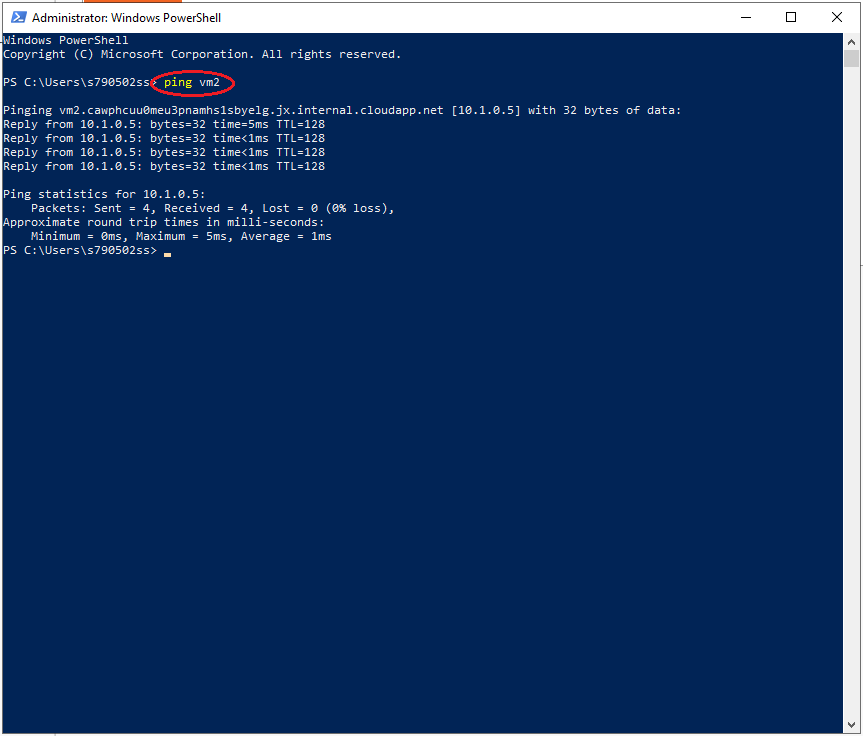
同理,以相同方式亦可使用 vm2 呼叫 vm1。
*若呼叫失敗,可嘗試使用:New-NetFirewallRule -DisplayName "Allow ICMPv4-In" -Protocol ICMPv4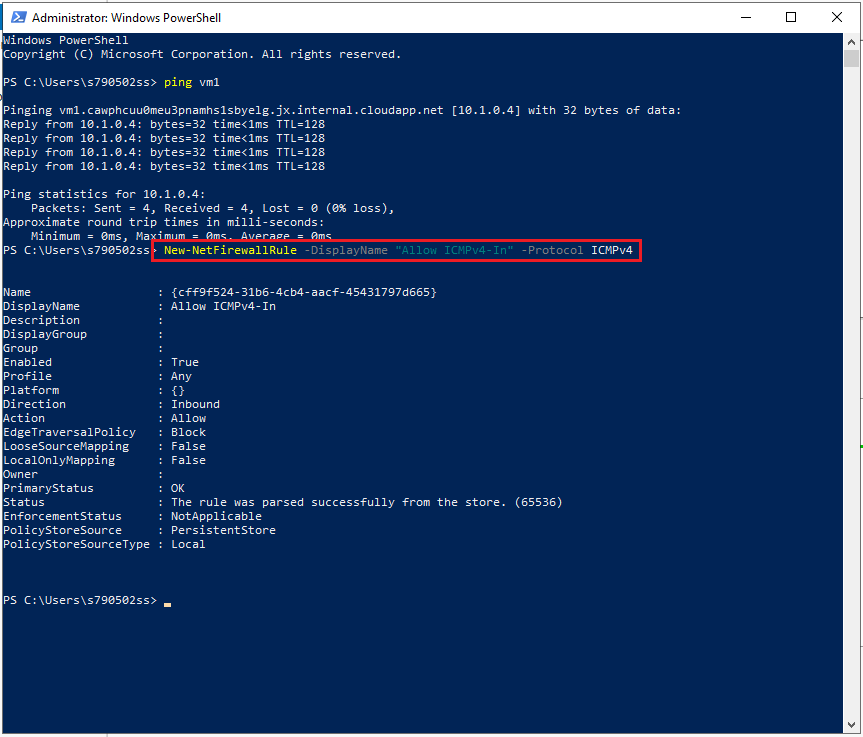
所有服務 → 計算 → 虛擬主機
基本
資源群組:myRGSecure (隨便取)
容器名稱:simpleWinVM (隨便取)
公用輸入連接埠:無
磁碟
OS 磁碟類型:選最高級的 SSD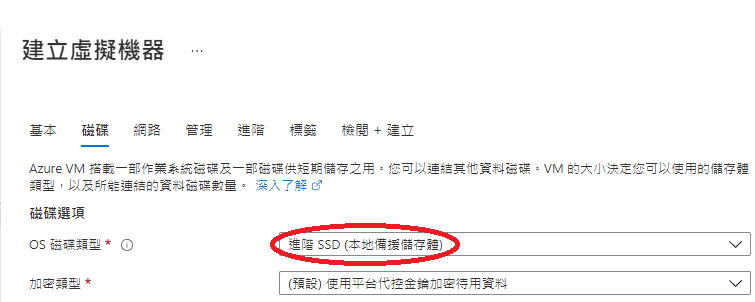
網路
NIC 網路安全性群組:無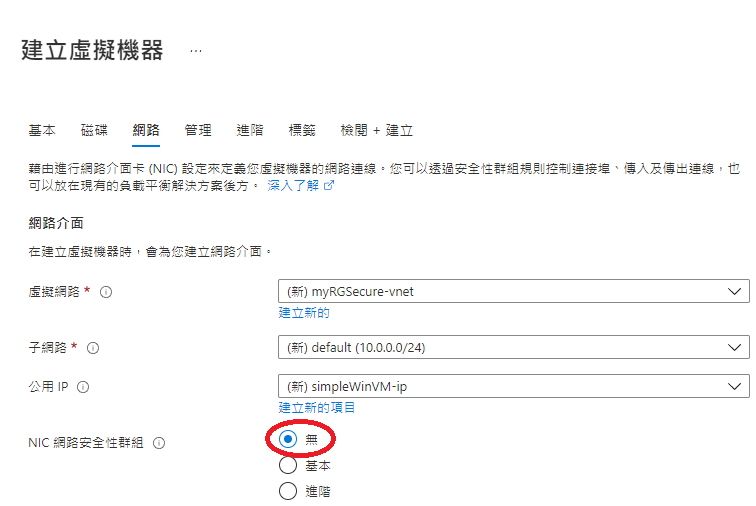
管理
開機診斷:停用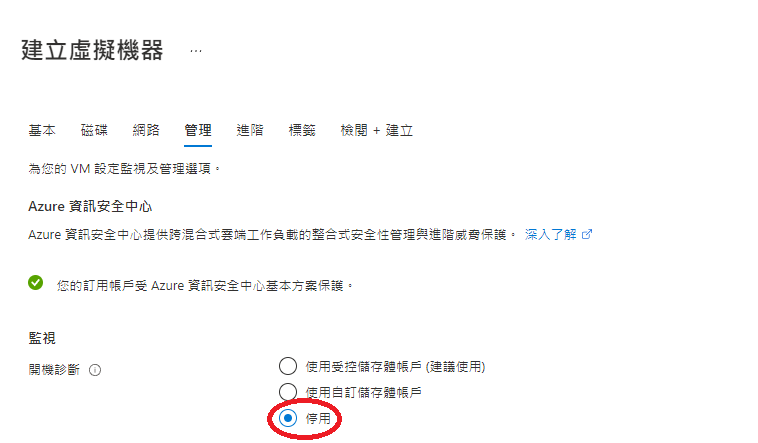
建立
此時,可以進入 simpleWinVM 查看,會發現沒有網路安全性群組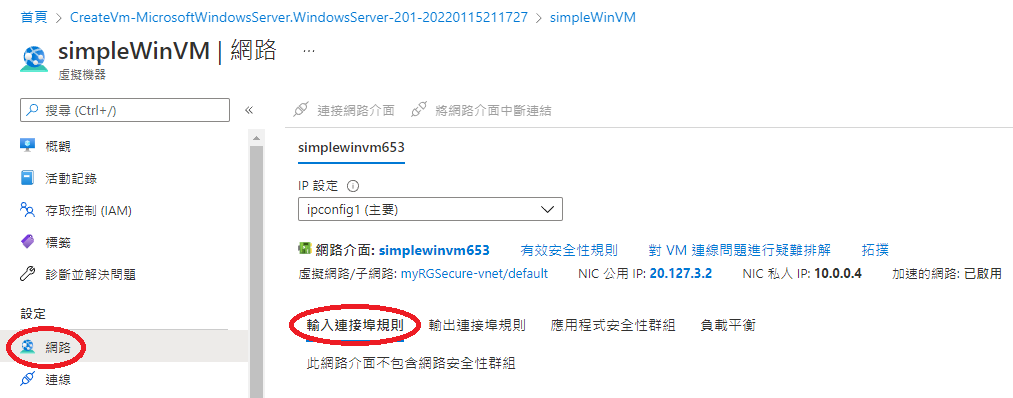
所有服務 → 網路 → 網路安全性群組
基本
資源群組:myRGSecure (選 VM 用的)
名稱:myNSGSecure (隨便取)
區域:美國東部
建立
進入剛建立好的網路群組
網路介面 → 關聯 → simplewinvm653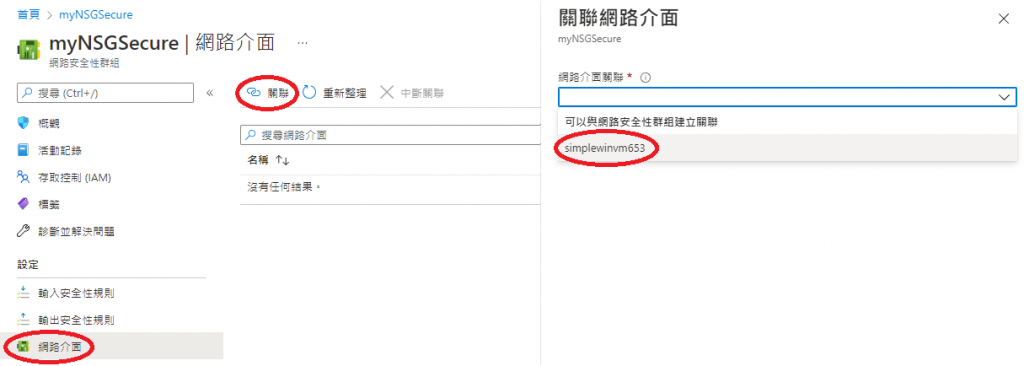
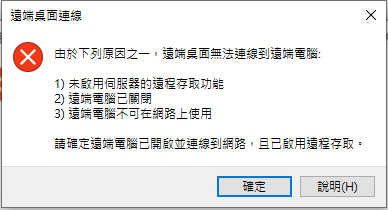
現在 VM 裡頭已經有網路連線了,但下載 RDP 檔案後會發現,發現沒法遠端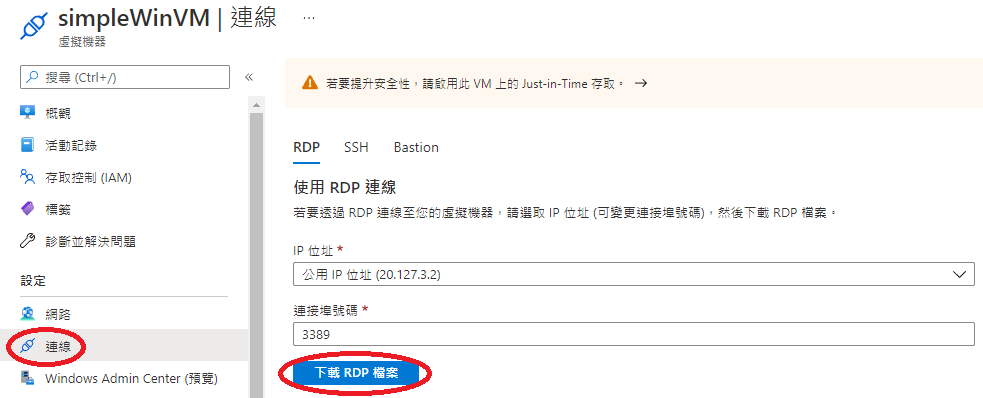
此步驟是要在 VM 中新增可以遠端連線的連接埠
sumpleWinVM → 網路 → 新增輸入連接埠規則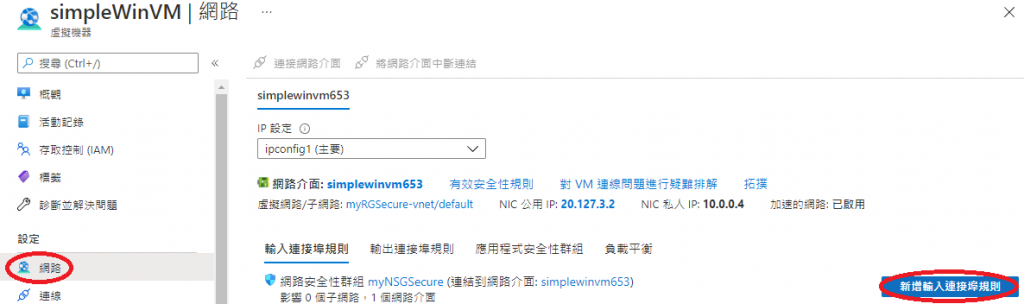
新增輸入安全性規則
目的地連接埠範圍:3389
通訊協定:TCP
優先順序:300
名稱:AllowRDP

再用一次 RDP,就可以正常進入登入畫面了!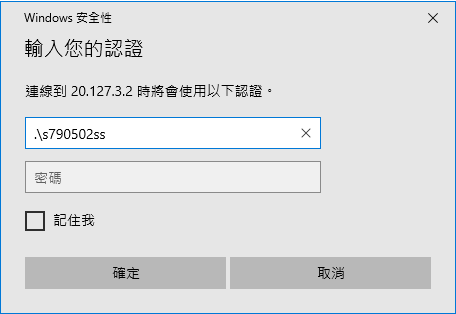
當然 VM 中也可以使用網頁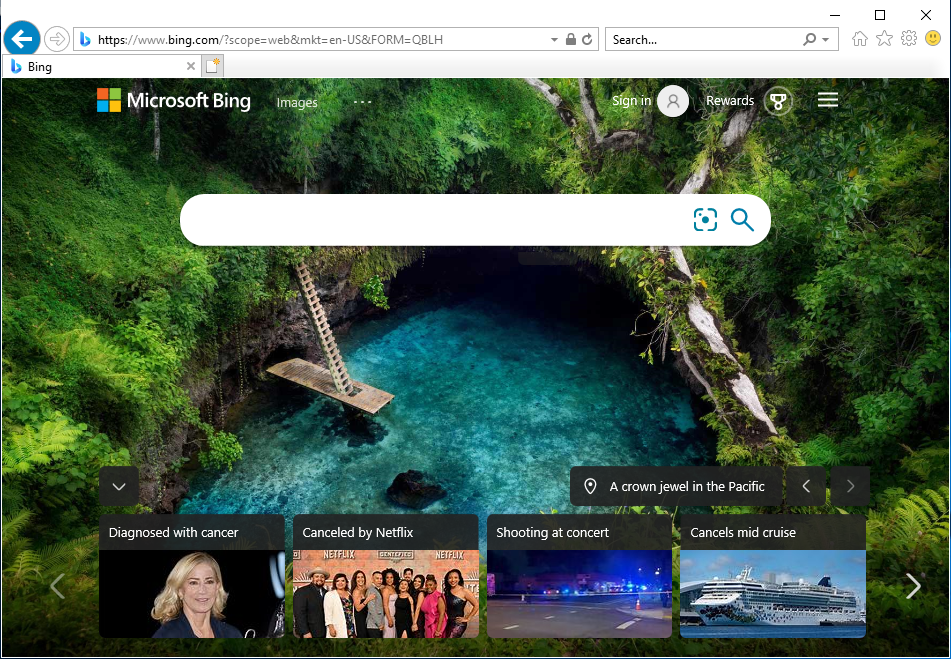
進入剛剛建立的虛擬機(sumpleWinVM) → 網路 → 新增輸出連接埠規則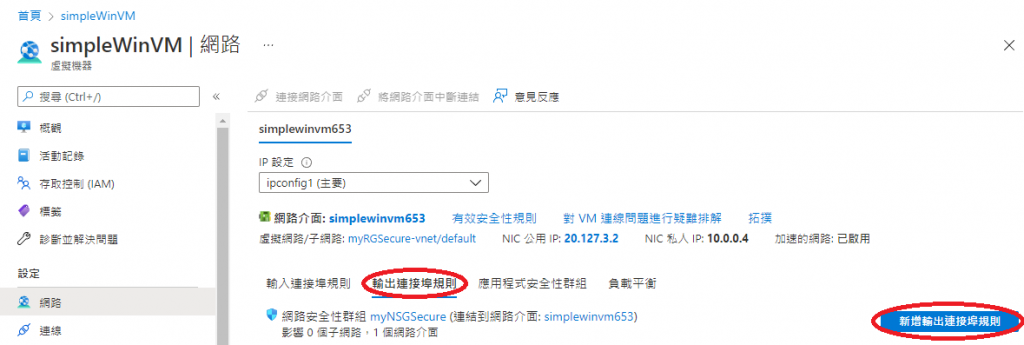
新增輸出連接埠規則
目的地:Service Tag
目的地連接埠範圍:*(代表全選)
通訊協定:Any
動作:拒絕
優先順序:4000
名稱:DenyInternet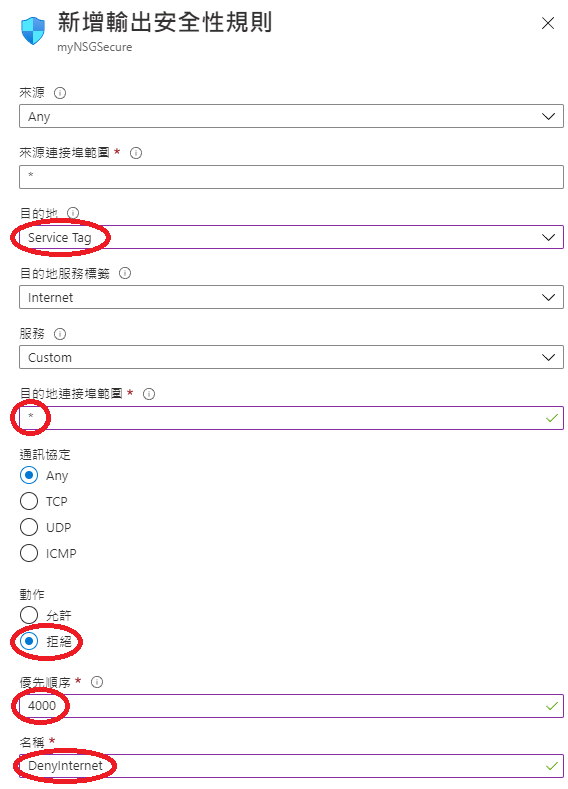

再回到 VM,會發現網路被斷了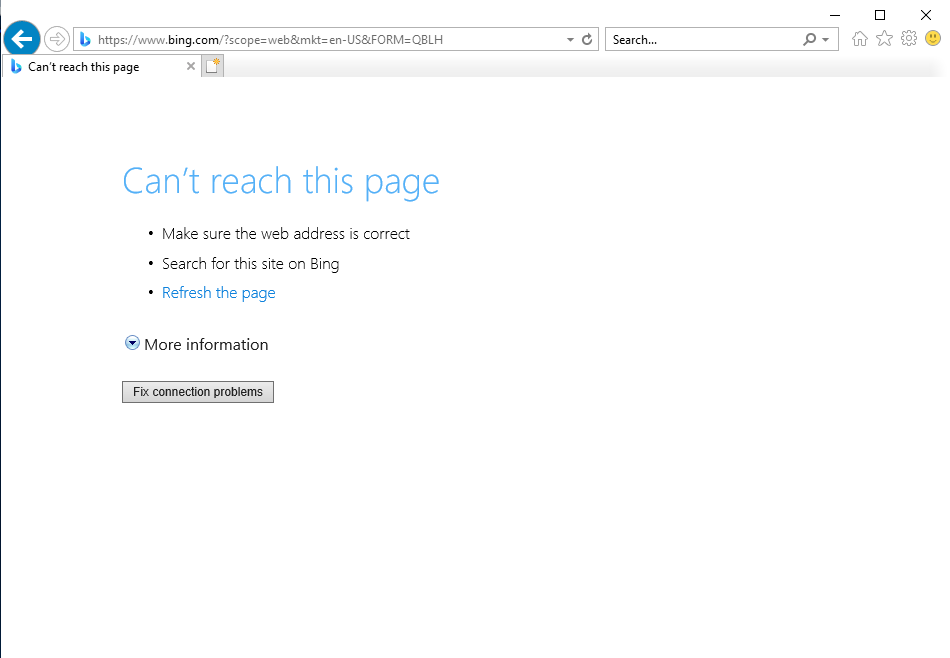
雖然網路切斷了,但是因為連接埠 AllowRDP 優先度 300,所以依然可以遠端。
 s790502ss

 iThome鐵人賽