欲善其事 先利其器

工程師要學習 Vim 編輯器的過程,就跟學習 Java 或 Python 的程式語言一樣,是有「門檻效應」。
在學習 Vim 指令之前
最好是已經具備鍵盤「盲打」的能力,否則指令無法連貫,速度只會比平常更慢。
進階的「巨集指令」
也是要先熟悉移動與編輯的動作,才能夠發揮「用程式來寫程式的功能」。
就像初學 Java,變數都懵懂,物件導向更是奇談。
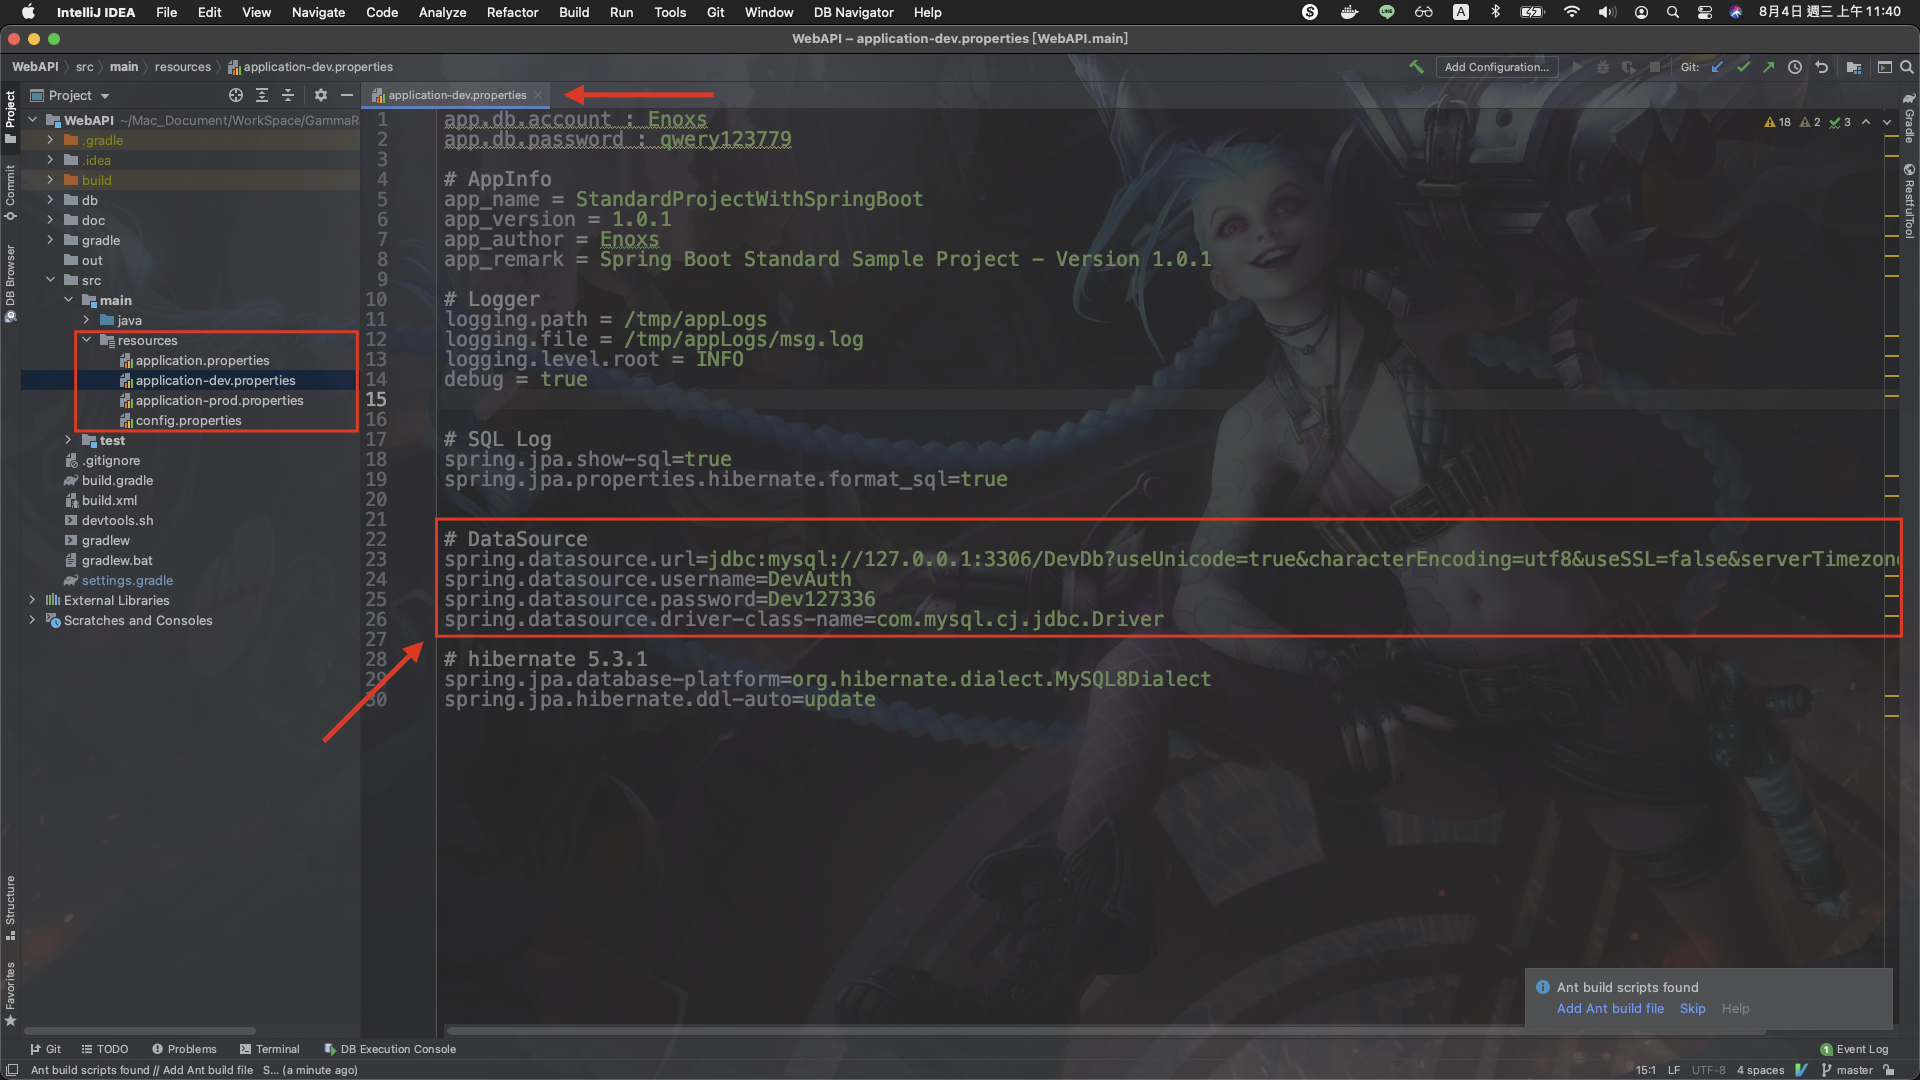
但並不會妨礙我把 IntelliJ 改成暗色外觀。
內容涵蓋:
建議我們,在了解 vim 的基本功能後,要訂製自己的 vimrc 文件。
就像是「先學會鋸子怎麼用,然後再打磨,使其銳利一樣。」
事半功倍! 正是我們使用工具的原因!
Vim 編輯器的配置,就如同所有的 IDE 一樣,可以做各種快捷鍵與外觀風格調整
不過因為沒有滑鼠與可供點按的 GUI 介面,配置它的方法更會像是在軟體專案中設置資料庫的連線一樣 :
(要使用特定格式與各種參數)
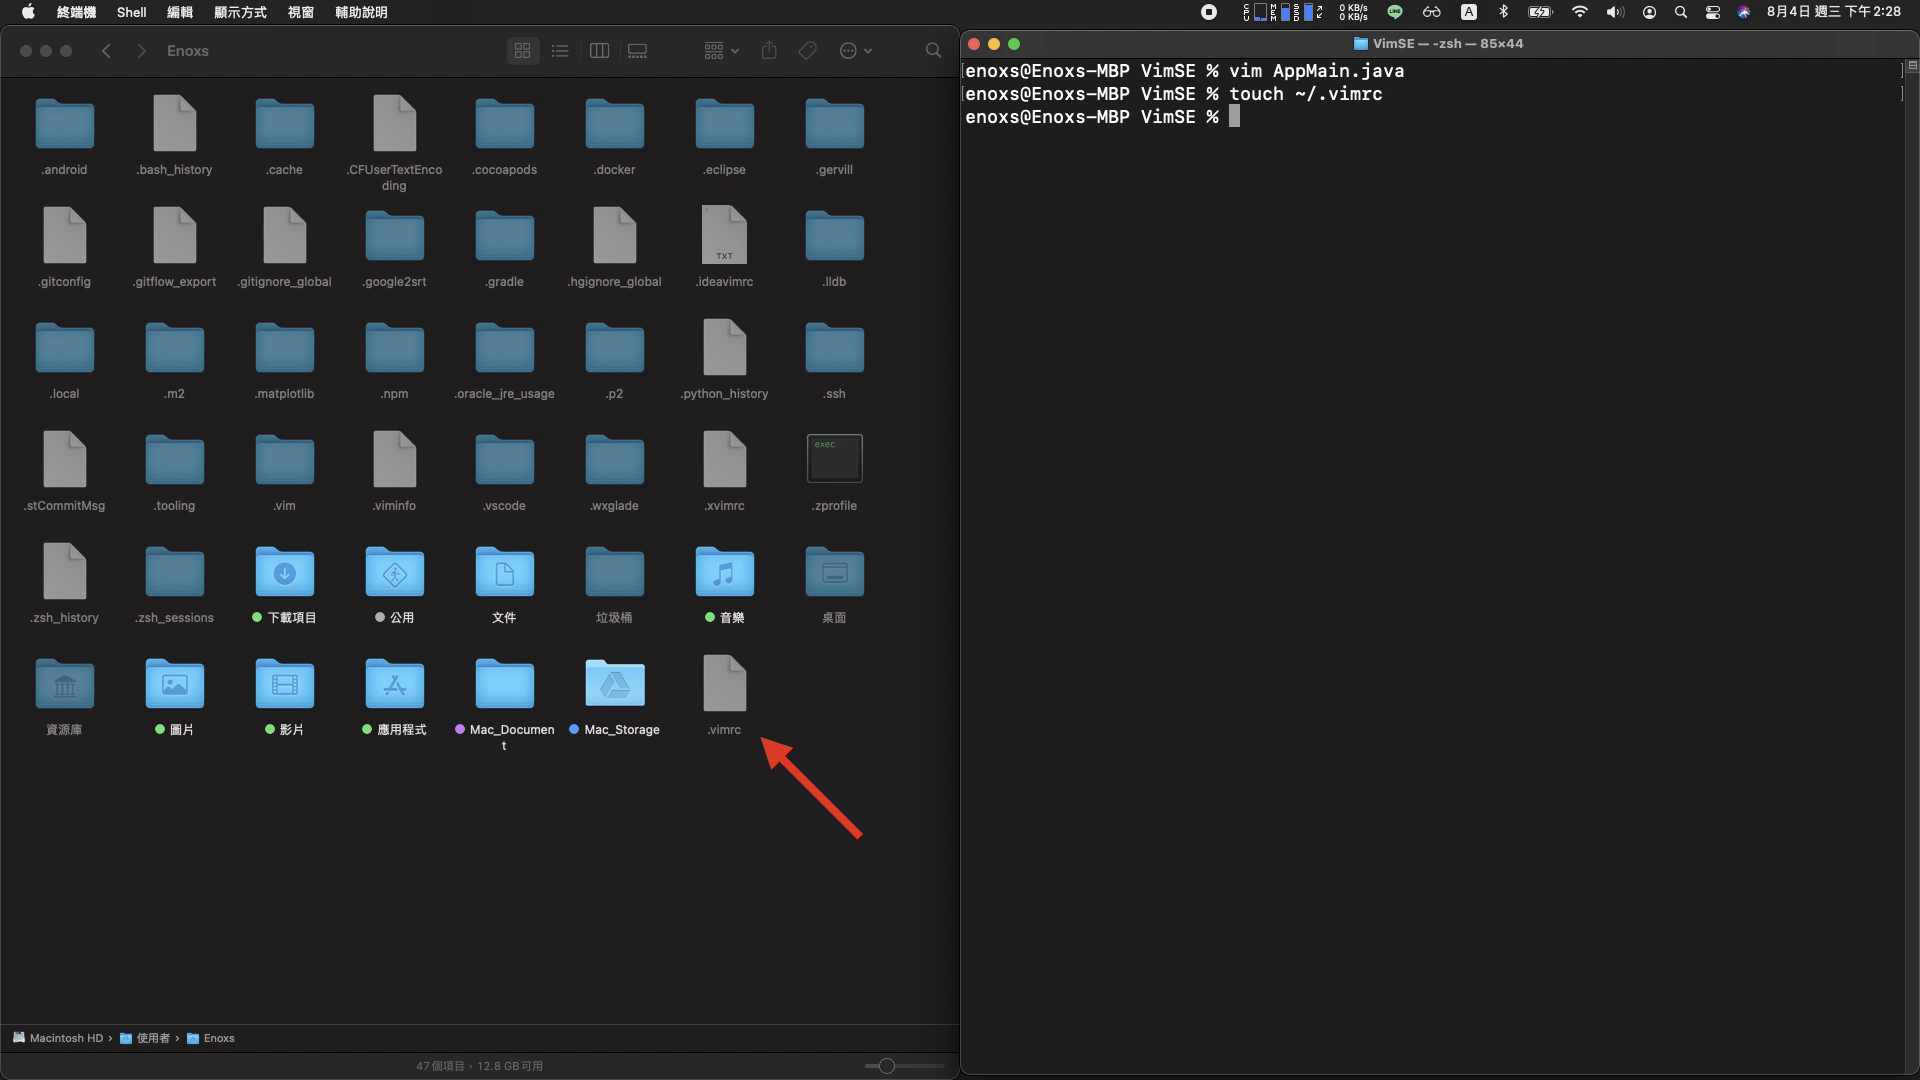
Vim 的配置檔路徑,通常會放在使用者資料夾檔名為 .vimrc 或 _vimrc
~/_vimrc
~/.vimrc
IDE 中的 Vim 插件
通常也會是一個獨立的檔案,以 IntelliJ 的 IdeaVim 插件為例,他的配置檔就叫做 .ideavimrc
同樣預設放置在使用者資料夾

完全沒有任何配置的 Vim 編輯器

新增一個 .vimrc 的檔案
快速加入兩個開發常用的功能
" 語法識別
syntax enable

" 顯示行數
set number
配置效果

接續兩個常用配置之後
語法高亮的部分
" 支援 256 色
set t_Co=256

" 終端機背景色 : dark / light
set background=dark

" 內建風格 ( 縮寫指令 colo )
" 輸入 colorscheme 空一格,再按 Tab 可以依次預覽 :
" blue / darkblue / default / delek / desert / eldlord
" evening / industry / koehler / morning / murphy / pable
" peachpuff / ron / shine / slate / torte / zollner
colorscheme default
讓 Vim 能夠支援 256 色
告訴 Vim 編輯器終端機的背景色,
在有一些需要標註或選擇的地方,Vim 才能夠調整成容易辨識的顏色。
vim 內建的外觀風格,註解列表的是可以用的風格名稱。
+ 快速瀏覽的方法 ?
利用配置的設定,也是 vim 實際命令行的特性,在編輯器中輸入 colorscheme 的指令,
名稱的地方空一格不指定,再按一下 Tab,預設的風格就會依據字母的順序顯示出來。
增強 vim 編輯器功能
" 搜尋,高亮標註
set hlsearch

" 配置檔案路徑,讓 find 指令更好用
set path=.,/usr/include,,**

" ts = tabstop
set ts=4 "縮排 4 格

" tab 替換成空格
set expandtab

" 自動縮排 | autoindent / smartindent / cindent
set autoindent " 跟上一行的縮進一致
可以在搜尋時,把所有符合的文字用顏色區塊標註出來。
原本的 find 指令 只能搜尋當前同層級的資料夾
這個 set path 指令,可以將搜尋的範圍包含目錄底下的所有子資料夾
按下一個 Tab 按鍵 等於四個空格
將原本 Tab 按鍵的一大段空白的空間,轉換成剛才設置的空格數量
三種模式可以選擇 :
autoindent - 自動對齊上一行的縮排
smartindent - 針對左右大括號,增強縮排
cindent - 簡單的 C/C++、Java 語法結構判斷
inoremap ;; <ESC>

" 執行程式
nmap <F5> :call CompileRun()<CR>
func! CompileRun()
        exec "w"
if &filetype == 'python'
            exec "!time python3 %"
elseif &filetype == 'java'
            exec "!javac %"
            exec "!time java %<"
elseif &filetype == 'sh'
            :!time bash %
endif
    endfunc
在插入模式下,分號兩下指令、非遞歸狀態,映射為按鍵
如此,就有三種退回普通模式的方法 :
左手 - ESC
右手 - ; ;
雙手 - Ctrl + [
普通模式下,F5 按鍵 執行 CompileRun 涵式。
此函式會先存檔,然後根據副檔名的不同,使用終端機的指令執行這個檔案。
(主要運用在 Python 的執行快捷鍵)
關注三個重點
01.Vim 編輯器的模式不同 :
前綴詞:
i : 插入模式下生效
n : 普通模式下生效
v : 可視模式下生效
c : EX命令模式下生效

都不加代表在任何模式都起作用,不過很容易發生快捷鍵衝突,所以都建議加上。
02.遞歸與非遞歸差異
有 nore : 代表非遞歸
無 nore : 代表有遞歸
( nore 中文意思 - 沒有 )
遞歸代表 ?
非遞歸 :
nnoremap j k
nnoremap k l

遞歸 :
nmap j k
nmap k l
因此,除非真的確定原本按鍵上沒有其他功能,不然都還是建議使用非遞歸狀態。
03.ESC 與 CR 和 左右兩側大於、小於符號的意思
代表的是非字母的快捷鍵功能
| 名稱 | 按鍵 | 名稱 | 按鍵 |
|---|---|---|---|
<ESC> |
ESC | <k0> - <k9> |
小鍵盤數字 0 到 9 |
<CR> |
Enter | <Ctrl> |
Ctrl 鍵 |
<S-x |
Shift + x 組合鍵 | <Alt> |
Alt 鍵 |
<C-x> |
Ctrl + x 組合鍵 | <Shift> |
Shift 鍵 |
<A-x> |
Alt + x 組合鍵 | <F1> - <F12> |
F1 ~ F12 功能鍵 |
<BS> |
退格鍵 (Backspace) | ||
<SPACE> |
空格鍵 |
" JSON 文字格式化
" command! JSONFormat :execute '%!python -m json.tool'

command! JSONFormat :execute '%!python -m json.tool'
\ | :execute '%!python -c "import re,sys;chr=__builtins__.__dict__.get(\"unichr\", chr);sys.stdout.write(re.sub(r\"\\\\u[0-9a-f]{4}\", lambda x: chr(int(\"0x\" + x.group(0)[2:], 16)).encode(\"utf-8\"), sys.stdin.read()))"'
\ | :set ft=javascript
\ | :1

" XML 文字格式化
command! XMLFormat :execute '%!xmllint --format -'

" 常用的文字替代
command! Br2line :execute '%s/<br>/---/g'
JSONFormat :execute '%!python -m json.tool'
json 文字的格式化排版
XMLFormat :execute '%!xmllint --format -'
xml 文字的格式化排版
Br2line :execute '%s/<br>/---/g'
執行常用的文字替代
JSONFormat
有兩種,一種比較簡單,另外一種相對複雜。
第一種:
command! JSONFormat :execute '%!python -m json.tool'
執行什麼動作 ?
後方 '%!python -m json.tool' 指令
調用外部 指令 python 參數 -m ,將 json.tool 模組,作為腳本運行。
第二種:
command! JSONFormat :execute '%!python -m json.tool'
\ | :execute '%!python -c "import re,sys;chr=__builtins__.__dict__.get(\"unichr\", chr);sys.stdout.write(re.sub(r\"\\\\u[0-9a-f]{4}\", lambda x: chr(int(\"0x\" + x.group(0)[2:], 16)).encode(\"utf-8\"), sys.stdin.read()))"'
\ | :set ft=javascript
\ | :1
第一種指令,有一個小問題,如果資料內容有中文的話,會被轉換成萬國碼。
因此,第二種就是將文字的編碼,轉換成 utf-8,中文部分就會顯示正常。
XMLFormat
前面 command!、XMLFormat 與 execute 有了之前的說明,應該知道是什麼意思
不一樣的地方,就是調用 xml 的解析工具 xmllint,執行參數 format 格式化功能。
Br2line
上述兩者,都是調用外部指令來對檔案作業。
如果只是要使用內建的命令行指令,將其中代表外部指令的 驚嘆號(!)移除即可
這邊的例子:
'%s/<br>/---/g'
使用 %s 替代文字的指令,將 br 換行的標籤元素,替換成 Markdown 格式的水平分割線。
命令行格式
command! : {指令名稱} :execute '{執行動作}'
剩下更多要新增的動作,只要模仿上面三個範例,替換 {指令名稱} 與 {指令動作} 即可。
個人偏好 :
相比於快捷鍵的添加,我更傾向使用這個方法,簡化動作。

因為 vim 有太多的指令,如果貿然更改很容易發生衝突,而且也不容易記憶。
因此,使用像函式的命名一樣,定義命令行指令,我認為會是一個比較好的方法。
" 語法識別
syntax enable

" 顯示行數
set number

" 支援 256 色
set t_Co=256

" 終端機背景色 : dark / light
set background=dark

" 內建風格 ( 縮寫指令 colo )
" 輸入 colorscheme 空一格,再按 Tab 可以依次預覽 :
" blue / darkblue / default / delek / desert / eldlord
" evening / industry / koehler / morning / murphy / pable
" peachpuff / ron / shine / slate / torte / zollner
colorscheme molokai

" 搜尋,高亮標註
set hlsearch

" 配置檔案路徑,讓 find 指令更好用
set path=.,/usr/include,,**

" ts = tabstop
set ts=4 "縮排 4 格

" tab 替換成空格
set expandtab

" 自動縮排 | autoindent / smartindent / cindent
set autoindent " 跟上一行的縮進一致

" --- ↑ ---  一般配置 --- ↑ ---

inoremap ;; <ESC>


" 執行程式
nmap <F5> :call CompileRun()<CR>
func! CompileRun()
        exec "w"
if &filetype == 'python'
            exec "!time python3 %"
elseif &filetype == 'java'
            exec "!javac %"
            exec "!time java %<"
elseif &filetype == 'sh'
            :!time bash %
endif
    endfunc


" --- ↑ ---  快捷鍵配置 --- ↑ ---

" JSON 文字格式化
" command! JSONFormat :execute '%!python -m json.tool'

command! JSONFormat :execute '%!python -m json.tool'
\ | :execute '%!python -c "import re,sys;chr=__builtins__.__dict__.get(\"unichr\", chr);sys.stdout.write(re.sub(r\"\\\\u[0-9a-f]{4}\", lambda x: chr(int(\"0x\" + x.group(0)[2:], 16)).encode(\"utf-8\"), sys.stdin.read()))"'
\ | :set ft=javascript
\ | :1

" XML 文字格式化
command! XMLFormat :execute '%!xmllint --format -'

" 常用的文字替代
command! Br2line :execute '%s/<br>/---/g'

" --- ↑ ---  命令行配置 --- ↑ ---
Vundle 是 Vim 的其中一種插件管理器,其他的還有 vim-pathogen 與 vim-plug。
訪問 Vundle 的 GitHub 頁面 :
依照 GitHub 的 Readme 文件 操作 :
第一步:
先準備好 git 版控工具,後續安裝的每一個插件,都會放在使用者資料夾 .vim/bundle 裡面。
第二步:
複製 git clone 指令,將整個專案拉取到 指定路徑
git clone https://github.com/VundleVim/Vundle.vim.git ~/.vim/bundle/Vundle.vim
第三步:
開啟 vimrc 檔案,將插件配置貼到開頭的位置
插件配置 (README):
set nocompatible              " be iMproved, required
filetype off                  " required

" set the runtime path to include Vundle and initialize
set rtp+=~/.vim/bundle/Vundle.vim
call vundle#begin()
" alternatively, pass a path where Vundle should install plugins
"call vundle#begin('~/some/path/here')

" let Vundle manage Vundle, required
Plugin 'VundleVim/Vundle.vim'

" The following are examples of different formats supported.
" Keep Plugin commands between vundle#begin/end.
" plugin on GitHub repo
Plugin 'tpope/vim-fugitive'
" plugin from http://vim-scripts.org/vim/scripts.html
" Plugin 'L9'
" Git plugin not hosted on GitHub
Plugin 'git://git.wincent.com/command-t.git'
" git repos on your local machine (i.e. when working on your own plugin)
Plugin 'file:///home/gmarik/path/to/plugin'
" The sparkup vim script is in a subdirectory of this repo called vim.
" Pass the path to set the runtimepath properly.
Plugin 'rstacruz/sparkup', {'rtp': 'vim/'}
" Install L9 and avoid a Naming conflict if you've already installed a
" different version somewhere else.
" Plugin 'ascenator/L9', {'name': 'newL9'}

" All of your Plugins must be added before the following line
call vundle#end()            " required
filetype plugin indent on    " required
" To ignore plugin indent changes, instead use:
"filetype plugin on
"
" Brief help
" :PluginList       - lists configured plugins
" :PluginInstall    - installs plugins; append `!` to update or just :PluginUpdate
" :PluginSearch foo - searches for foo; append `!` to refresh local cache
" :PluginClean      - confirms removal of unused plugins; append `!` to auto-approve removal
"
" see :h vundle for more details or wiki for FAQ
" Put your non-Plugin stuff after this line
插件配置 (簡化):
set nocompatible              " be iMproved, required
filetype off                  " required

set rtp+=~/.vim/bundle/Vundle.vim
call vundle#begin()

Plugin 'VundleVim/Vundle.vim'

call vundle#end()            " required
filetype plugin indent on    " required
" To ignore plugin indent changes, instead use:
"filetype plugin on
"
" Brief help
" :PluginList       - lists configured plugins
" :PluginInstall    - installs plugins; append `!` to update or just :PluginUpdate
" :PluginSearch foo - searches for foo; append `!` to refresh local cache
" :PluginClean      - confirms removal of unused plugins; append `!` to auto-approve removal
"
" see :h vundle for more details or wiki for FAQ
" Put your non-Plugin stuff after this line
第四步:
儲存後,使用 vim 進入到編輯器,使用命令行模式,輸入 PluginInstall。
安裝的過程如下圖 :

如果不想要每次安裝,都進入一次編輯器的話 :
vim +PluginInstall +qall
這個指令,可以在一般的終端機狀態下安裝
其他的指令
" :PluginList       - lists configured plugins
" :PluginInstall    - installs plugins; append `!` to update or just :PluginUpdate
" :PluginSearch foo - searches for foo; append `!` to refresh local cache
" :PluginClean      - confirms removal of unused plugins; append `!` to auto-approve removal
在剛剛留下的註解中有說明,例如,列表(:PluginList) 與 解除安裝(:PluginClean) 都可以自行嘗試
Plugin 'flazz/vim-colorschemes'
安裝方法:
依據 Readme 文件,只要將上述的 Plugin 文字,貼到之前 Plugin Vundle.vim 的下方
然後,在 vim 裡面 執行 PluginInstall
set nocompatible              " be iMproved, required
filetype off                  " required

set rtp+=~/.vim/bundle/Vundle.vim
call vundle#begin()

Plugin 'VundleVim/Vundle.vim' " <- Vundle 插件
Plugin 'flazz/vim-colorschemes'

call vundle#end()            " required
filetype plugin indent on    " required
" To ignore plugin indent changes, instead use:
"filetype plugin on
插件配置
完成後,把風格設定的地方,改成這個插件支援的名稱 :
colorscheme molokai
重新進入編輯器後,外觀風格就會變成插件提供的配置

Plugin 'scrooloose/nerdtree'
Plugin 'jistr/vim-nerdtree-tabs'
nerdtree :
樹狀檔案管理,是這個插件功能的主體。
nerdtree-tabs :
增強功能,讓 nerdtree 的插件更像是真正的面版。
安裝的方法
跟「外觀風格」插件相同,將 nerdtree Plugin 與 nerdtree-tab Plugin 路徑加入,
儲存後,進入 vim 編輯器,命令行模式 輸入 PluginInstall
使用方法
命令行指令 NERDTreeTabsToggle切換側邊欄的顯示
其他指令,參考 GitHub 的 Readme 文件
插件配置
這一大段的指令 稍微有點長,在 vimrc 的檔案內,還可以新增 opt + 1 的快捷鍵來進行切換
" 側邊欄快捷鍵 : opt + 1
nnoremap ¡ : NERDTreeToggle<CR>
我使用的是 opt + 1 的符號,像是 i 的字母是 Mac 鍵盤 按著 opt 時可以打出的符號。

(由於 Vim 的 alt 在 Mac 的映射 還有些問題,折衷方法可以透過直接使用特殊符號,來代表 opt 的組合鍵。)
Plugin 'gabrielelana/vim-markdown'
Plugin 'tyru/open-browser.vim'
Plugin 'kannokanno/previm'
我認為 Vim + Markdown 是寫專案文件的絕佳組合,也是我寫技術筆記的主力工具。
三種的 Markdown 插件,可以分成兩種 :
第一種 - 支援編輯功能 :
Plugin 'gabrielelana/vim-markdown'
增強 Markdown 風格的呈現,並且細節的部分,某些語法可以做簡易的快捷操作。
例如 :
第二種 - 支援預覽的功能 :
Plugin 'tyru/open-browser.vim'
Plugin 'kannokanno/previm'
實際的主體是後面 previm 插件,而 open-browser 則是他的一個前置插件。
功能是讓你在編輯 Markdown 時,可以使用命令行指令,
將文件渲染在瀏覽器上,並且存檔時會同步連動。
插件配置
" Markdown : Preview
let g:previm_open_cmd = 'open -a Google\ Chrome'
使用方法
命令行指令 :PrevimOpen
Plugin 'mattn/emmet-vim
網頁開發的 Emmet 插件,安裝方法與之前相同。
使用方法
預設的快捷鍵不是插入模式的 Tab 按鍵,而是輸入完標籤名稱後 ctrl + y + ,
插件配置
"emmet-vim
let g:user_emmet_expandabbr_key = '<c-e>'
調整成 Ctrl + E ,雖然沒有 Tab 按鍵來的直覺簡單,
但考慮到 Vim 的各種指令 可能導致的按鍵衝突,目前這個配置算是一個可以接受的方案。
Plugin 'Chiel92/vim-autoformat'
我認為 Vim 編輯器,在還沒有改造成像 IDE 一樣,有那麼多功能的配置時,
最適合拿來寫三樣東西 :
這三樣很大程度上,都不需要語法的自動補全。
不過網頁與 Python 縮排規則,並不相同。
所以我安裝這個插件,就是為了 Python 的自動排版。
插件配置
GitHub 文件下方,已經寫好要配置的參數
noremap <F3> :Autoformat<CR>
au BufWrite * :Autoformat
let g:autoformat_autoindent = 0
let g:autoformat_retab = 0
let g:autoformat_remove_trailing_spaces = 0
這個插件,安裝完成後,只針對 Python 語言處理
要讓排版的功能擴展到其他語言,GitHub 的文件 往下拉
如果系統有安裝的話,插件就能夠自動偵測直接支援。
astyle 命令工具
下載後、解壓縮,在 build/mac/ 的 Makefile 路徑上。
使用終端機,執行 make 指令,將產生出來的 bin 的資料夾,配置到系統變數上
例如 : Mac / Linux 的 ~/.zprofile
export PATH=$PATH:/Users/MyMac/DevTools/astyle/build/mac/bin
完成後,在 C# C++ C 與 Java 的檔案中,按一下 F3 就會有排版的功能
set nocompatible              " be iMproved, required
filetype off                  " required

set rtp+=~/.vim/bundle/Vundle.vim
call vundle#begin()

Plugin 'VundleVim/Vundle.vim'
Plugin 'flazz/vim-colorschemes'
Plugin 'scrooloose/nerdtree'
Plugin 'jistr/vim-nerdtree-tabs'
Plugin 'gabrielelana/vim-markdown'
Plugin 'tyru/open-browser.vim'
Plugin 'kannokanno/previm'
Plugin 'mattn/emmet-vim'
Plugin 'Chiel92/vim-autoformat'

call vundle#end()            " required
filetype plugin indent on    " required
" To ignore plugin indent changes, instead use:
"filetype plugin on
"
" Brief help
" :PluginList       - lists configured plugins
" :PluginInstall    - installs plugins; append `!` to update or just :PluginUpdate
" :PluginSearch foo - searches for foo; append `!` to refresh local cache
" :PluginClean      - confirms removal of unused plugins; append `!` to auto-approve removal
"
" see :h vundle for more details or wiki for FAQ
" Put your non-Plugin stuff after this line

" 側邊欄快捷鍵 : opt + 1
nnoremap ¡ : NERDTreeToggle<CR>

" Markdown : Preview
let g:previm_open_cmd = 'open -a Google\ Chrome'

"emmet-vim
let g:user_emmet_expandabbr_key = '<c-e>'

" autoformat
noremap <F3> :Autoformat<CR>
au BufWrite * :Autoformat
let g:autoformat_autoindent = 0
let g:autoformat_retab = 0
let g:autoformat_remove_trailing_spaces = 0

" --- ↑ ---  插件配置 --- ↑ ---
以上打磨 Vim 編輯器的方法,你可能會發現有很多簡化的動作,實際上都是調用外部的終端機 :
command! JSONFormat :execute '%!python -m json.tool'
command! XMLFormat :execute '%!xmllint --format -'
對於學習 Vim 編輯器來說,熟練的使用這些命令工具,也是讓 Vim 編輯器發揮更多威力的方法之一。
我覺得重要的兩個命令:
別名
Mac
Alias 命令 :
中文意思是別名,可以簡化系統中的其他命令,像是 cd 切換目錄
例如 :
alias WS='cd /Users/Enoxs/Mac_Document/WorkSpace/'
alias iDoc='cd /Users/Enoxs/Library/Mobile\ Documents/com~apple~CloudDocs/iStudioX'
alias iDev='cd /Users/Enoxs/Library/Mobile\ Documents/com~apple~CloudDocs/iStudioX/DevStudio'
Open 命令 :
使用檔案瀏覽器,開啟當前的路徑
兩個指令互相搭配,用終端機訪問文件的速度,相比於在最外層資料夾一路點過來快了不少。
更不用說,還可以隨時切換到,開發筆記或者是開發工具的資料夾。
set nocompatible              " be iMproved, required
filetype off                  " required

set rtp+=~/.vim/bundle/Vundle.vim
call vundle#begin()

Plugin 'VundleVim/Vundle.vim'
Plugin 'flazz/vim-colorschemes'
Plugin 'scrooloose/nerdtree'
Plugin 'jistr/vim-nerdtree-tabs'
Plugin 'gabrielelana/vim-markdown'
Plugin 'tyru/open-browser.vim'
Plugin 'kannokanno/previm'
Plugin 'mattn/emmet-vim'
Plugin 'Chiel92/vim-autoformat'

call vundle#end()            " required
filetype plugin indent on    " required
" To ignore plugin indent changes, instead use:
"filetype plugin on
"
" Brief help
" :PluginList       - lists configured plugins
" :PluginInstall    - installs plugins; append `!` to update or just :PluginUpdate
" :PluginSearch foo - searches for foo; append `!` to refresh local cache
" :PluginClean      - confirms removal of unused plugins; append `!` to auto-approve removal
"
" see :h vundle for more details or wiki for FAQ
" Put your non-Plugin stuff after this line

" 側邊欄快捷鍵 : opt + 1
nnoremap ¡ : NERDTreeToggle<CR>

" Markdown : Preview
let g:previm_open_cmd = 'open -a Google\ Chrome'

"emmet-vim
let g:user_emmet_expandabbr_key = '<c-e>'

" autoformat
noremap <F3> :Autoformat<CR>
au BufWrite * :Autoformat
let g:autoformat_autoindent = 0
let g:autoformat_retab = 0
let g:autoformat_remove_trailing_spaces = 0

" --- ↑ ---  插件配置 --- ↑ ---

" 語法識別
syntax enable

" 顯示行數
set number

" 支援 256 色
set t_Co=256

" 終端機背景色 : dark / light
set background=dark

" 內建風格 ( 縮寫指令 colo )
" 輸入 colorscheme 空一格,再按 Tab 可以依次預覽 :
" blue / darkblue / default / delek / desert / eldlord
" evening / industry / koehler / morning / murphy / pable
" peachpuff / ron / shine / slate / torte / zollner
colorscheme molokai

" 搜尋,高亮標註
set hlsearch

" 配置檔案路徑,讓 find 指令更好用
set path=.,/usr/include,,**

" ts = tabstop
set ts=4 "縮排 4 格

" tab 替換成空格
set expandtab

" 自動縮排 | autoindent / smartindent / cindent
set autoindent " 跟上一行的縮進一致

" --- ↑ ---  一般配置 --- ↑ ---

inoremap ;; <ESC>


" 執行程式
nmap <F5> :call CompileRun()<CR>
func! CompileRun()
        exec "w"
if &filetype == 'python'
            exec "!time python3 %"
elseif &filetype == 'java'
            exec "!javac %"
            exec "!time java %<"
elseif &filetype == 'sh'
            :!time bash %
endif
    endfunc


" --- ↑ ---  快捷鍵配置 --- ↑ ---

" JSON 文字格式化
" command! JSONFormat :execute '%!python -m json.tool'

command! JSONFormat :execute '%!python -m json.tool'
\ | :execute '%!python -c "import re,sys;chr=__builtins__.__dict__.get(\"unichr\", chr);sys.stdout.write(re.sub(r\"\\\\u[0-9a-f]{4}\", lambda x: chr(int(\"0x\" + x.group(0)[2:], 16)).encode(\"utf-8\"), sys.stdin.read()))"'
\ | :set ft=javascript
\ | :1

" XML 文字格式化
command! XMLFormat :execute '%!xmllint --format -'

" 常用的文字替代
command! Br2line :execute '%s/<br>/---/g'

" --- ↑ ---  命令行配置 --- ↑ ---
 Enoxs
Enoxs
