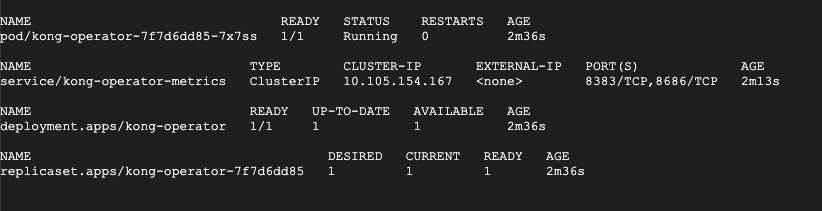
kong的安裝我同樣會透過operator的方式進行,相信經過了這幾天應該很多人都感受到operator的優勢
安裝方式
git clone https://github.com/Kong/kong-operator.git
kubectl apply -f kong-operator/deploy/
kubectl apply -f kong-operator/deploy/operator/
kubectl apply -f kong-operator/deploy/crds/
並且會有一個loadbalance的入口
在配置完成kong的基本設定後,就可以開始嘗試配置服務給kong囉,另外因為要與istio整合要記得在kong 的namespaces中加入istio-injection=enabled,然後開始玩看看囉
配置一個kong的入口
kubectl create -f - <<EOF
apiVersion: charts.helm.k8s.io/v1alpha1
kind: Kong
metadata:
  name: example-kong
spec:
  proxy:
    type: NodePort
  env:
    prefix: /kong_prefix/
  resources:
    limits:
      cpu: 500m
      memory: 2G
    requests:
      cpu: 100m
      memory: 512Mi
  ingressController:
    enabled: true
    ingressClass: example-ingress-class
    installCRDs: false
EOF
做一個驗證用的服務
kubectl apply -f https://bit.ly/echo-service

kubectl create -f - <<EOF
apiVersion: extensions/v1beta1
kind: Ingress
metadata:
  name: demo-foo
  annotations:
    # Note that the annotation below is deprecated as of Kubernetes 1.18
    # in favor of the new spec.ingressClassName field. At the moment of writing
    # (Kong Ingress Controller v0.9.0), Kong Ingress Controller does not support
    # the new format yet.
    kubernetes.io/ingress.class: example-ingress-class
spec:
  rules:
  - http:
      paths:
      - path: /foo
        backend:
          serviceName: echo
          servicePort: 8080
-- -
apiVersion: extensions/v1beta1
kind: Ingress
metadata:
  name: demo-bar
  annotations:
    kubernetes.io/ingress.class: example-ingress-class
    konghq.com/plugins: request-id
spec:
  rules:
  - host: example.com
    http:
      paths:
      - path: /bar
        backend:
          serviceName: echo
          servicePort: 80
EOF
這樣就可以透過kong ingress進來囉
PROXY_IP=$(kubectl get service example-kong-kong-proxy -o jsonpath={.spec.clusterIP})
curl http://$PROXY_IP/foo/
curl -i -H "Host: example.com" $PROXY_IP/bar/sample
接著可以對echo service加一些限制功能看看
加入rate limit
apiVersion: configuration.konghq.com/v1
kind: KongPlugin
metadata:
  name: limit-by-ip
config:
  minute: 5
  limit_by: ip
  policy: local
plugin: rate-limiting

kubectl patch svc echo  -p '{"metadata":{"annotations":{"konghq.com/plugins": “limit-by-ip\n"}}}'
再重新curl一次就會發現有多了limit的訊息囉。
如果沒有想要透過operator的方式配置kong,官方也有兩種配置方法可以參考,其一是在外部主機用docker-compose的方式簡易的啟動kong服務,另一個同樣是在k8s上配置kong yaml如下
kubectl apply -f "https://raw.githubusercontent.com/Kong/kubernetes-ingress-controller/main/deploy/single-v2/all-in-one-dbless.yaml"
這個方法相對於使用operator簡單好理解一點。
kong在https://github.com/Kong/kong-operator/tree/main/helm-charts/kong/example-values 的頁面中也有屬於enterprise的佈署,我認為enterprise有介面可以讓使用者更好上手,如果不想用enterprise但是又想要有介面的話其實也可以玩看看konga這個專案。


 iThome鐵人賽