今天終於要進入到生命週期的最後一個階段: Unmounting 了!在元件要被卸載的這個階段會發生什麼事呢?
一個 Component 從 DOM 中被移除時。
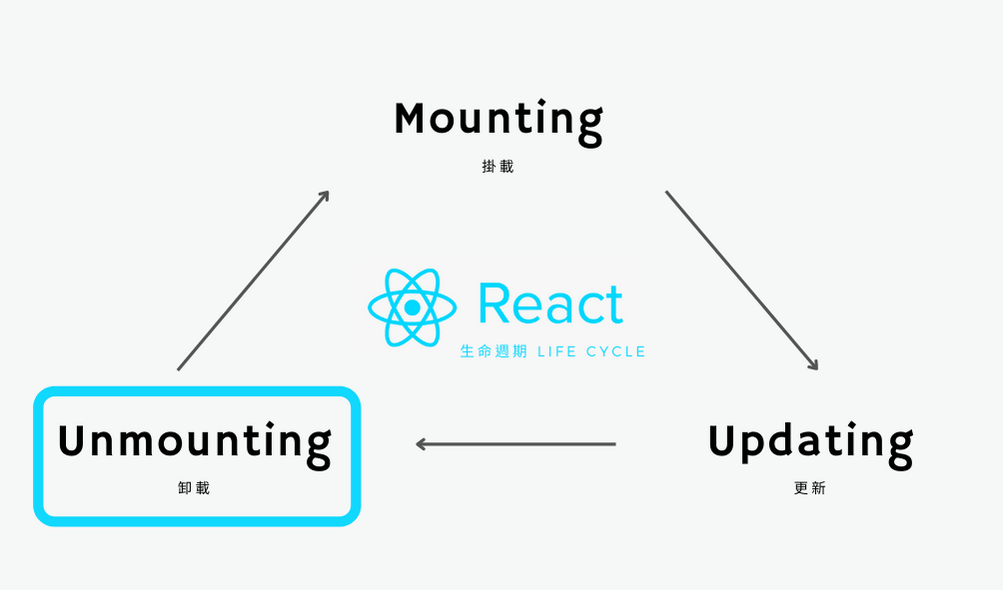
白話文來說就是指當元件要從畫面中被移除時的階段,這樣的說明可能還是有點模糊,沒關係!接下來會提供範例程式碼讓大家搞清楚這一切。那我們就來看在 Unmounting 這一個最後的生命週期當中唯一的一個方法:componentWillUnmount()
會應用在什麼樣的情況和地方吧!
在ㄧ個 Component 被移除和摧毀後馬上被呼叫的方法。
所以針對這個方法,我們主要會用在清除 Cookie 或 Local Storage 等資料。另外,我們也在 Day 11 Mounting 階段中的 componentDidMount() 方法中提過,如果有綁定監聽的話必須要在 componentWillUnmount() 這個方法中去移除這個監聽,否則一樣會產生重複監聽的問題。
官方文件中還有提到一個小細節,就是如果你在 componentWillUnmount() 中去使用 setState() 來修改元件內的 state 值的話並不會讓畫面重新渲染喔!因為該元件實體被移除之後,就不會再經歷到 Mounting 的階段了。
看完上面的說明跟官方文件之後,其實我內心還是有一個困惑:到底要怎麼知道元件是在何時被移除的啊?
這邊真的很感謝有前輩們的文章和範例程式碼幫我解開了這個謎團,在 Yvonne 大大的文章: Day 06-生命有限好好把握(Lifecycle) 當中,提供了一個非常棒的 CodePen 範例 就是使用 componentDidMount() 和 componentWillUnmount() 這兩個生命週期的方法來呈現出一個元件的開始掛載和最後的結束卸載。
這個範例實現的功能是當點擊畫面中的按鈕後,元件會開始掛載在 DOM 中並印出 componentDidMount 的字串,接著每隔 1 秒再印出 hello world 字串;當再次點擊按鈕,元件就會被移除 DOM 中並印出 componentWillUnmount 的字串,代表元件的生命週期結束了。
所以我們可以透過這個範例來觀察元件的生命週期變化:
App 的 Component 中做 state 的判別條件,判斷現在是否要掛載元件 Timer :class App extends React.Component {
constructor(props) {
super(props);
this.state = {
timerOn: false
};
this.toggleTimer = this.toggleTimer.bind(this);
}
toggleTimer() {
this.setState({
timerOn: !this.state.timerOn
});
}
render() {
const buttonText = this.state.timerOn ? "停止timer" : "開啟timer";
return (
<div>
<button onClick={this.toggleTimer}>{buttonText}</button>
{this.state.timerOn && <Timer />}
</div>
);
}
}
Timer 元件內使用 componentDidMount() 和 componentWillUnmount() 這兩個生命週期的方法,便可以透過印出的字串來判別元件目前所在的生命週期階段為何?class Timer extends React.Component {
// Mounting 生命週期的方法
componentDidMount() {
console.log("componentDidMount");
this.timer = window.setInterval(() => {
console.log("hello world");
}, 1000);
}
// UnMounting 生命週期的方法
componentWillUnmount() {
window.clearInterval(this.timer);
console.log("componentWillUnmount");
}
// Class Component 必備的 render() 方法
render() {
return <div>timer is running</div>;
}
}
上面的範例建議大家可以打開 CodePen 的程式碼直接跑一次看看,這樣會能夠更理解元件究竟是怎麼經歷過一個完整的生命週期的。
那今天的內容到這邊結束囉!一轉眼生命週期的篇章也這樣告一個段落了,其實我個人覺得 React.js 中的每個生命週期方法的命名都非常白話,基本上就是元件目前進行到哪一個階段的直接說明,所以會比較容易有記憶點。
下一篇!也就是明天!
我們終於要進入到久仰大名的 React Hooks 啦~
內心充滿期待之餘還是希望各位大大可以多多指教唷!
那我們下篇見ʘ‿ʘ


 iThome鐵人賽