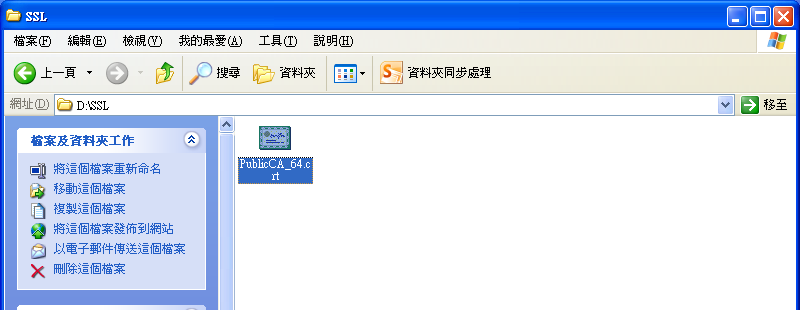
iT邦幫忙

0

SSL 憑證製作與匯入

  • 分享至 

  • xImage
  •  

憑證請求檔製作

本文是在 Windows 環境下操作

  1. 下載工程師必備神器 Cmder 最省事,該程式預設已有 openssl,無須再自行安裝
  2. 準備一個目錄放置產生的憑證,這裡以 D:\SSL 示範
  3. 於 Cmder 製作私密金鑰
    openssl genrsa -out yourname.key 2048
    #yourname 為自訂檔名,2048 則是 RSA 2048 位元加密,亦可使用4096位元,依資安需求決定
    
  4. 製作請求檔
    openssl req -new -key yourname.key -out your.domain.name.req
    
  5. 填寫需求檔資訊:
    # 國碼臺灣是 TW
    Country Name (2 letter code) [AU]:TW
    # 國名臺灣填 Taiwan
    State or Province Name (full name) [Some-State]:Taiwan R.O.C
    # 地名
    Locality Name (eg, city) []:Taoyuan
    # 組織單位名稱(公司名)
    Organization Name (eg, company) [Internet Widgits Pty Ltd]:company name
    # 部門名稱
    Organizational Unit Name (eg, section) []:department name
    # 憑證的名稱 (通常為伺服器 FQDN),這裏的 FQDN 前面還有個 `*`,表示申請萬用憑證。
    Common Name (eg, YOUR name) []:*.your.domain.name
    # 申請人的聯絡信箱
    Email Address []:who@your.email.domain    
    
  6. 之後就可以用 
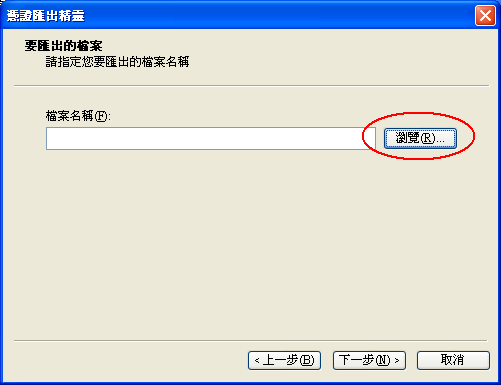
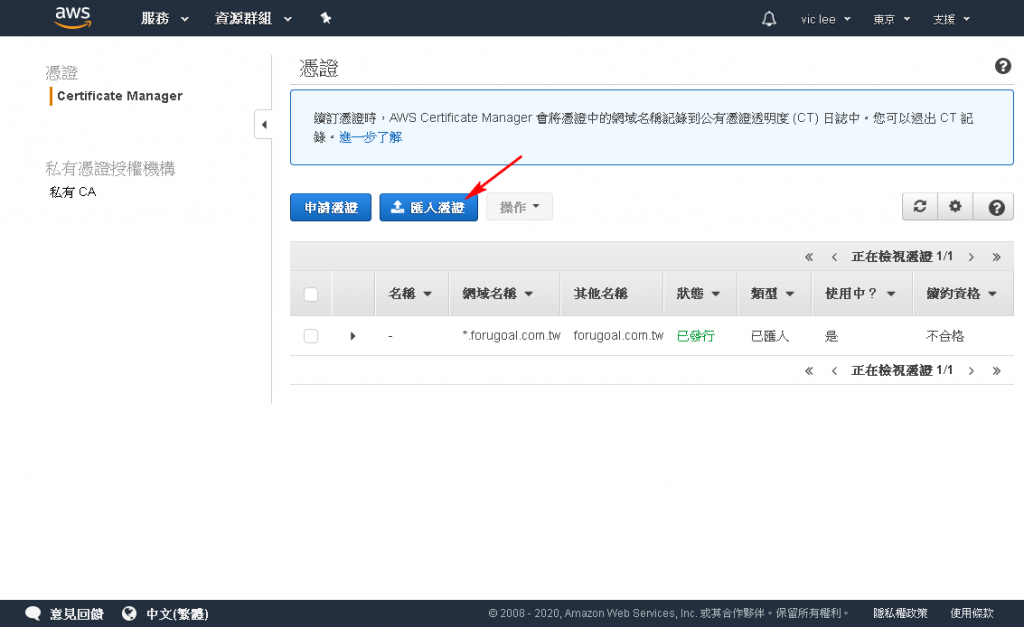
your.domain.name.req 申請憑證

設定中繼憑證

  1. 取得簽發下來的憑證,共有三個檔案如下,其中利用 PublicCA_64.crt 或是 ROOTeCA_64.crt 另外匯出成憑證串鏈檔 eCA_PublicCA.p7b
    https://ithelp.ithome.com.tw/upload/images/20211026/20143429oBevEQBeEi.png
  2. 打開 PublicCA_64.crt
    https://ithelp.ithome.com.tw/upload/images/20211026/20143429txO9k3A0Cb.png
  3. 出現以下憑證檢視的畫面,請點選「詳細資料」
    https://ithelp.ithome.com.tw/upload/images/20211026/20143429MgFQGiddzt.png
  4. 憑證詳細資料的畫面,請點選「複製到檔案」
    https://ithelp.ithome.com.tw/upload/images/20211026/201434292UfIFpy66c.png
  5. 憑證匯出精靈的畫面,請點選「下一步」
    https://ithelp.ithome.com.tw/upload/images/20211026/20143429v6CRvFeiMk.png
  6. 勾選「密碼編譯訊息語法標準-PKCS#7憑證」及「如果可能的話,在憑證路徑中包含所有憑證」兩個選項,然後點選「下一步」
    https://ithelp.ithome.com.tw/upload/images/20211026/20143429d3LjCqSE1C.png
  7. 點選「瀏覽」,出現另存新檔的畫面,請選擇適當的資料夾位置,檔案名稱請輸入「eCA_PublicCA」,然後點選「存檔」
    https://ithelp.ithome.com.tw/upload/images/20211026/20143429q2EQGZyT17.png
    https://ithelp.ithome.com.tw/upload/images/20211026/20143429341nC2RBQE.png
  8. 出現以下憑證匯出精靈的畫面,請點選「下一步」,再點選完成
    https://ithelp.ithome.com.tw/upload/images/20211026/20143429uL6nBqCunC.png
    https://ithelp.ithome.com.tw/upload/images/20211026/20143429wr2h2sSnG0.png
  9. PublicCA CA憑證之憑證串鏈的取得之後,由於是 DER 編碼格式,因此必須轉換為 PEM 編碼格式才能匯入 AWS

AWS 憑證匯入

  1. 打開 AWS Certificate Manager (ACM),ACM 是 Amazon 的憑證管理中心,因為憑證不是在 AWS 申請購買的,所以需要另外將外部申請的憑證匯入到 ACM
    https://ithelp.ithome.com.tw/upload/images/20211026/20143429tj80QfhpzL.png
  2. 選匯入憑證
    https://ithelp.ithome.com.tw/upload/images/20211026/201434294ORAlcTbfl.png
  3. 三個設定 SSL 連線所需要的檔案,與 Apache 與 AWS ACM 設定時的對應關係
    https://ithelp.ithome.com.tw/upload/images/20211026/201434295vWdlfCcuY.png
  4. 對應的檔案內容分別貼到 ACM 頁面中憑證內文、憑證私有金鑰、憑證鏈的欄位,接著按下一步繼續
    https://ithelp.ithome.com.tw/upload/images/20211026/20143429rgXGu9ItSp.png
  5. tag 可選擇性輸入,也可保留空白不影響
    https://ithelp.ithome.com.tw/upload/images/20211026/20143429c23YHM0XNP.png
  6. 最後可以看到頁面顯示的憑證資訊,沒問題的話按匯入即可
    https://ithelp.ithome.com.tw/upload/images/20211026/20143429XG8laVt3XR.png
    https://ithelp.ithome.com.tw/upload/images/20211026/201434292eC973viTX.png

Apache 憑證安裝

  1. 製作放置 
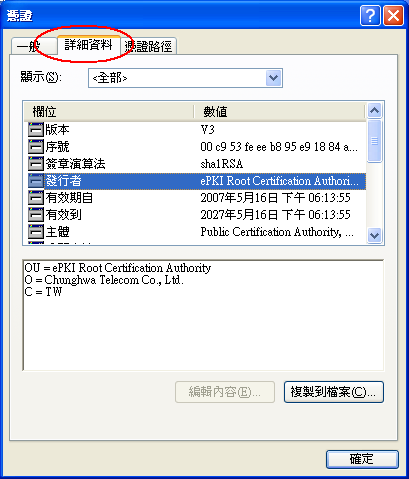
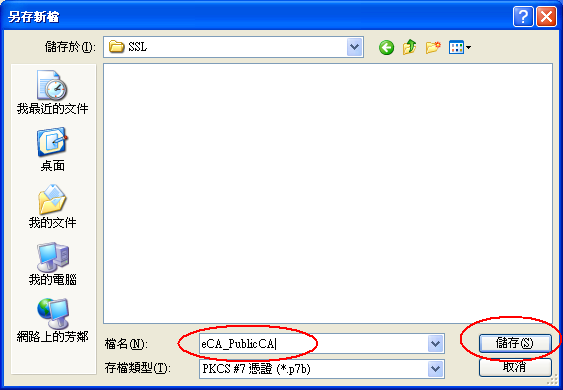
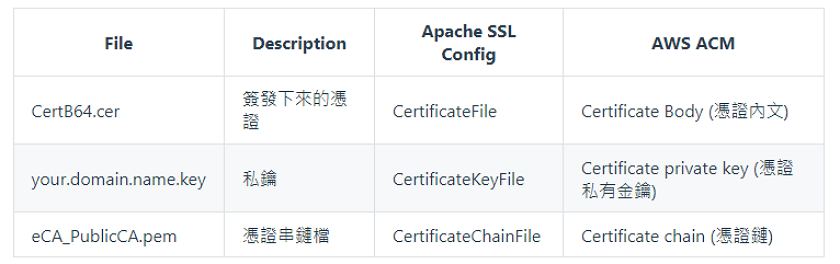
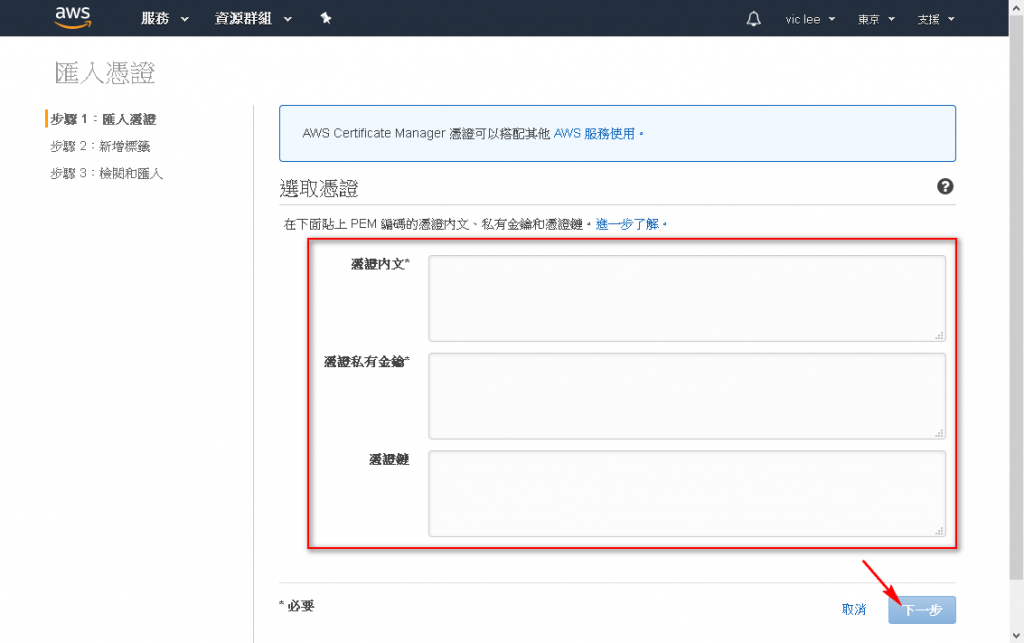
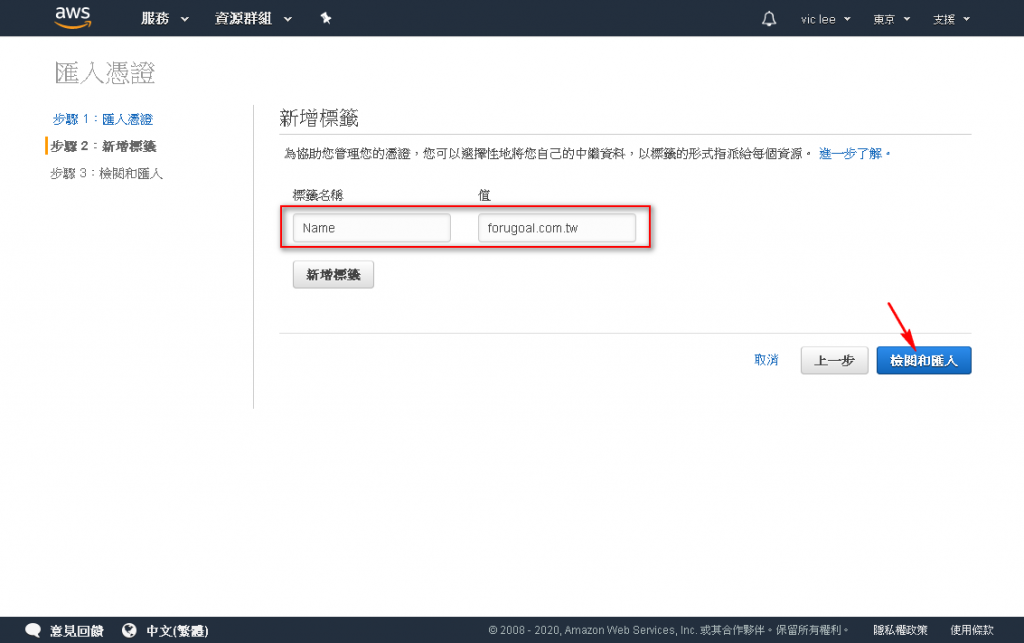
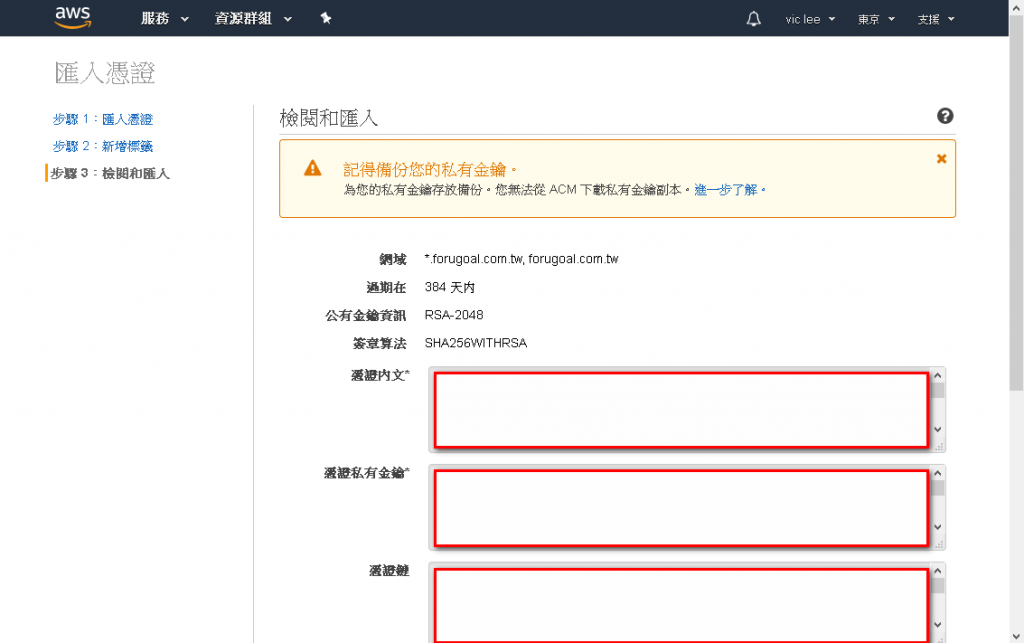
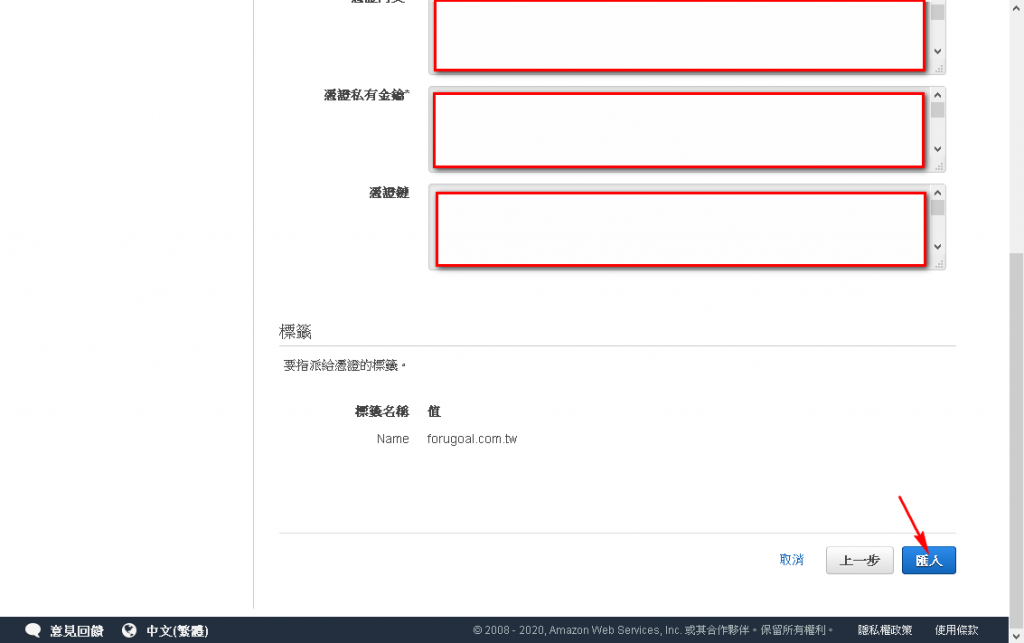
CertificateFile CertificateKeyFile CertificateChainFile 的目錄,將 CertB64.cer your.domain.name.key eCA_PublicCA.pem 放入
    mkdir /etc/httpd/cert
    
    • 給該目錄權限
    chown -R root:root /httpd/cert
    chmod -R 600 /httpd/cert
    
  2. 編輯 ssl.conf
    #SSLCertificateFile /etc/pki/tls/certs/localhost.crt
    SSLCertificateFile /etc/httpd/cert/CertB64.cer
    #即憑證路徑, 請指向放置憑證檔的路徑 
    
    #SSLCertificateKeyFile /etc/pki/tls/private/localhost.key
    SSLCertificateKeyFile /etc/httpd/cert/your.domain.name.key
    #即私鑰路徑, 請指向放置私鑰檔的路徑 
    
    #SSLCertificateChainFile /etc/pki/tls/certs/server-chain.crt 
    SSLCertificateChainFile /etc/httpd/cert/eCA_PublicCA.pem
    #若您申請購買SSL伺服器數位憑證, 您務必要設定為購買的SSL憑證 
    
  3. 重啟 httpd
    systemctl restart httpd.service
    

圖片
  直播研討會
圖片
{{ item.channelVendor }} {{ item.webinarstarted }} |
{{ formatDate(item.duration) }}
直播中

尚未有邦友留言

立即登入留言