前情提要
前面有提到主要面板就是編輯器面板~
今天要來講layout,也就是手機布局的面板設計啦~
首先~我們打開Android Studio
建立或開啟一個project(不會可以參考這篇https://ithelp.ithome.com.tw/articles/10290873)
從左邊的資料夾找到layout的資料夾
點擊activity_main.xml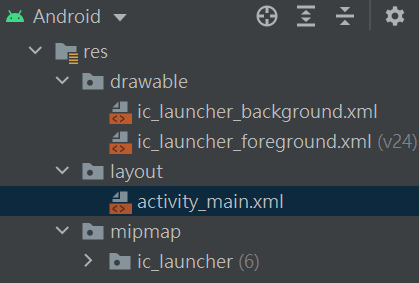
登愣~
編輯器面板就會出現你的版面啦~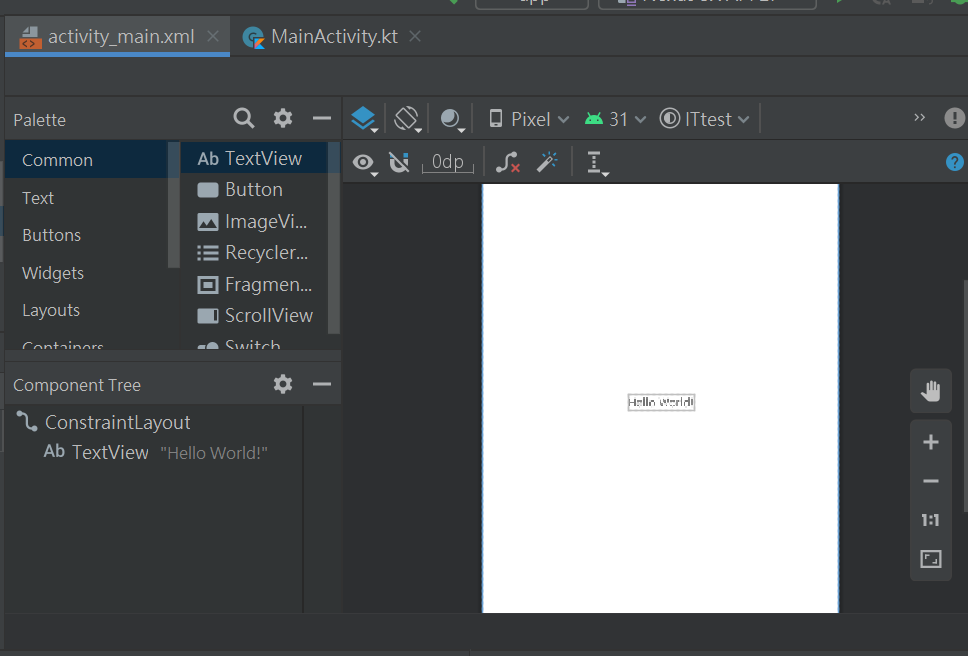
這時候就可以來排版了~
嘿嘿~身為一個IT人 當然要來Hello一下啊~
咦~一進去看到他已經幫我們打好"Hello World!"了
想必大家也是吧~
沒關係!我們來練習改成"Hello iThome"
點一下Hello World 會看到左邊palette裡的common欄位顯示"Text View"
Component Tree底下的ConstraintLayout有一欄TextView"Hello World!"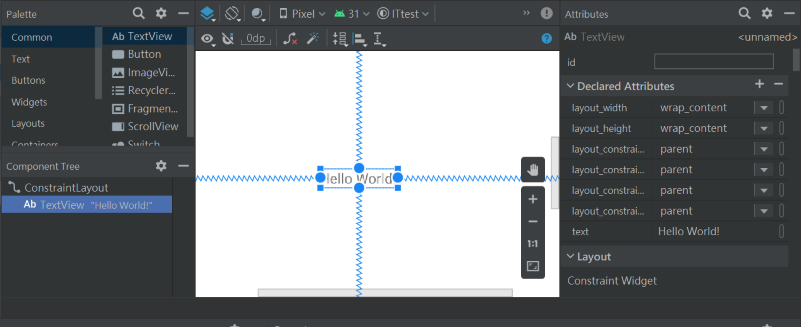
沒錯~
接著我們來看右邊的Attibutes
這邊有非常多細項 可以改變物件的屬性
像是ID改變ConstraintLayout的ID
text改變面板顯示的字串
於是~打上去後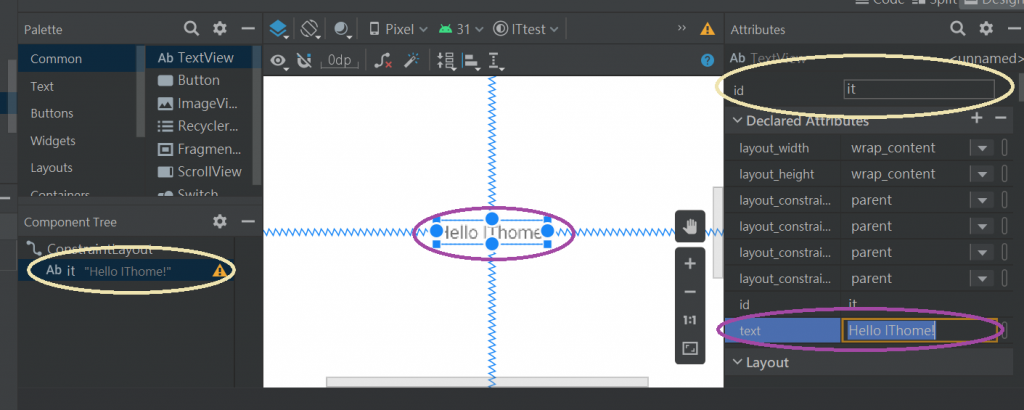
就變成這樣啦~~~~
Hello IThome!
明天會介紹更多~ 感謝閱讀


 iThome鐵人賽