今天我們重新回到我們的專案,來看看我們專案裡的xaml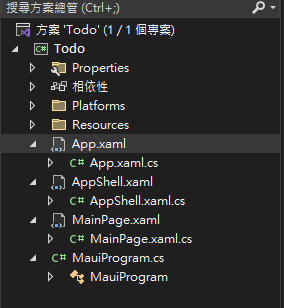
<?xml version = "1.0" encoding = "UTF-8" ?>
<Application xmlns="http://schemas.microsoft.com/dotnet/2021/maui"
             xmlns:x="http://schemas.microsoft.com/winfx/2009/xaml"
             xmlns:local="clr-namespace:Todo"
             x:Class="Todo.App">
    <Application.Resources>
        <ResourceDictionary>
            <ResourceDictionary.MergedDictionaries>
                <ResourceDictionary Source="Resources/Styles/Colors.xaml" />
                <ResourceDictionary Source="Resources/Styles/Styles.xaml" />
            </ResourceDictionary.MergedDictionaries>
        </ResourceDictionary>
    </Application.Resources>
</Application>
我們能看到他定義了資源黨的相對路徑以及Class Attribute為Todo.App,也就是與我們的App.xaml.cs相關聯:
public partial class App : Application { ...}而在Todo.App的Todo是我們專案裡的namespce
<?xml version="1.0" encoding="UTF-8" ?>
<Shell
    x:Class="Todo.AppShell"
    xmlns="http://schemas.microsoft.com/dotnet/2021/maui"
    xmlns:x="http://schemas.microsoft.com/winfx/2009/xaml"
    xmlns:local="clr-namespace:Todo"
    Shell.FlyoutBehavior="Disabled">

    <ShellContent
        Title="Home"
        ContentTemplate="{DataTemplate local:MainPage}"
        Route="MainPage" />

</Shell>
接下來看到AppShell.xaml,class的部分和上面相同,透過屬性將code與xaml相關聯。而這邊我們能看到Shell.FlyoutBehavior是設定為Disabled的。也就是我們目前的app不需要fly out出我們的視窗這個功能,所以這邊是設定為disable
關於Flyout
<?xml version="1.0" encoding="utf-8" ?>
<ContentPage xmlns="http://schemas.microsoft.com/dotnet/2021/maui"
             xmlns:x="http://schemas.microsoft.com/winfx/2009/xaml"
             x:Class="Todo.MainPage">

    <ScrollView>
        <VerticalStackLayout
            Spacing="25"
            Padding="30,0"
            VerticalOptions="Center">

            <Image
                Source="dotnet_bot.png"
                SemanticProperties.Description="Cute dot net bot waving hi to you!"
                HeightRequest="200"
                HorizontalOptions="Center" />

            <Label
                Text="Hello, World!"
                SemanticProperties.HeadingLevel="Level1"
                FontSize="32"
                HorizontalOptions="Center" />

            <Label
                Text="Welcome to .NET Multi-platform App UI"
                SemanticProperties.HeadingLevel="Level2"
                SemanticProperties.Description="Welcome to dot net Multi platform App U I"
                FontSize="18"
                HorizontalOptions="Center" />

            <Button
                x:Name="CounterBtn"
                Text="Click me"
                SemanticProperties.Hint="Counts the number of times you click"
                Clicked="OnCounterClicked"
                HorizontalOptions="Center" />

        </VerticalStackLayout>
    </ScrollView>

</ContentPage>
首先我們看到了ContentPage他與我們MainPage.xaml.cs裡的MainPage類相關聯
<ContentPage xmlns="http://schemas.microsoft.com/dotnet/2021/maui"
             xmlns:x="http://schemas.microsoft.com/winfx/2009/xaml"
             x:Class="Todo.MainPage">
             ...
</ContentPage>
接著使用了ScrollView來進行捲動其內容的檢視。
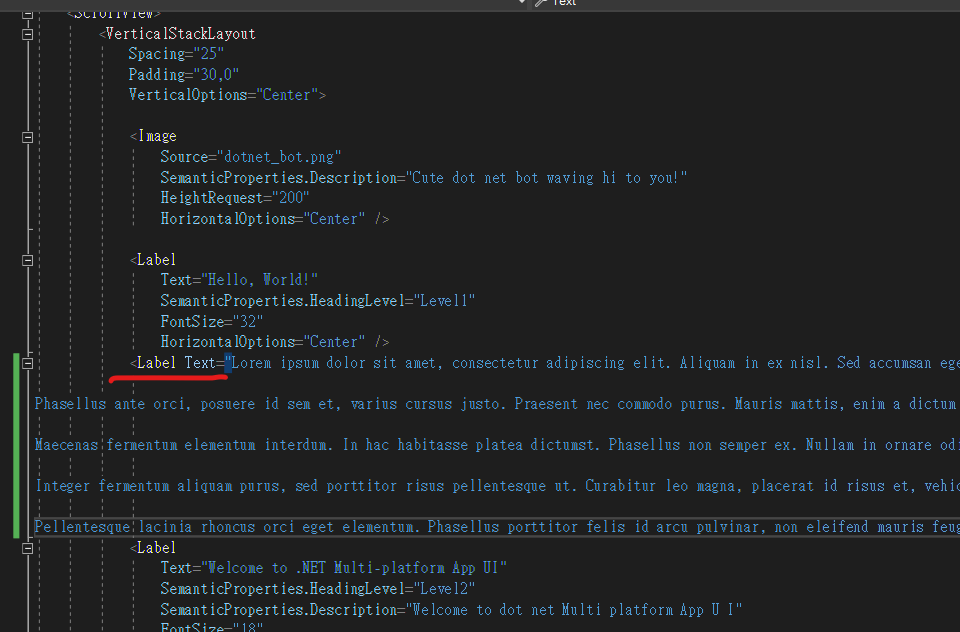
我們測試一下滾動,使用Lorem來產生資料,並進行測試
我們創建一個Label,並將產生的資料貼上<Label Text=... />
再來看我們的app,超出模擬器畫面,所以變成可滾動頁面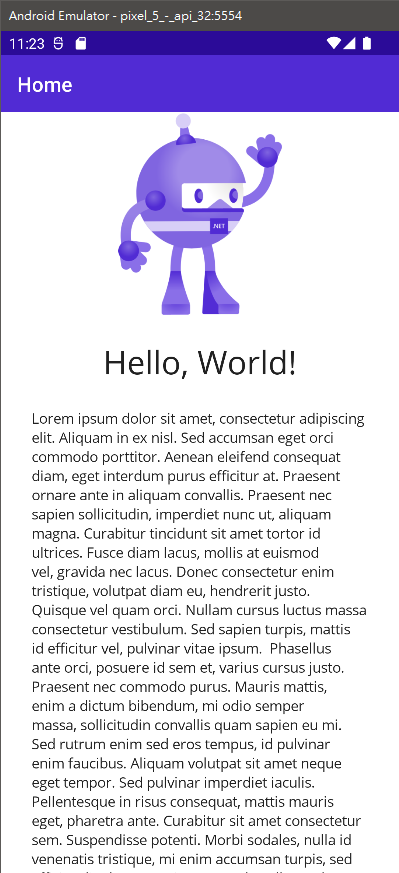
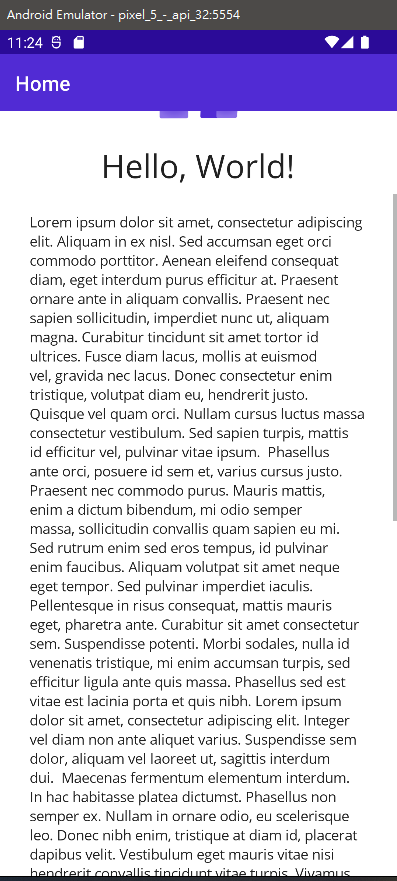
測試完後,就先把它刪掉。
接下來我們看到VerticalStackLayout
據官方所寫,.NET MAUI VerticalStackLayout在垂直stack中組織子檢視,而且是 較高效能的StackLayout替代方案。(不過這邊我不太了解,所以暫時不討論為何是較高效能,我們只討論它的用途,之後有深入研究後會再來講)
    <ScrollView>
        <VerticalStackLayout
            Spacing="25"
            Padding="30,0"
            VerticalOptions="Center">

                ...

                </VerticalStackLayout>
        </ScrollView>
這邊我們能看到Spacing、Padding和VerticalOptions三個attributes。
Margin是上層View和本身元素之間的相鄰距離Spacing是子View之間的空間
Padding本身View裡面的子View元素間的相鄰距離
VerticalOptions和HorizontalOptions是讓元素沿著主軸進行位置排版
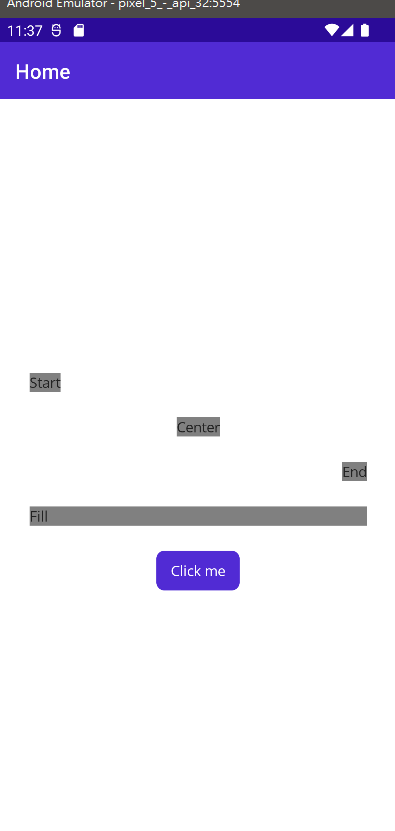
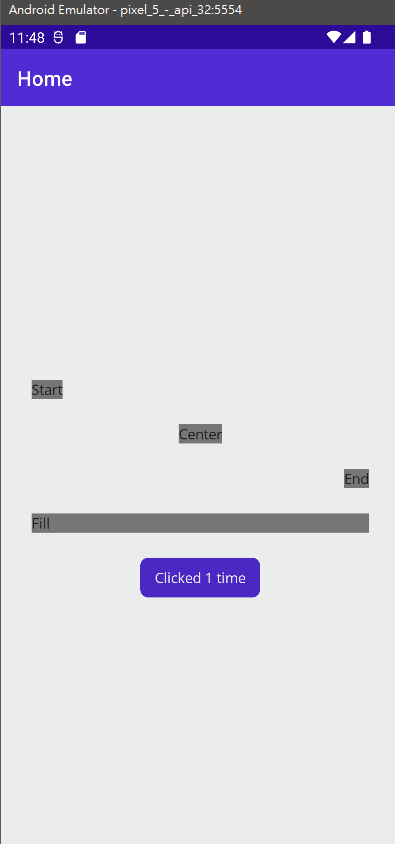
        <VerticalStackLayout
            Spacing="25"
            Padding="30,0"
            VerticalOptions="Center">

            <Label Text="Start"
               BackgroundColor="Gray"
               HorizontalOptions="Start" />
            <Label Text="Center"
               BackgroundColor="Gray"
               HorizontalOptions="Center" />
            <Label Text="End"
               BackgroundColor="Gray"
               HorizontalOptions="End" />
            <Label Text="Fill"
               BackgroundColor="Gray"
               HorizontalOptions="Fill" />

            <Button
                x:Name="CounterBtn"
                Text="Click me"
                SemanticProperties.Hint="Counts the number of times you click"
                Clicked="OnCounterClicked"
                HorizontalOptions="Center" />

        </VerticalStackLayout>
從下面這張圖,我們了解到VerticalStackLayout將五個子元素位置居中排版,而在Label元素裡透過HorizontalOptions來進行不同位置排版。
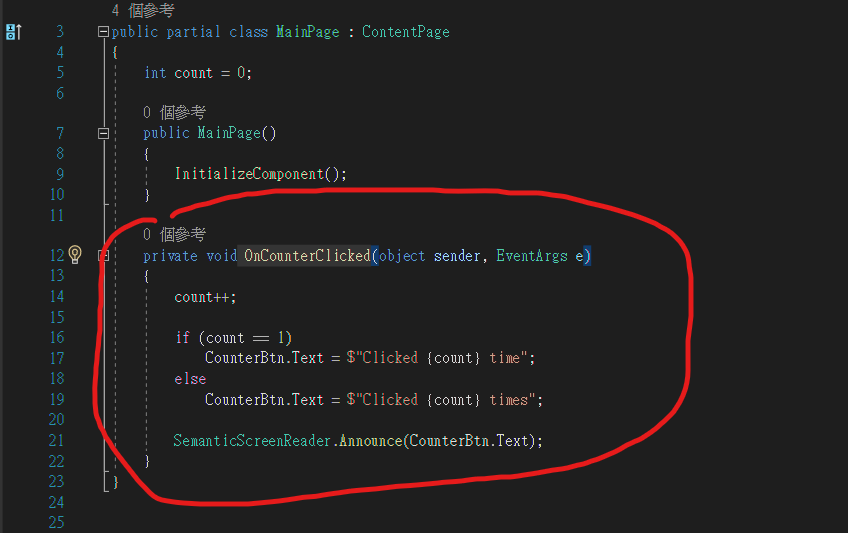
最後我們看到Button:
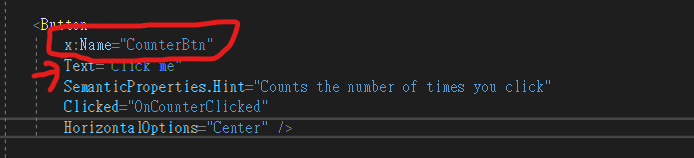
            <Button
                x:Name="CounterBtn"
                Text="Click me"
                SemanticProperties.Hint="Counts the number of times you click"
                Clicked="OnCounterClicked"
                HorizontalOptions="Center" />
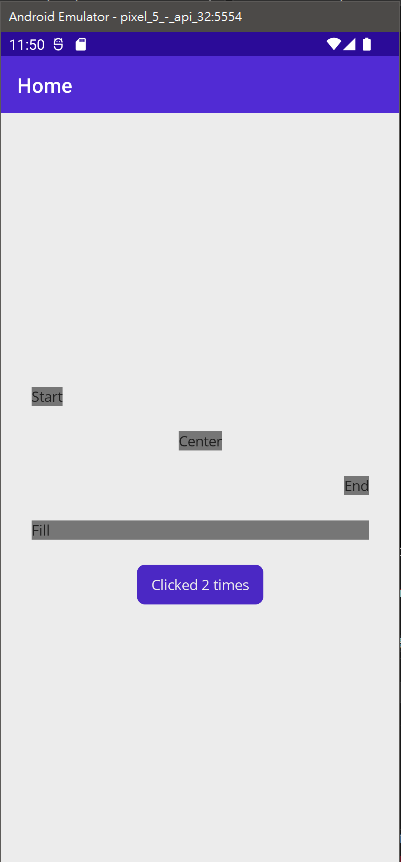
我們能看到當按下按鈕時,會觸發OnCounterClicked這個方法,而有餘我們MainPage.xaml和MainPage.xaml.cs已經相連接,會呼叫MainPage裡面的 OnCounterClicked,按下之後,會對CounterBtn裡的Text屬性進行修改
(如果點下去出現問題,沒有反應,可以試著重新啟動(Ctrl+shift+f5))
今天就簡單的介紹到這邊,我們明天見