鼬~~哩賀,我是寫程式的山姆老弟,昨天跟大家一起看了 ActionCable 的使用方式,今天繼續來延伸 ActionCable,試著用 ActionCable 的基礎做出一個即時的聊天室,夠夠~
我想要做一個即時的聊天室
如果要做到這樣的需求的話,那這樣會需要兩個 channel:一個 channel 負責轉發聊天訊息、一個 channel 負責追蹤在線人數
先產生 ChatController 當作首頁
$ rails g controller ChatController index
create  app/controllers/chat_controller.rb
 route  get 'chat/index'
invoke  erb
create    app/views/chat
create    app/views/chat/index.html.erb
invoke  test_unit
create    test/controllers/chat_controller_test.rb
invoke  helper
create    app/helpers/chat_helper.rb
invoke    test_unit
將 chat_controller 的 index 設為首頁
# config/routes.rb
root 'chat#index'
再產生聊天用的 Channel,並把 ActionCable 的 url 加上
$ rails g channel chat_channel
	 invoke  test_unit
   create    test/channels/chat_channel_test.rb
identical  app/channels/application_cable/channel.rb
identical  app/channels/application_cable/connection.rb
   create  app/channels/chat_channel.rb
   create  app/javascript/channels/index.js
   create  app/javascript/channels/consumer.js
   append  app/javascript/application.js
   append  config/importmap.rb
   create  app/javascript/channels/chat_channel.js
     gsub  app/javascript/channels/chat_channel.js
   append  app/javascript/channels/index.js
在 app/views/layout/application.html.erb 加上 action_cable_meta_tag
<!DOCTYPE html>
<html>
  <head>
    <%= action_cable_meta_tag %>
  </head>

  <body>
    <%= yield %>
  </body>
</html>
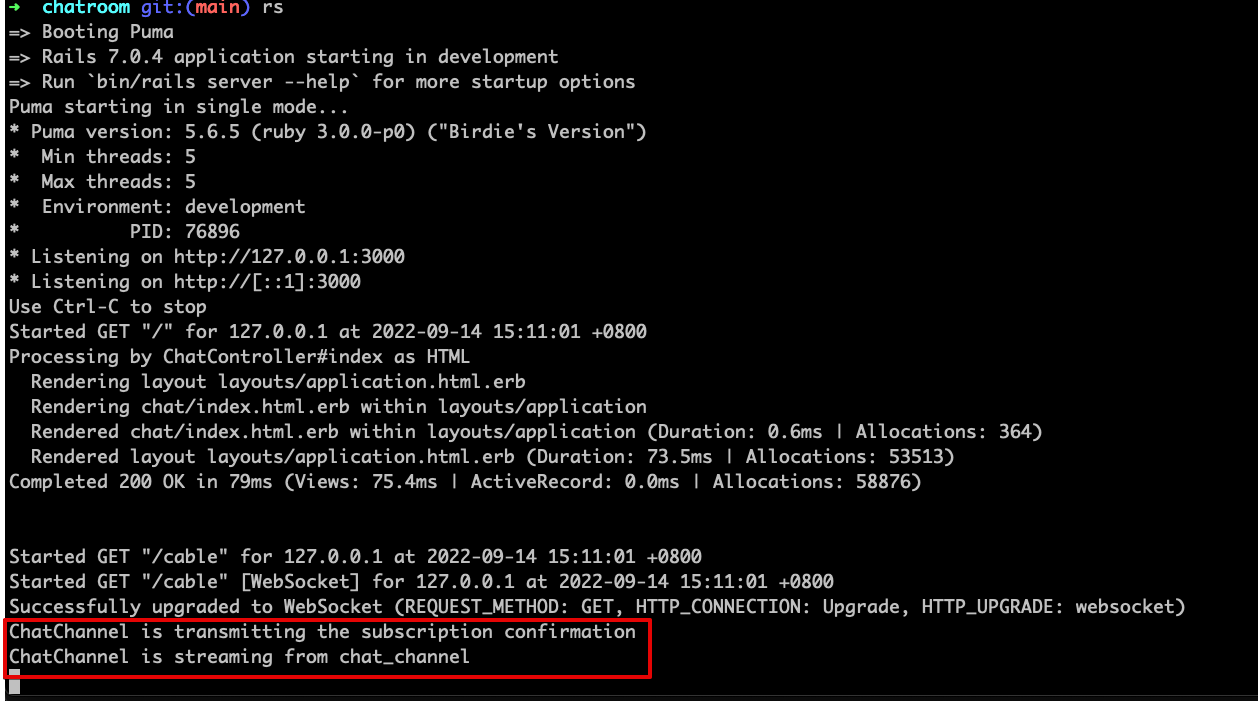
檢查一下是不是正常,連到 http://127.0.0.1:3000,看到 Chat 首頁的同時,也要檢查一下 Rails log 有沒有 websocket 的 log

到這邊基本設置完成
實作聊天發送訊息的功能:
新增一支 speak API,收到 API 的同時,就往 ChatChannel 廣播這則收到的訊息
# app/controllers/chat_controller.rb
class ChatController < ApplicationController
  def index
  end

	def speak
		ActionCable.server.broadcast('chat_channel', params[:speak_content])
	end
end

# config/routes.rb
Rails.application.routes.draw do
  post 'chat/speak'
  root 'chat#index'
end
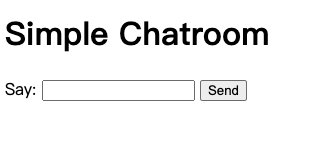
接著新增輸入聊天內容的表單,還有顯示聊天記錄的地方
# app/views/chat/index.html.erb
<h1>Simple Chatroom</h1>

<div id="chat-records">
</div>

<%= form_with(url: '/chat/speak', method: :post, remote: true) do |form| %>
    <label>Say: </label>
    <%= form.text_field :speak_content %>
    <%= form.submit :Send %>
<% end %>
確認一下,目前的樣子,隨便打點什麼之後按送出
檢查 server 有沒有收到 /chat/speak API request,然後有沒有把資料也廣播到 chat_channel

到這邊訊息發送的功能已經完成,接下來要做的是 Client 收到廣播之後的處理
實作聊天接收訊息的功能:
在 app/javascript/channels/chat_channel.js 實作接收到廣播後的功能
我們讓它收到資料後,就把資料用 p tag 包起來,然後加到 chat-records 的 div 裡面去
// app/javascript/channels/chat_channel.js
import consumer from "channels/consumer"

consumer.subscriptions.create("ChatChannel", {
  connected() {
  },

  disconnected() {
  },

  received(data) {
    var container = document.getElementById('chat-records')
    var textElement =  document.createElement('p')
    textElement.appendChild(document.createTextNode(data))
    container.appendChild(textElement)
  }
});
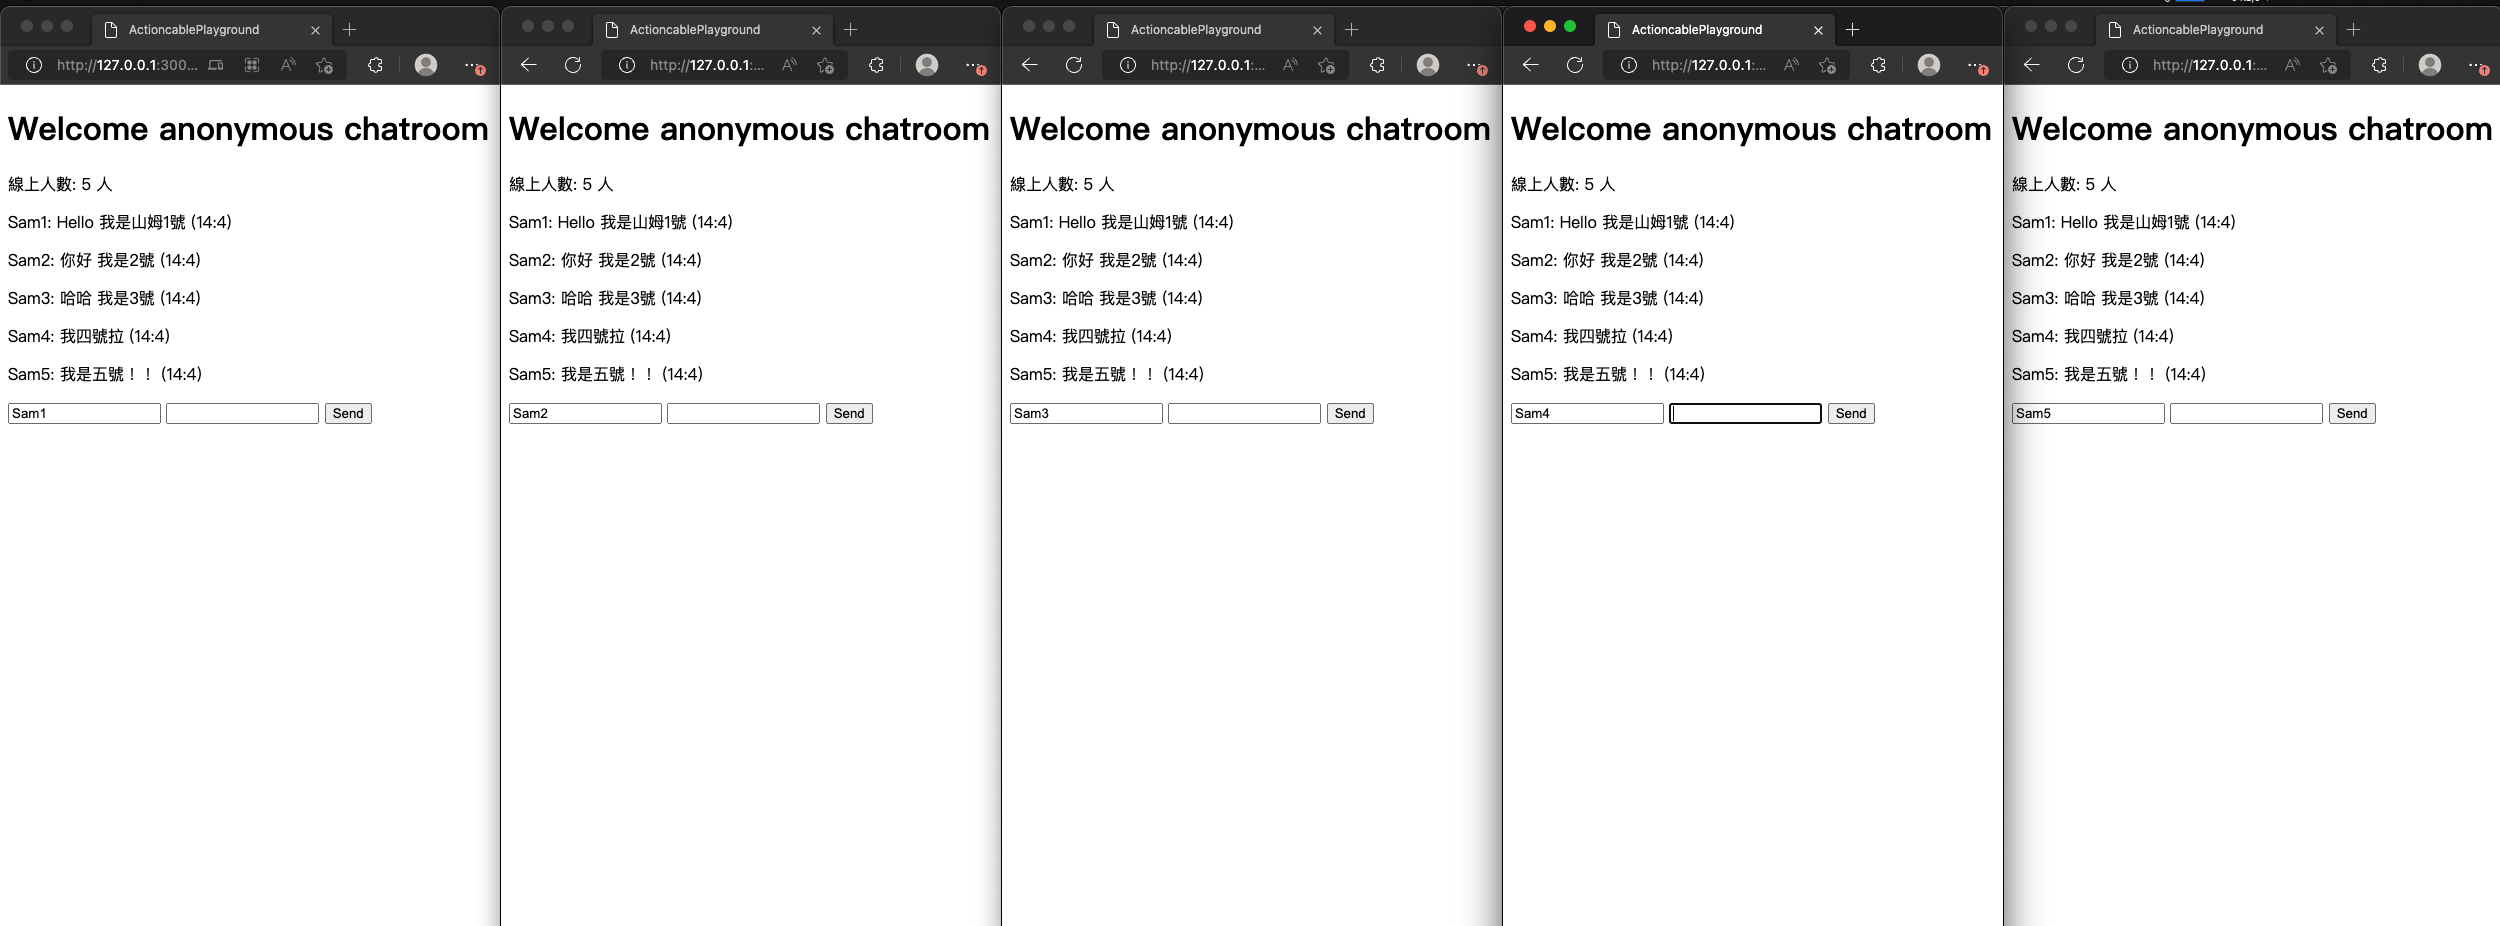
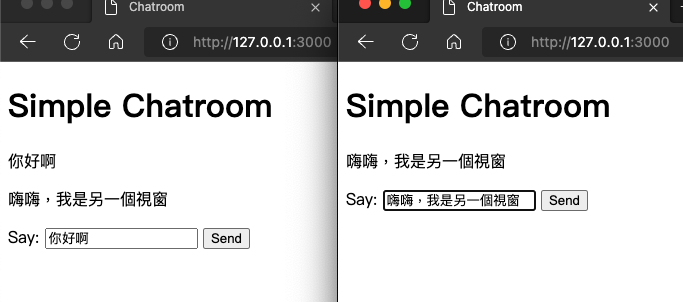
我們來送送看訊息,當我們按送出之後,訊息就會即時同步顯示囉
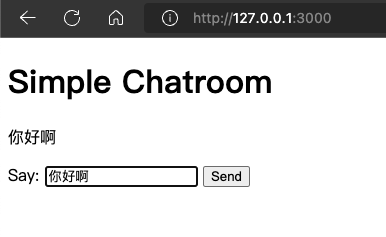
同時開第二個視窗,然後發訊息看看是不是真的會同步
到這邊核心的聊天室功能已經做完囉,不過還是有一些小細節可以優化,像是發送完訊息,輸入框清空、介面美化等等,這邊先不做,不然篇幅太長
一樣先產生新的頻道,因為要統計在線人數,所以就叫做 statistic_channel 了
$ rails g channel statistic_channel
   invoke  test_unit
   create    test/channels/statistic_channel_test.rb
identical  app/channels/application_cable/channel.rb
identical  app/channels/application_cable/connection.rb
   create  app/channels/statistic_channel.rb
   create  app/javascript/channels/statistic_channel.js
     gsub  app/javascript/channels/statistic_channel.js
   append  app/javascript/channels/index.js
開啟 statistic_channel 的 subscription stream,同時我們希望在有新加入聊天室、有人離開聊天室的時候,都推播現在的聊天室人數,所以要在有人 subscribed、unsubscribed 的時候推播,可以透過 ActionCable.server.connections.length 取得在線人數
注意:如果在 rails console 中執行ActionCable.server.connections.length 的話,會得到 0 的結果,可能是因為 Cable Server 只有運行在 rails server 裡,並沒有在 rails console 中,所以得到的結果會不一樣
class StatisticChannel < ApplicationCable::Channel
  def subscribed
    stream_from "statistic_channel"
    ActionCable.server.broadcast('statistic_channel', { connections: ActionCable.server.connections.length })
  end

  def unsubscribed
    ActionCable.server.broadcast('statistic_channel', { connections: ActionCable.server.connections.length })
  end
end
在 app/views/chat/index.html.erb 新增一個 online-users 的位置給在線人數顯示用
<!-- app/views/chat/index.html.erb -->
<h1>Simple Chatroom</h1>

<p id="online-users"></p>

<div id="chat-records">
</div>

<%= form_with(url: '/chat/speak', method: :post, remote: true) do |form| %>
    <label>Say: </label>
    <%= form.text_field :speak_content %>
    <%= form.submit :Send %>
<% end %>
設定接收到 statistic_channel 後的顯示方式,將得到的在線人數塞入 p tag 的文字
// app/javascript/channels/statistic_channel.js
import consumer from "channels/consumer"

consumer.subscriptions.create("StatisticChannel", {
  connected() {
    // Called when the subscription is ready for use on the server
  },

  disconnected() {
    // Called when the subscription has been terminated by the server
  },

  received(data) {
    var onlineUsers = document.getElementById('online-users')
    onlineUsers.innerHTML = "現在有 " + data['connections'] + " 人同時在線上!"
  }
});
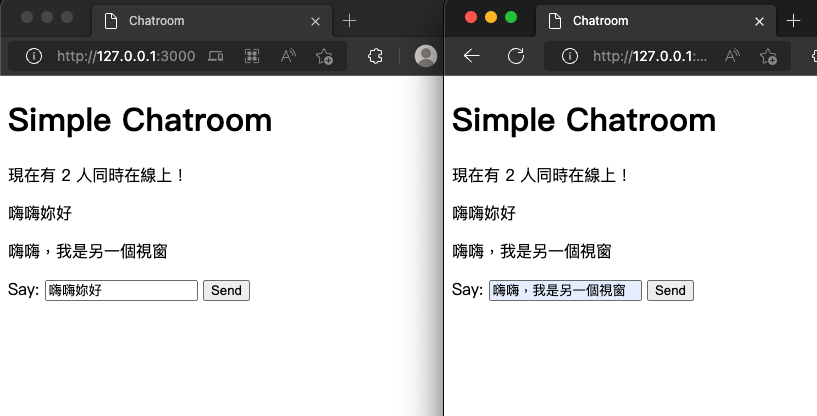
再來打開兩個視窗,將會看到結果~
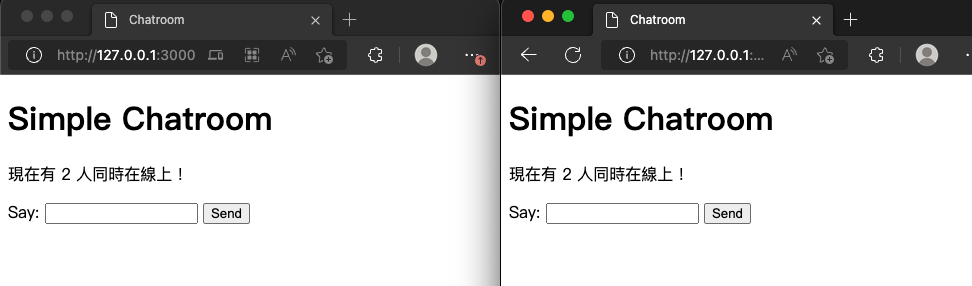
聊天 和 在線人數 的功能就完成了,而且兩個通道是獨立運作,不會互相干擾
體驗 ActionCable 之後,覺得可玩性很高,目前都還沒有跟 model 做結合,基礎的玩法可以再綁定 User model,讓使用者先登入後,以使用者的身份發言,並且新增 Message 的 model,把聊天記錄存下來,再來可以新增 Room model,讓使用者可以根據不同房間來交流,最終可以做成像是 Slack 或 Discord 那樣的應用。
ActionCable 真的是把 server 端的 websocket 建置簡化了很多,學會最基礎的設定之後,就覺得用 ActionCable 來架 websocket server 很方便,不過因為還沒有實際放到 production 的應用,也不知道在部署的時候會不會踩到什麼雷,歡迎有經驗的大大留言分享 XD,我們明天見~

