好的!那今天我們開始要教各位讀者開始設計屬於自己的帳密系統!但在開始寫程式前我們要先讓各位讀者看看我們這次需要哪些前端的控制項!!以及各個控制項的配置方式以及使用時機!!
這個就是我們這次前端程式碼完成的樣子!!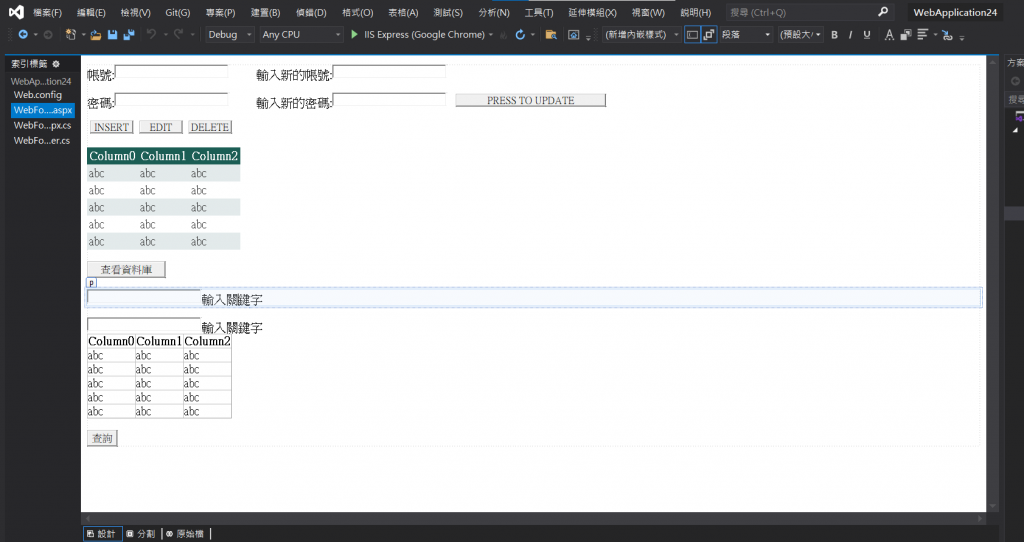
各位讀者可以自己嘗試看看去編寫這些程式碼,或者是透過工具箱的功能將這些控制項拉到自己喜歡的位置或者是依照筆者的範例去做安排!!
這個是實際執行過後的樣子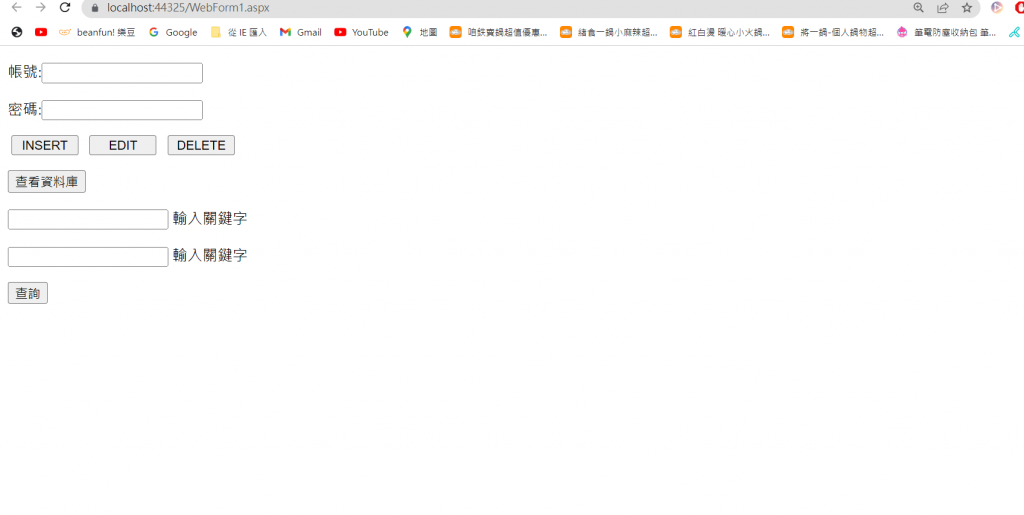
讀者們可以注意到有很多控制項消失了!!由於有些控制項不是在網頁初始化後就需要出現的我們可以透過程式碼的控制來對他們做甚麼時候顯示甚麼時候隱藏的控制!!這之後會在後面和讀者細說!!各位讀者現在只需要知道有這個功能即可!
好那現在講了這麼多!!就來看一下我們的程式碼吧!!
<%@ Page Language="C#" AutoEventWireup="true" CodeBehind="WebForm1.aspx.cs" Inherits="WebApplication24.WebForm1" %>
<!DOCTYPE html>
<html xmlns="http://www.w3.org/1999/xhtml">
<head runat="server">
<meta http-equiv="Content-Type" content="text/html; charset=utf-8"/>
<title></title>
</head>
<body>
<form id="form1" runat="server">
<div>
<p>
帳號:<asp:TextBox ID ="Textbox1" runat ="server" ></asp:TextBox>
<asp:Label ID="Label1" runat="server" Text="輸入新的帳號:" Visible ="false"></asp:Label>
<asp:TextBox ID ="Textbox3" runat ="server" Visible="false" ></asp:TextBox>
</p>
<p>
密碼:<asp:TextBox ID ="Textbox2" runat="server"></asp:TextBox>
<asp:Label ID="Label2" runat="server" Text="輸入新的密碼:" Visible ="false" ></asp:Label>
<asp:TextBox ID ="Textbox4" runat ="server" Visible="false" ></asp:TextBox>
<asp:Button ID ="Button5" runat ="server" Text ="PRESS TO UPDATE" OnClick ="PRESSUPDATE" Visible ="false" Height="21px" Width="247px" />
</p>
<asp:Button ID ="Button1" runat ="server" Text ="INSERT" OnClick ="Button1_Click" Height="21px" Width="71px" />
<asp:Button ID ="Button2" runat ="server" Text ="EDIT" OnClick="Button2_Click" Height="21px" Width="71px" />
<asp:Button ID ="Button3" runat ="server" Text ="DELETE" OnClick ="Button3_Click" Height="21px" Width="71px" />
<p>
<asp:GridView ID="GridView1" runat="server" CellPadding="4" ForeColor="#333333" GridLines="None">
<AlternatingRowStyle BackColor="White" />
<EditRowStyle BackColor="#7C6F57" />
<FooterStyle BackColor="#1C5E55" Font-Bold="True" ForeColor="White" />
<HeaderStyle BackColor="#1C5E55" Font-Bold="True" ForeColor="White" />
<PagerStyle BackColor="#666666" ForeColor="White" HorizontalAlign="Center" />
<RowStyle BackColor="#E3EAEB" />
<SelectedRowStyle BackColor="#C5BBAF" Font-Bold="True" ForeColor="#333333" />
<SortedAscendingCellStyle BackColor="#F8FAFA" />
<SortedAscendingHeaderStyle BackColor="#246B61" />
<SortedDescendingCellStyle BackColor="#D4DFE1" />
<SortedDescendingHeaderStyle BackColor="#15524A" />
</asp:GridView>
</p>
</div>
<p>
<asp:Button ID ="Button4" runat ="server" Text ="查看資料庫" OnClick ="Button4_Click" />
</p>
<p>
<asp:TextBox ID ="Textbox5" runat="server"></asp:TextBox>
輸入關鍵字</p>
<p>
<asp:TextBox ID ="Textbox6" runat="server"></asp:TextBox>
輸入關鍵字
<asp:GridView ID="GridView2" runat="server">
</asp:GridView>
</p>
<p>
<asp:Button ID="Button6" runat="server" Text="查詢" onclick ="Button6_Click"/>
</p>
</form>
</body>
</html>
這段程式碼或許有一點點複雜,但各位讀者只需要專注在哪一些按鈕是要建立onClick事件,以及onClick事件的用途是甚麼!!
那這裡有列出所有的onClick事件所綁住的按鈕!!
這裡大家去看到每個按鈕的Text以及OnClick的命名方式,每個密命名方式都是有意義的!!其中有包含Update、INSERT、EDIT、DELETE、查看資料庫、查詢這幾個非常基礎的功能!
<asp:Button ID ="Button5" runat ="server" Text ="PRESS TO UPDATE" OnClick ="PRESSUPDATE" Visible ="false" Height="21px" Width="247px" />

<asp:Button ID ="Button1" runat ="server" Text ="INSERT" OnClick ="Button1_Click" Height="21px" Width="71px" />

<asp:Button ID ="Button2" runat ="server" Text ="EDIT" OnClick="Button2_Click" Height="21px" Width="71px" />

<asp:Button ID ="Button3" runat ="server" Text ="DELETE" OnClick ="Button3_Click" Height="21px" Width="71px" />

<asp:Button ID ="Button4" runat ="server" Text ="查看資料庫" OnClick ="Button4_Click" />

 <asp:Button ID="Button6" runat="server" Text="查詢" onclick ="Button6_Click"/>


 iThome鐵人賽